Sony DCR-PC109 Camera Operations Guide - Page 22
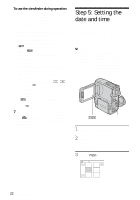
Step 5: Setting the date and time
 |
View all Sony DCR-PC109 manuals
Add to My Manuals
Save this manual to your list of manuals |
Page 22 highlights
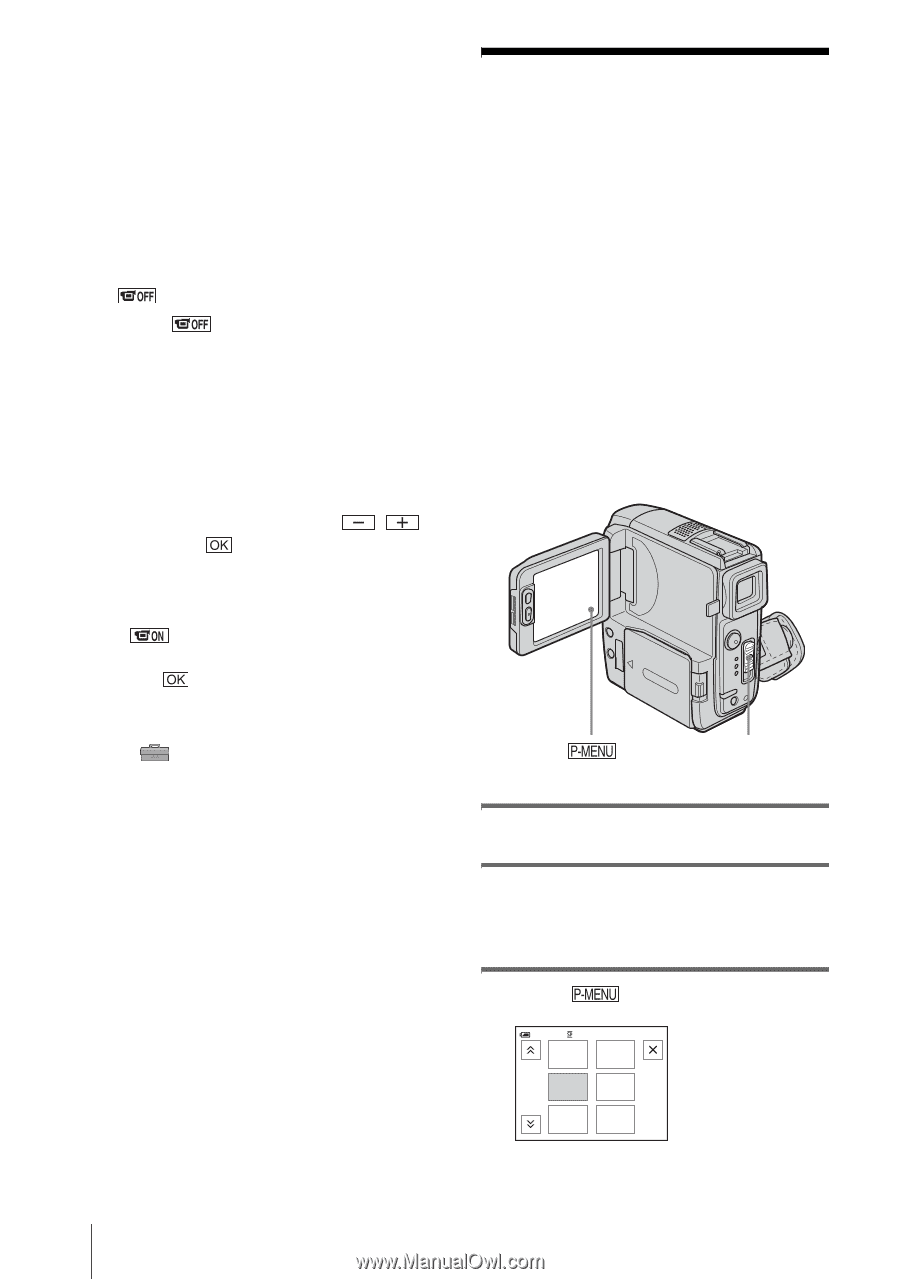
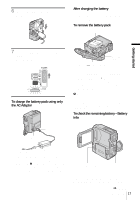
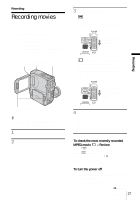
To use the viewfinder during operation When you are recording on a tape or a "Memory Stick Duo," you can adjust the exposure (p. 38) and fader (p. 43) while checking the image on the viewfinder. Have the LCD panel rotated 180 degrees and closed with the screen facing out. 1 Set the power mode to CAMERA-TAPE or CAMERA-MEM (p. 20). 2 Extend the viewfinder, and close the LCD panel with the screen facing out. appears on the screen. 3 Touch . [Set LCD off?] appears on the screen. 4 Touch [YES]. The LCD screen is turned off. 5 Touch the LCD screen while checking the display in the viewfinder. [EXPOSURE], etc. are displayed. 6 Touch the button you want to set. • [EXPOSURE]: Adjust with / and touch . • [FADER]: Touch it repeatedly to select a desired effect (only in the CAMERA- TAPE mode). • : The LCD screen lights up. To hide the buttons on the LCD screen, touch . z Tip • To adjust the brightness of the viewfinder backlight, select (STANDARD SET) menu, [LCD/VF SET], then [VF B.LIGHT] (when you are using the battery pack, p. 85). Step 5: Setting the date and time Set the date and time when using this camcorder for the first time. If you do not set the date and time, the [CLOCK SET] screen appears every time you turn on your camcorder. b Note • If you do not use your camcorder for about 3 months, the built-in rechargeable button-type battery gets discharged and the date and time settings may be cleared from the memory. In that case, charge the rechargeable button-type battery (p. 136) and then set the date and time again. POWER switch 1 Turn on your camcorder (p. 20). 2 Open the LCD panel. Proceed to step 7 when you set the clock for the first time. 3 Touch . 60min MENU -:--:-- EXPO- SURE 1/3 FADER FOCUS SPOT SPOT FOCUS METER 22 Getting started
-
 1
1 -
2
-
3
-
4
-
5
-
6
-
7
-
8
-
9
-
10
-
11
-
12
-
13
-
14
-
15
-
16
-
 17
17 -
 18
18 -
 19
19 -
 20
20 -
 21
21 -
 22
22 -
 23
23 -
 24
24 -
 25
25 -
 26
26 -
 27
27 -
28
-
29
-
30
-
31
-
32
-
33
-
34
-
35
-
36
-
37
-
38
-
39
-
40
-
41
-
42
-
43
-
44
-
45
-
46
-
47
-
48
-
49
-
50
-
51
-
52
-
53
-
54
-
55
-
56
-
57
-
58
-
59
-
60
-
61
-
62
-
63
-
64
-
65
-
66
-
67
-
68
-
69
-
70
-
71
-
72
-
73
-
74
-
75
-
76
-
77
-
78
-
79
-
80
-
81
-
82
-
83
-
84
-
85
-
86
-
87
-
88
-
89
-
90
-
91
-
92
-
93
-
94
-
95
-
96
-
97
-
98
-
99
-
100
-
101
-
102
-
103
-
104
-
105
-
106
-
107
-
108
-
109
-
110
-
111
-
112
-
113
-
114
-
115
-
116
-
117
-
118
-
119
-
120
-
121
-
122
-
123
-
124
-
125
-
126
-
127
-
128
-
129
-
130
-
131
-
132
-
133
-
134
-
135
-
136
-
137
-
138
-
139
-
140
-
141
-
142
-
143
-
144
-
145
-
146
-
147
-
148
-
149
-
150
-
151
-
152
 |
 |