Sony DCR-PC109 Camera Operations Guide - Page 25
Step 7: Setting the screen language
 |
View all Sony DCR-PC109 manuals
Add to My Manuals
Save this manual to your list of manuals |
Page 25 highlights
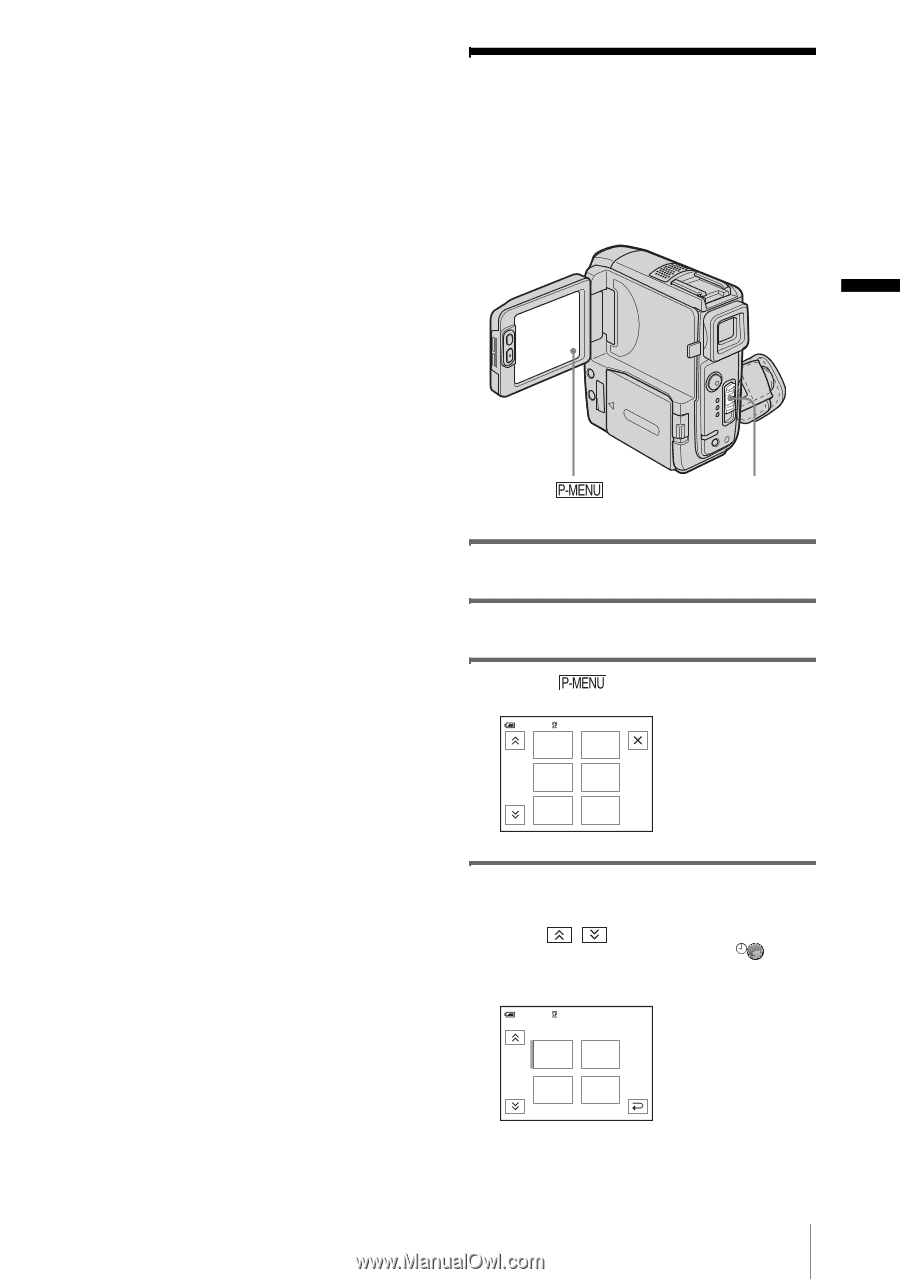
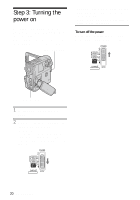
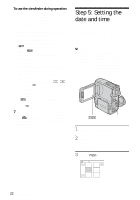
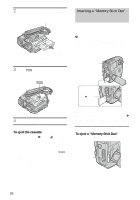
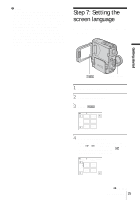
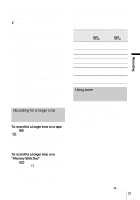
b Notes • If you force the "Memory Stick Duo" into the "Memory Stick Duo" slot in the wrong direction, the "Memory Stick Duo" slot may be damaged. • Do not insert anything other than a "Memory Stick Duo" into the "Memory Stick Duo" slot. Doing so may cause a malfunction of your camcorder. • When the access lamp is lit or flashing, your camcorder is reading/writing data from/to the "Memory Stick Duo." Do not shake or knock your camcorder, turn the power off, eject the "Memory Stick Duo," or remove the battery pack. Otherwise, image data may be damaged. Step 7: Setting the screen language You can select the language to be used on the LCD screen. Getting started POWER switch 1 Turn on your camcorder. 2 Open the LCD panel. 3 Touch . 60min MENU STBY 0:00:00 EXPO- SURE 1/3 FADER FOCUS SPOT SPOT FOCUS METER 4 Touch [LANGUAGE]. If the item is not displayed on the screen, touch / . If you cannot find it, touch [MENU], and select it from the (TIME/LANGU.) menu (p. 89). 60min LANGUAGE: STBY 0:00:00 ENGLISH ENG L I SH 1/2 FRAN ÇAIS ENG [SIMP] ESPA ÑOL ,continued Getting started 25
-
 1
1 -
2
-
3
-
4
-
5
-
6
-
7
-
8
-
9
-
10
-
11
-
12
-
13
-
14
-
15
-
16
-
17
-
18
-
19
-
 20
20 -
 21
21 -
 22
22 -
 23
23 -
 24
24 -
 25
25 -
 26
26 -
 27
27 -
 28
28 -
 29
29 -
 30
30 -
31
-
32
-
33
-
34
-
35
-
36
-
37
-
38
-
39
-
40
-
41
-
42
-
43
-
44
-
45
-
46
-
47
-
48
-
49
-
50
-
51
-
52
-
53
-
54
-
55
-
56
-
57
-
58
-
59
-
60
-
61
-
62
-
63
-
64
-
65
-
66
-
67
-
68
-
69
-
70
-
71
-
72
-
73
-
74
-
75
-
76
-
77
-
78
-
79
-
80
-
81
-
82
-
83
-
84
-
85
-
86
-
87
-
88
-
89
-
90
-
91
-
92
-
93
-
94
-
95
-
96
-
97
-
98
-
99
-
100
-
101
-
102
-
103
-
104
-
105
-
106
-
107
-
108
-
109
-
110
-
111
-
112
-
113
-
114
-
115
-
116
-
117
-
118
-
119
-
120
-
121
-
122
-
123
-
124
-
125
-
126
-
127
-
128
-
129
-
130
-
131
-
132
-
133
-
134
-
135
-
136
-
137
-
138
-
139
-
140
-
141
-
142
-
143
-
144
-
145
-
146
-
147
-
148
-
149
-
150
-
151
-
152
 |
 |