Stihl FSA 90 R Instruction Manual - Page 3
Contents - trimmer
 |
View all Stihl FSA 90 R manuals
Add to My Manuals
Save this manual to your list of manuals |
Page 3 highlights
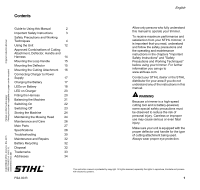
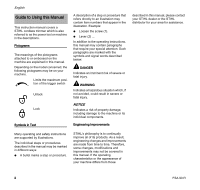
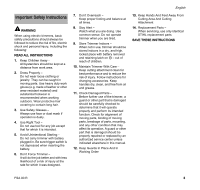
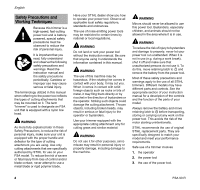
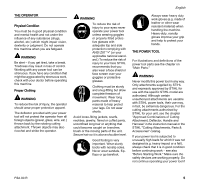
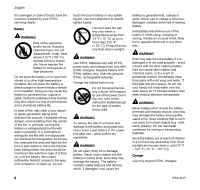
Contents English Original Instruction Manual Printed on chlorine-free paper Printing inks contain vegetable oils, paper can be recycled. Guide to Using this Manual 2 Important Safety Instructions 3 Safety Precautions and Working Techniques 4 Using the Unit 12 Approved Combinations of Cutting Attachment, Deflector, Handle and Harness 14 Mounting the Loop Handle 15 Mounting the Deflector 15 Mounting the Cutting Attachment 16 Connecting Charger to Power Supply 17 Charging the Battery 17 LEDs on Battery 18 LED on Charger 20 Fitting the Harness 20 Balancing the Machine 21 Switching On 22 Switching Off 23 Storing the Machine 24 Maintaining the Mowing Head 24 Maintenance and Care 26 Main Parts 27 Specifications 28 Troubleshooting 30 Maintenance and Repairs 32 Battery Recycling 32 Disposal 32 Trademarks 33 Addresses 34 Allow only persons who fully understand this manual to operate your trimmer. To receive maximum performance and satisfaction from your STIHL trimmer, it is important that you read, understand and follow the safety precautions and the operating and maintenance instructions in the chapters "Important Safety Instructions" and "Safety Precautions and Working Techniques" before using your trimmer. For further information you can go to www.stihlusa.com. Contact your STIHL dealer or the STIHL distributor for your area if you do not understand any of the instructions in this manual. WARNING Because a trimmer is a high-speed cutting tool and is battery-powered, some special safety precautions must be observed to reduce the risk of personal injury. Careless or improper use may cause serious or even fatal injury. Make sure your unit is equipped with the proper deflector and handle for the type of cutting attachment being used. Always wear proper eye protection. © ANDREAS STIHL AG & Co. KG, 2015 0458-709-8621-A. VA0.L15. 0000007003_002_GB { FSA 90 R This instruction manual is protected by copyright. All rights reserved, especially the rights to reproduce, translate and process with electronic systems. 1
-
 1
1 -
 2
2 -
 3
3 -
 4
4 -
 5
5 -
 6
6 -
 7
7 -
 8
8 -
 9
9 -
10
-
11
-
12
-
13
-
14
-
15
-
16
-
17
-
18
-
19
-
20
-
21
-
22
-
23
-
24
-
25
-
26
-
27
-
28
-
29
-
30
-
31
-
32
-
33
-
34
-
35
-
36
-
37
-
38
-
39
-
40
-
41
-
42
-
43
-
44
-
45
-
46
-
47
-
48
-
49
-
50
-
51
-
52
-
53
-
54
-
55
-
56
-
57
-
58
-
59
-
60
-
61
-
62
-
63
-
64
-
65
-
66
-
67
-
68
-
69
-
70
-
71
-
72
-
73
-
74
-
75
-
76
 |
 |