TP-Link 10GE T1700G-28TQ V1 Installation Guide - Page 21
Connection
 |
View all TP-Link 10GE manuals
Add to My Manuals
Save this manual to your list of manuals |
Page 21 highlights
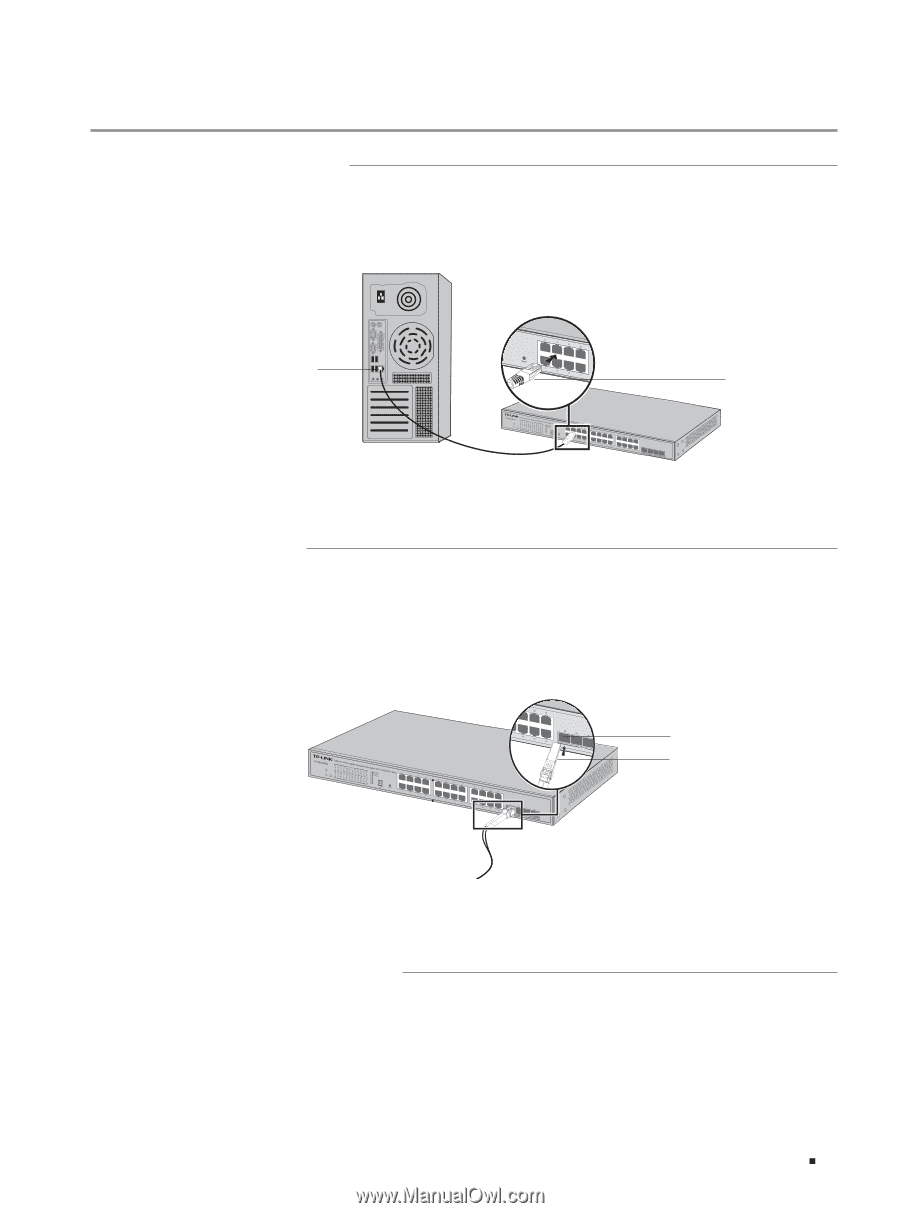
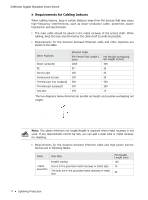
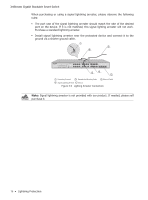
JetStream Gigabit Stackable Smart Switch Chapter 4 Connection 4.1 Ethernet Port Connect an Ethernet port of the switch to the computer by RJ45 cable as the following figure shows. RJ45 Port RJ45 Cable Figure 4-1 Connecting the RJ45 Port 4.2 SFP+ Port Connect an SFP/SFP+ transceiver or an SFP+ cable to the SFP+ port. Make sure the SFP+ module minimum bend radius is met when using the SFP+ cable. The SFP+ ports support 10G connection by default. If you are using a gigabit SFP module, please configure the speed of the corresponding SPF+ port as 1000M. SFP+ Port SFP+ Transceiver Figure 4-2 Inserting the SFP+ Module 4.3 Verify Installation After completing the installation, please verify the following items: ■■ There are 5-10cm of clearance around the sides of the device for ventilation and the air flow is adequate. Connection 16
-
 1
1 -
2
-
3
-
4
-
5
-
6
-
7
-
8
-
9
-
10
-
11
-
12
-
13
-
14
-
15
-
 16
16 -
 17
17 -
 18
18 -
 19
19 -
 20
20 -
 21
21 -
 22
22 -
 23
23 -
 24
24 -
 25
25 -
 26
26 -
27
-
28
 |
 |