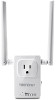
TRENDnet THA-103AC Quick Installation Guide - Page 16
WPS Setup with Android Device - manual
 |
View all TRENDnet THA-103AC manuals
Add to My Manuals
Save this manual to your list of manuals |
Page 16 highlights
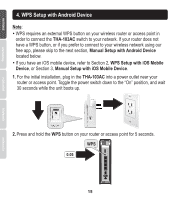
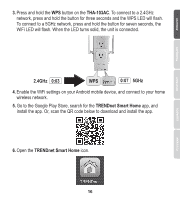
4. WPS Setup with Android Device Note: Ÿ WPS requires an external WPS button on your wireless router or access point in order to connect the THA-103AC switch to your network. If your router does not have a WPS button, or if you prefer to connect to your wireless network using our free app, please skip to the next section, Manual Setup with Android Device located below. Ÿ If you have an iOS mobile device, refer to Section 2, WPS Setup with iOS Mobile Device, or Section 3, Manual Setup with iOS Mobile Device. 1. For the initial installation, plug in the THA-103AC into a power outlet near your router or access point. Toggle the power switch down to the "On" position, and wait 30 seconds while the unit boots up. 2. Press and hold the WPS button on your router or access point for 5 seconds. WPS 0:05 15
-
 1
1 -
2
-
3
-
4
-
5
-
6
-
7
-
8
-
9
-
10
-
 11
11 -
 12
12 -
 13
13 -
 14
14 -
 15
15 -
 16
16 -
 17
17 -
 18
18 -
 19
19 -
 20
20 -
 21
21 -
22
-
23
-
24
-
25
-
26
-
27
-
28
-
29
-
30
-
31
-
32
-
33
-
34
 |
 |
