Toshiba PX35t-A2230 User Guide - Page 56
Optical disc drive components, Inserting an optical disc, Sample Illustration Optical disc drive
 |
View all Toshiba PX35t-A2230 manuals
Add to My Manuals
Save this manual to your list of manuals |
Page 56 highlights
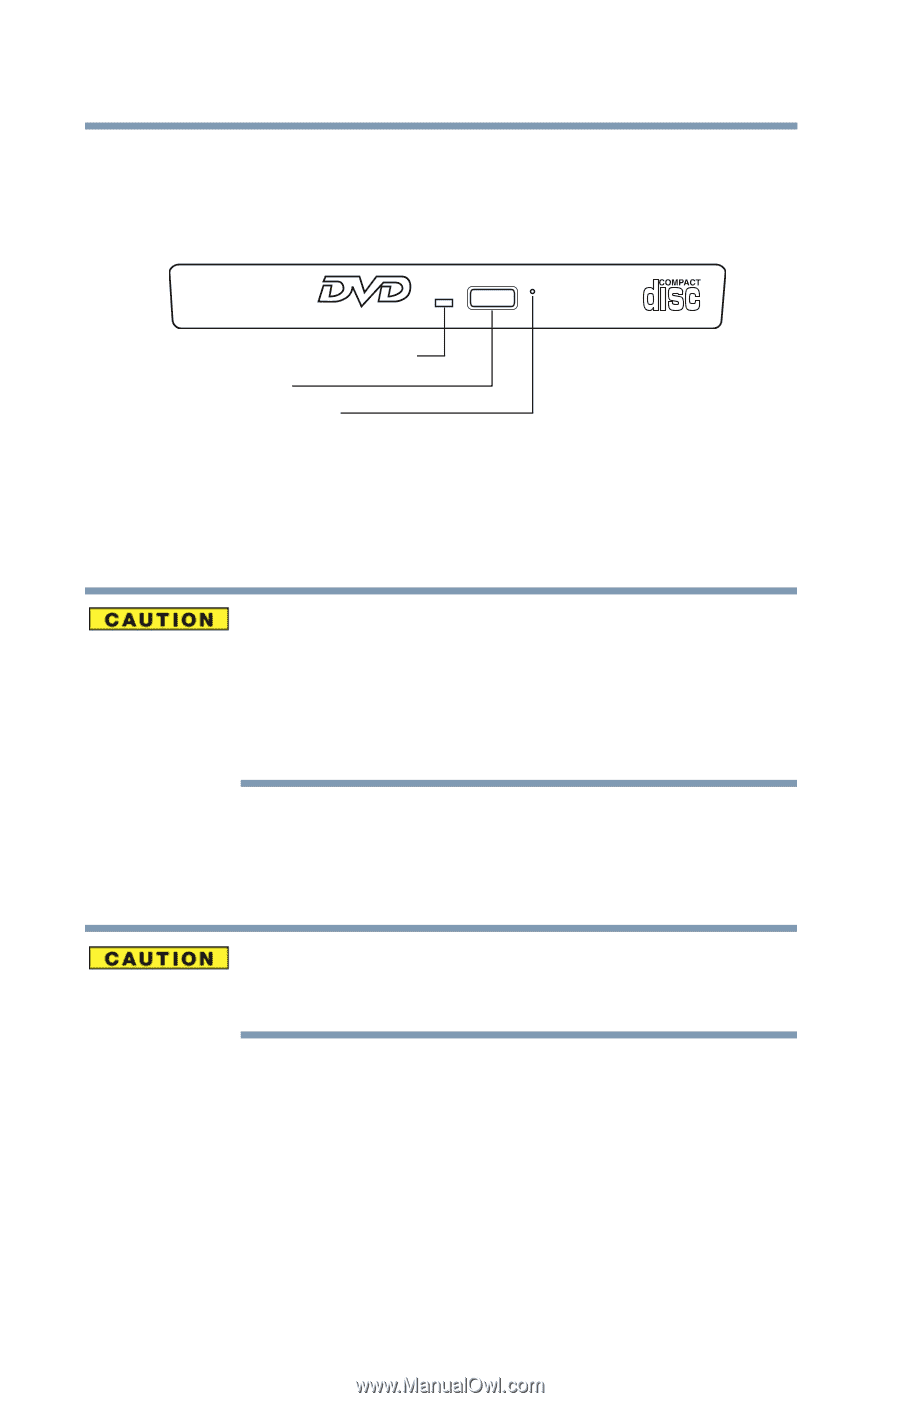
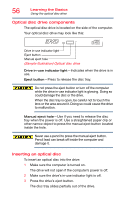
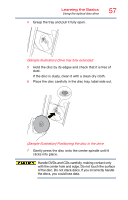
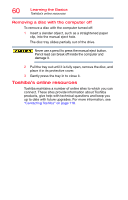
56 Learning the Basics Using the optical disc drive Optical disc drive components The optical disc drive is located on the side of the computer. Your optical disc drive may look like this: Drive in-use indicator light Eject button Manual eject hole (Sample Illustration) Optical disc drive Drive in-use indicator light-Indicates when the drive is in use. Eject button-Press to release the disc tray. Do not press the eject button or turn off the computer while the drive in-use indicator light is glowing. Doing so could damage the disc or the drive. When the disc tray is open, be careful not to touch the lens or the area around it. Doing so could cause the drive to malfunction. Manual eject hole-Use if you need to release the disc tray when the power is off. Use a straightened paper clip or other narrow object to press the manual eject button located inside the hole. Never use a pencil to press the manual eject button. Pencil lead can break off inside the computer and damage it. Inserting an optical disc To insert an optical disc into the drive: 1 Make sure the computer is turned on. The drive will not open if the computer's power is off. 2 Make sure the drive's in-use indicator light is off. 3 Press the drive's eject button. The disc tray slides partially out of the drive.
-
 1
1 -
2
-
3
-
4
-
5
-
6
-
7
-
8
-
9
-
10
-
11
-
12
-
13
-
14
-
15
-
16
-
17
-
18
-
19
-
20
-
21
-
22
-
23
-
24
-
25
-
26
-
27
-
28
-
29
-
30
-
31
-
32
-
33
-
34
-
35
-
36
-
37
-
38
-
39
-
40
-
41
-
42
-
43
-
44
-
45
-
46
-
47
-
48
-
49
-
50
-
 51
51 -
 52
52 -
 53
53 -
 54
54 -
 55
55 -
 56
56 -
 57
57 -
 58
58 -
 59
59 -
 60
60 -
 61
61 -
62
-
63
-
64
-
65
-
66
-
67
-
68
-
69
-
70
-
71
-
72
-
73
-
74
-
75
-
76
-
77
-
78
-
79
-
80
-
81
-
82
-
83
-
84
-
85
-
86
-
87
-
88
-
89
-
90
-
91
-
92
-
93
-
94
-
95
-
96
-
97
-
98
-
99
-
100
-
101
-
102
-
103
-
104
-
105
-
106
-
107
-
108
-
109
-
110
-
111
-
112
-
113
-
114
-
115
-
116
-
117
-
118
-
119
-
120
-
121
-
122
-
123
-
124
-
125
-
126
-
127
-
128
-
129
-
130
-
131
-
132
-
133
-
134
-
135
-
136
-
137
-
138
-
139
-
140
-
141
-
142
-
143
-
144
-
145
-
146
-
147
 |
 |