Turtle Beach Ear Force PX21 User's Guide - Page 9
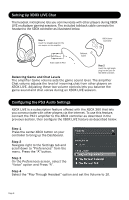
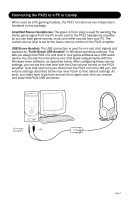
Windows XP Setup Procedure cont'd - windows 7 setup
 |
View all Turtle Beach Ear Force PX21 manuals
Add to My Manuals
Save this manual to your list of manuals |
Page 9 highlights
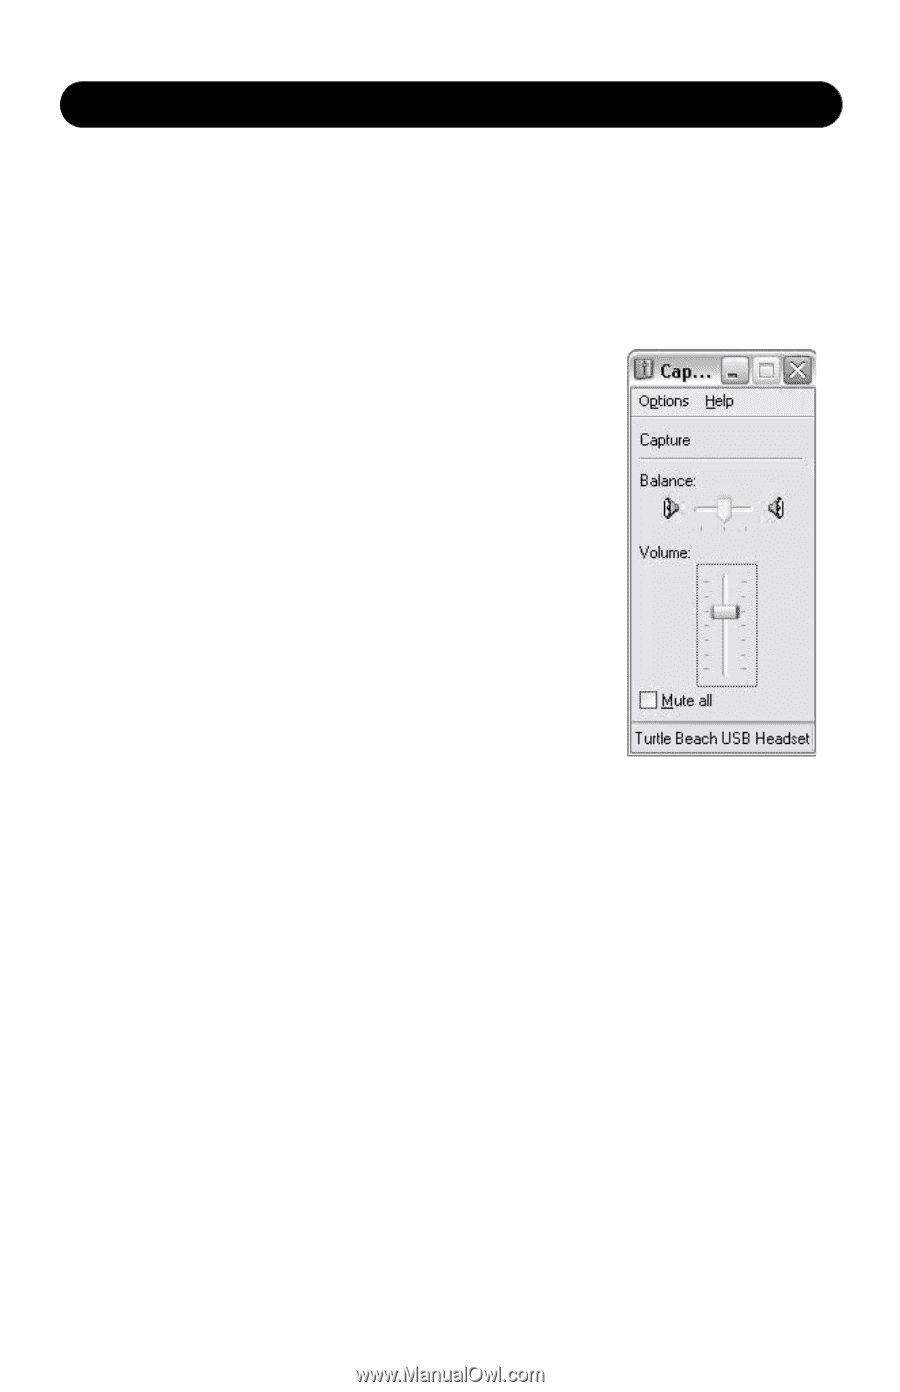
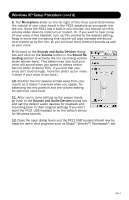
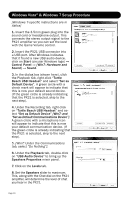
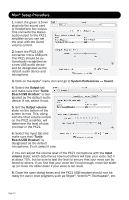
Windows XP Setup Procedure (cont'd) 8. The Microphone slider on the far right of this mixer panel determines the volume of your voice heard in the PX21 speakers as you speak into the mic. Since the PX21 has a built-in mic monitor, you should turn this volume slider down to minimum or mute it. Or, if you want to hear more of your voice in the headset, turn up this volume to the desired setting. Keep in mind that increasing this volume will also increase the sound level picked up by the mic, so you will hear more ambient sounds as well as your voice. 9. Go back to the Sounds and Audio Devices dialog box and click on the Volume button in the Sound Recording section to activate the mic recording volume slider (shown here). This determines how loud your voice will sound when you speak to others online. Set the slider to about 50%. If you find that your voice isn't loud enough, move the slider up (or move it down if your voice is too loud.) 10. Position the mic several inches away from your mouth so it doesn't overload when you speak. Try balancing the mic position and the volume setting for optimum voice level. 11. After you're done setting up the proper levels, go back to the Sounds and Audio Devices dialog box and set the default audio devices for playback and recording back to their original settings if you don't want the PX21 USB headset to be the default device for Windows sounds. 12. Close the open dialog boxes and the PX21 USB headset should now be ready for use in chat programs such as Skype®, Ventrilo™, Teamspeak®, etc. Page 9
-
 1
1 -
2
-
3
-
 4
4 -
 5
5 -
 6
6 -
 7
7 -
 8
8 -
 9
9 -
 10
10 -
 11
11 -
 12
12 -
 13
13
 |
 |