ZyXEL ZYWALL USG 100 User Guide - Page 19
Stopping the ZyWALL, 1.6 Rack-mounting - installation guide
 |
View all ZyXEL ZYWALL USG 100 manuals
Add to My Manuals
Save this manual to your list of manuals |
Page 19 highlights
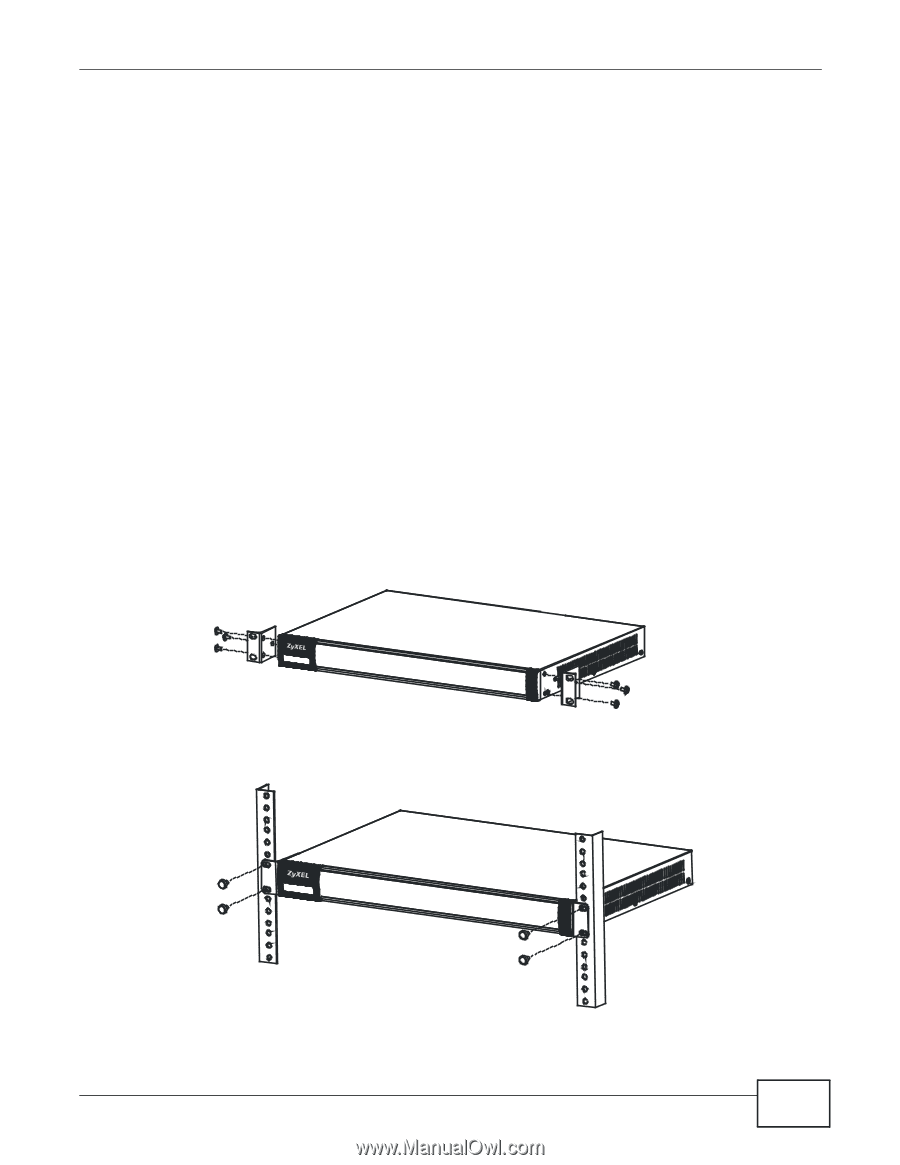
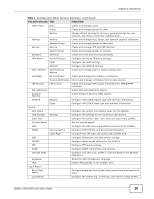
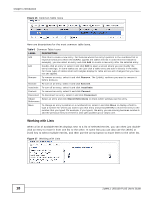
Chapter 1 Introduction 1.5 Stopping the ZyWALL Always use Maintenance > Shutdown > Shutdown or the shutdown command before you turn off the ZyWALL or remove the power. Not doing so can cause the firmware to become corrupt. 1.6 Rack-mounting Use the following steps to mount the ZyWALL on an EIA standard size, 19-inch rack or in a wiring closet with other equipment using a rack-mounting kit. Make sure the rack will safely support the combined weight of all the equipment it contains and that the position of the ZyWALL does not make the rack unstable or top-heavy. Take all necessary precautions to anchor the rack securely before installing the unit. Note: Leave 10 cm of clearance at the sides and 20 cm in the rear. Use a #2 Phillips screwdriver to install the screws. Note: Failure to use the proper screws may damage the unit. 1 Align one bracket with the holes on one side of the ZyWALL and secure it with the included bracket screws (smaller than the rack-mounting screws). 2 Attach the other bracket in a similar fashion. 3 After attaching both mounting brackets, position the ZyWALL in the rack and up the bracket holes with the rack holes. Secure the ZyWALL to the rack with the rack-mounting screws. ZyWALL USG100-PLUS User's Guide 19
-
 1
1 -
2
-
3
-
4
-
5
-
6
-
7
-
8
-
9
-
10
-
11
-
12
-
13
-
 14
14 -
 15
15 -
 16
16 -
 17
17 -
 18
18 -
 19
19 -
 20
20 -
 21
21 -
 22
22 -
 23
23 -
 24
24 -
25
-
26
-
27
-
28
-
29
-
30
-
31
-
32
-
33
-
34
-
35
-
36
-
37
-
38
-
39
-
40
-
41
-
42
-
43
-
44
-
45
-
46
-
47
-
48
-
49
-
50
-
51
-
52
-
53
-
54
-
55
-
56
-
57
-
58
-
59
-
60
-
61
-
62
-
63
-
64
-
65
-
66
-
67
-
68
-
69
-
70
-
71
-
72
-
73
-
74
-
75
-
76
-
77
-
78
-
79
-
80
-
81
-
82
-
83
-
84
-
85
-
86
-
87
-
88
-
89
-
90
-
91
-
92
-
93
-
94
-
95
-
96
-
97
-
98
-
99
-
100
-
101
-
102
-
103
-
104
-
105
-
106
-
107
-
108
-
109
-
110
-
111
-
112
-
113
-
114
-
115
-
116
-
117
-
118
-
119
-
120
-
121
-
122
-
123
-
124
-
125
-
126
-
127
-
128
-
129
-
130
-
131
-
132
-
133
-
134
-
135
-
136
-
137
-
138
-
139
-
140
 |
 |