Bernina 740 Manual - Page 42
possible
 |
View all Bernina 740 manuals
Add to My Manuals
Save this manual to your list of manuals |
Page 42 highlights
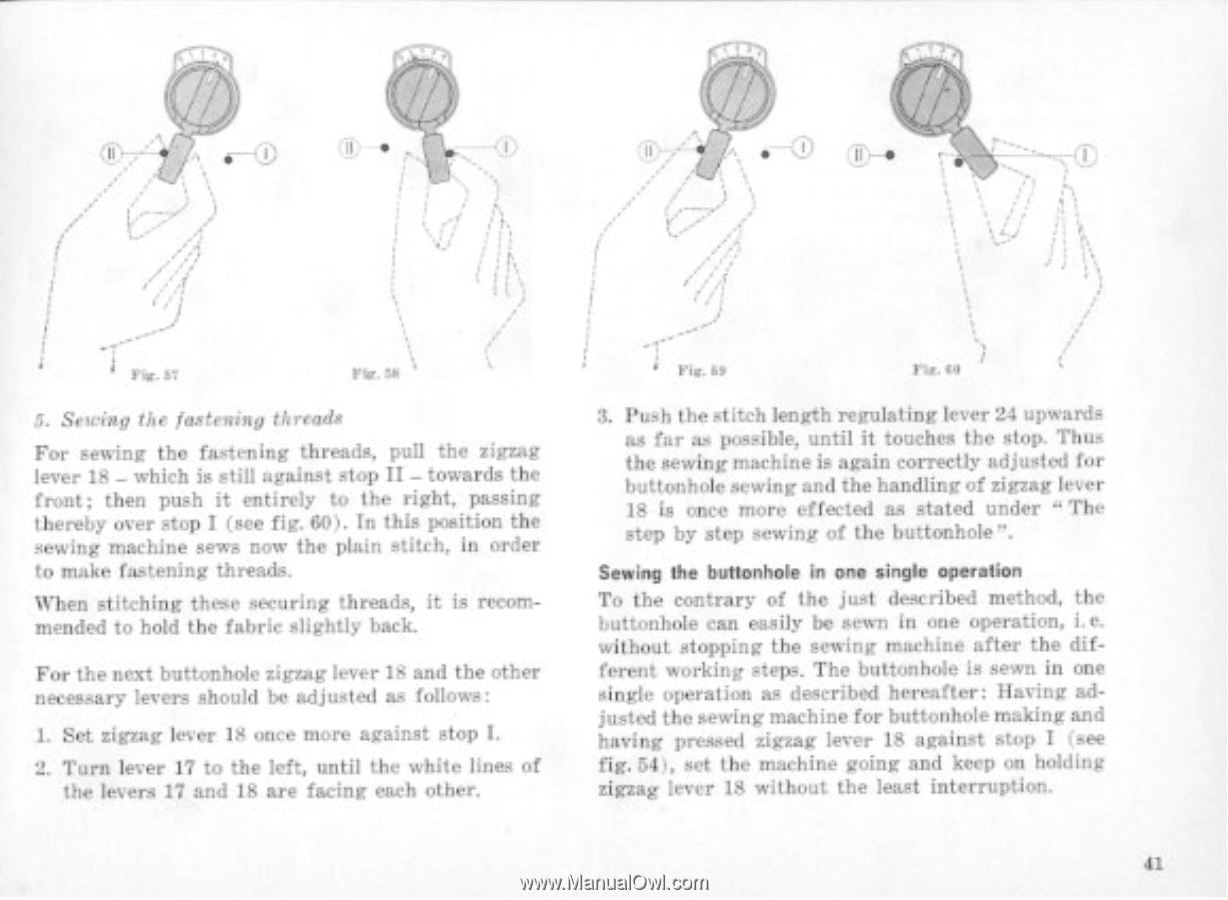
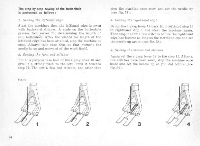
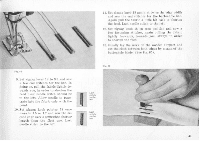
F II • 5. Sewing the fastening threads For sewing the fiudening threads, pull the zigzag lever 18 - which is still against stop II - towards the Crone: then push it entirely to the right. passing thereby over stop I (gee fig. 601. In this position the sewing machine sews now the plain stitch, In order to make fastening threads. When stitching these securing threads, it is recommended to hold the fabric slightly back. For the next buttonhole zigzag lever 18 and the other necessary levers should be adjusted as follows: 1. Set zigzag lever 18 once more against stop I. 2. Turn lever 17 to the left, until the white line of the !event 17 and 18 are facing each other. 3. Push thestitch length regulating lever 24 upwards as far as possible, until it touches the slop. Thus the sewing machine is again correctly adjusted for buttonhole sewing and the handling of zigzag lever 18 la once more effected as stated under - The step by step sewing of the buttonhole - . Sewing the buttonhole In one single operation To the contrary of the just described method, the buttonhole can easily be sewn In one operation, i.e. without stopping the sewing- machine after the different working steps. The buttonhole is sewn. In one single operation as described hereafter: ilav ing adjusted the sewing machine for buttonhole making and having pressed zigzag lever 18 against stop I 'see fig. 541, set the machine going and keep on holding zigzag lever IS without the least interruption. 41
-
 1
1 -
2
-
3
-
4
-
5
-
6
-
7
-
8
-
9
-
10
-
11
-
12
-
13
-
14
-
15
-
16
-
17
-
18
-
19
-
20
-
21
-
22
-
23
-
24
-
25
-
26
-
27
-
28
-
29
-
30
-
31
-
32
-
33
-
34
-
35
-
36
-
 37
37 -
 38
38 -
 39
39 -
 40
40 -
 41
41 -
 42
42 -
 43
43 -
 44
44 -
 45
45 -
 46
46 -
 47
47 -
48
-
49
-
50
-
51
-
52
-
53
-
54
-
55
-
56
-
57
-
58
-
59
-
60
-
61
-
62
-
63
-
64
-
65
-
66
-
67
-
68
-
69
-
70
-
71
-
72
-
73
-
74
-
75
-
76
-
77
-
78
-
79
 |
 |