Brother International 3034D User Manual - French - Page 26
Set the stitch length adjustment dial to R to 2 - rolled hem
 |
View all Brother International 3034D manuals
Add to My Manuals
Save this manual to your list of manuals |
Page 26 highlights
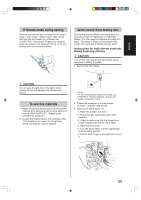
Storage for the stitch finger is provided on the inside of the front cover. NOTE: Make sure to install stitch finger when sewing regular overlock stitches. 4. Adjust the stitch width dial up to the "R" position. Selection mark 5. Adjust the stitch length. Set the stitch length adjustment dial to "R to 2" position (for narrow overlock stitch: R to 2, for rolled hemming stitch: R). 3 Selection mark 24
-
 1
1 -
2
-
3
-
4
-
5
-
6
-
7
-
8
-
9
-
10
-
11
-
12
-
13
-
14
-
15
-
16
-
17
-
18
-
19
-
20
-
 21
21 -
 22
22 -
 23
23 -
 24
24 -
 25
25 -
 26
26 -
 27
27 -
 28
28 -
 29
29 -
 30
30 -
 31
31 -
32
-
33
-
34
-
35
-
36
-
37
-
38
-
39
-
40
-
41
-
42
-
43
-
44
-
45
-
46
-
47
-
48
-
49
-
50
-
51
-
52
-
53
-
54
-
55
-
56
-
57
-
58
-
59
-
60
-
61
-
62
-
63
-
64
-
65
-
66
-
67
-
68
-
69
-
70
-
71
-
72
-
73
-
74
-
75
-
76
 |
 |
24
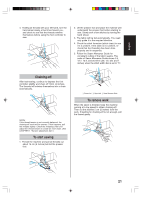
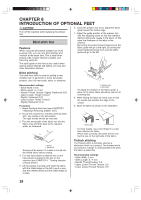
Storage for the stitch finger <A> is provided
on the inside of the front cover.
<A>
NOTE:
Make sure to install stitch finger when sewing
regular overlock stitches.
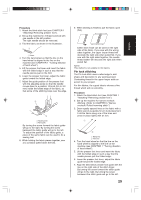
4.
Adjust the stitch width dial up to the "R"
position.
<A>
<A> Selection mark
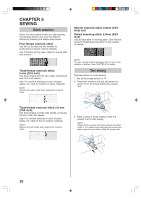
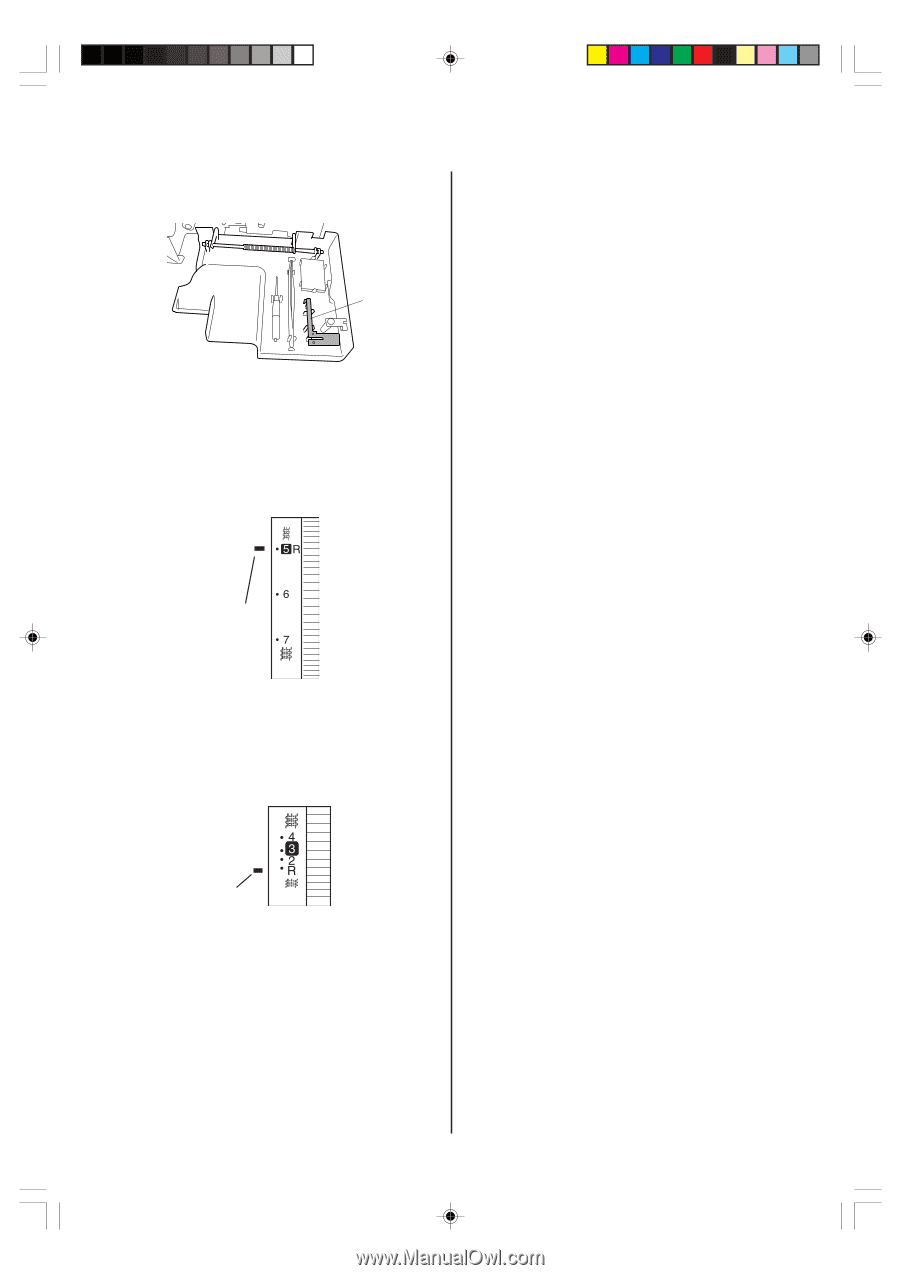
5.
Adjust the stitch length.
Set the stitch length adjustment dial to "R to 2"
position (for narrow overlock stitch: R to 2, for
rolled hemming stitch: R).
3
<A>
<A> Selection mark