Brother International 3034D User Manual - French - Page 34
Piping foot
 |
View all Brother International 3034D manuals
Add to My Manuals
Save this manual to your list of manuals |
Page 34 highlights
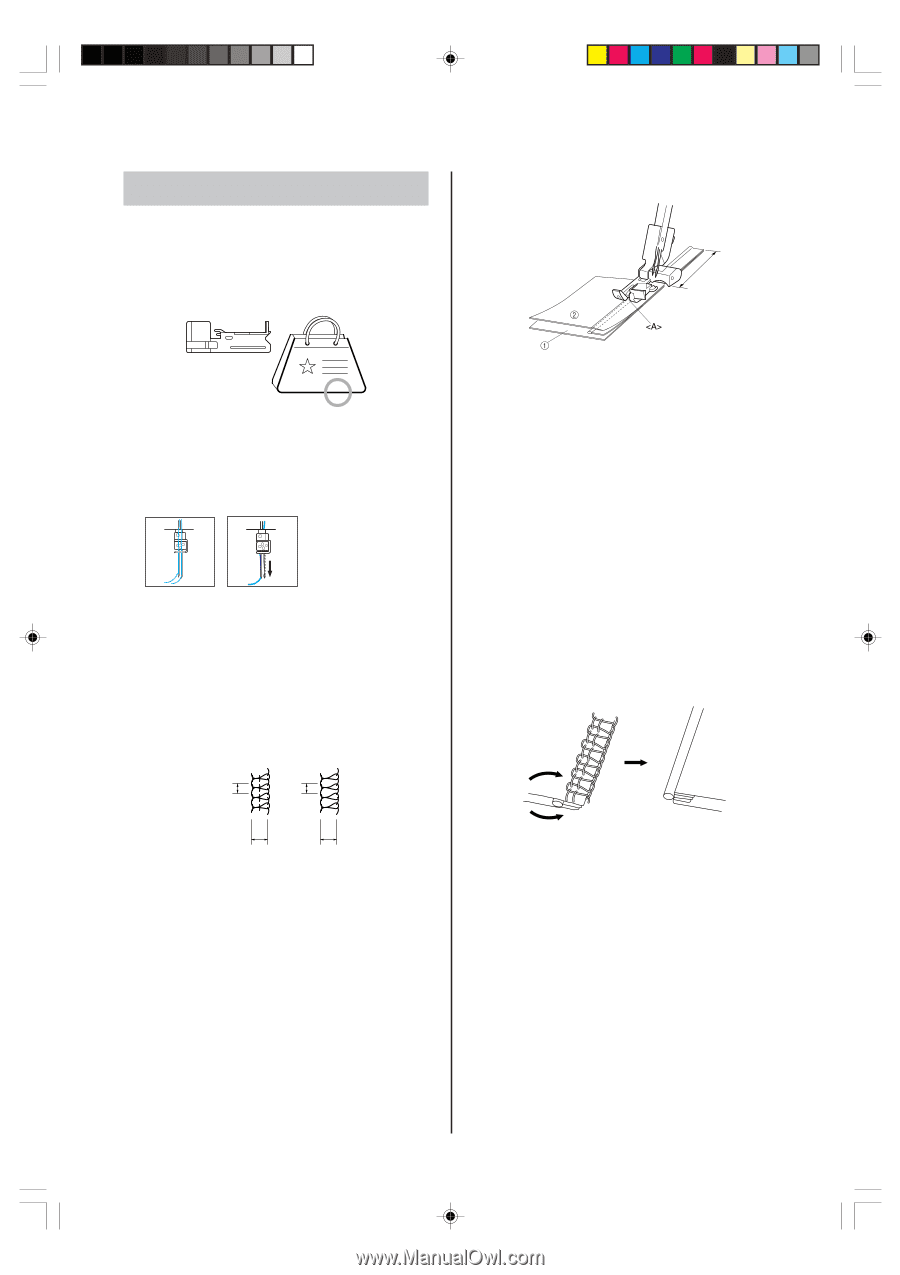
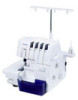
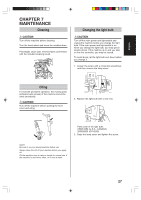
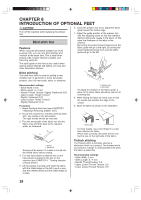
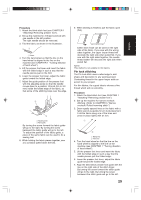
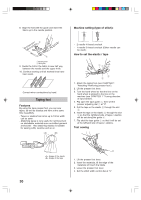
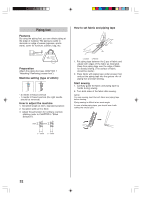
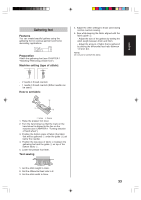
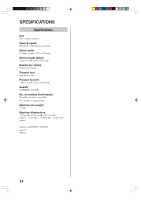
Piping foot Features By using the piping foot, you can obtain piping at the edge of material. The piping is useful to decorate on edge of wares (pajamas, sports ware), cover for furniture, cushion, bag, etc. LP Preparation Attach the piping foot (see CHAPTER 1 "Attaching/ Removing presser foot"). Machine setting (type of stitch): - 2 needle 4 thread overlock - 1 needle 3 thread overlock (the right needle should be removed) How to adjust the machine 1. Set stitch length at 3mm. (standard position) 2. Set stitch width at 5 to 6mm 3. Adjust thread tension for ordinary overlock stitching (refer to CHAPTER 5 "Stitch Selection"). 3mm 3mm How to set fabric and piping tape 3cm 1 Surface 2 Reverse 1. Put piping tape between the 2 pcs of fabric and adjust both edges of the fabric as illustrated. Keep 3cm piping tape over the edge of fabric for steady sewing. (The surface of fabric should be inside.) 2. Place fabric with piping tape under presser foot and put the piping tape into the groove of piping foot and start sewing. Start sewing 1. Carefully guide the fabric and piping tape by hands during sewing. 2. Turn both sides of the fabric after sewing. NOTE: For easy sewing, bast the both fabric and piping tape before sewing. Piping sewing is difficult at an acute angle. In case of wide piping tape, you should sew it with cutting the excess part. 5 ~ 6mm 5 ~ 6mm 32
-
 1
1 -
2
-
3
-
4
-
5
-
6
-
7
-
8
-
9
-
10
-
11
-
12
-
13
-
14
-
15
-
16
-
17
-
18
-
19
-
20
-
21
-
22
-
23
-
24
-
25
-
26
-
27
-
28
-
 29
29 -
 30
30 -
 31
31 -
 32
32 -
 33
33 -
 34
34 -
 35
35 -
 36
36 -
 37
37 -
 38
38 -
 39
39 -
40
-
41
-
42
-
43
-
44
-
45
-
46
-
47
-
48
-
49
-
50
-
51
-
52
-
53
-
54
-
55
-
56
-
57
-
58
-
59
-
60
-
61
-
62
-
63
-
64
-
65
-
66
-
67
-
68
-
69
-
70
-
71
-
72
-
73
-
74
-
75
-
76
 |
 |