Canon PIXMA MP640R MP640 series Getting Started - Page 26
Easy settings, Select the access point name you wrote
 |
View all Canon PIXMA MP640R manuals
Add to My Manuals
Save this manual to your list of manuals |
Page 26 highlights
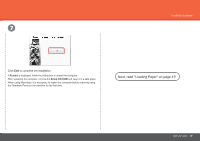
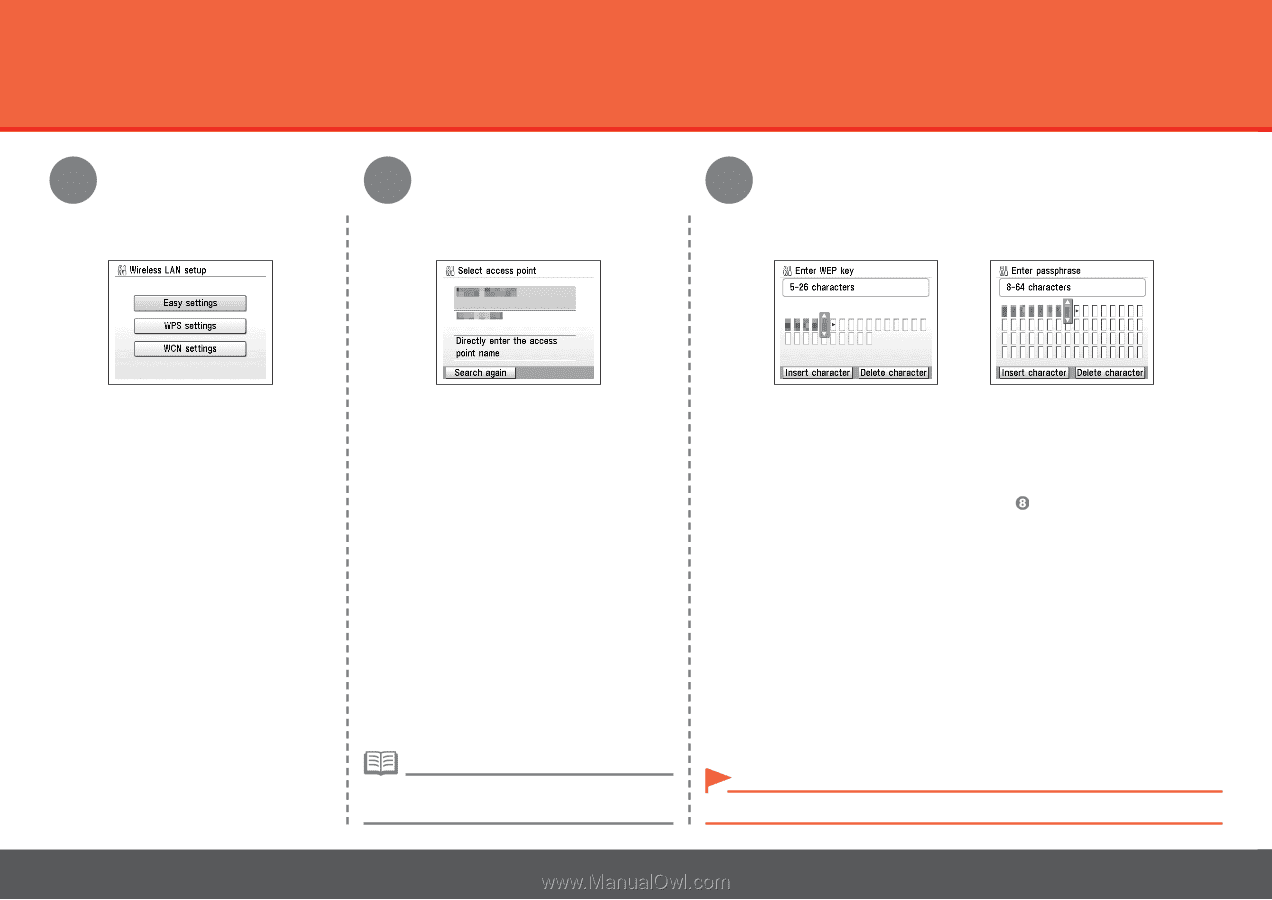
Wireless Setup 4 5 6 Select Easy settings, then press the OK button. Select the access point name you wrote down on page 22, then press the OK button. When one of the above screens is displayed, enter the network key you wrote down on page 22, then press the OK button. If the above screen is not displayed, go to step . Use the Easy-Scroll Wheel to select the character. Use the ] button to move the cursor to the right. 24 Network Connection • If you are living in an apartment, nearby access points in use may be detected. • Enter upper and lower case letters of the alphabet correctly.
-
 1
1 -
2
-
3
-
4
-
5
-
6
-
7
-
8
-
9
-
10
-
11
-
12
-
13
-
14
-
15
-
16
-
17
-
18
-
19
-
20
-
 21
21 -
 22
22 -
 23
23 -
 24
24 -
 25
25 -
 26
26 -
 27
27 -
 28
28 -
 29
29 -
 30
30 -
 31
31 -
32
-
33
-
34
-
35
-
36
-
37
-
38
-
39
-
40
-
41
-
42
-
43
-
44
-
45
-
46
-
47
-
48
-
49
-
50
-
51
-
52
-
53
-
54
-
55
-
56
-
57
-
58
-
59
-
60
-
61
-
62
-
63
-
64
 |
 |
²´
4
5
6
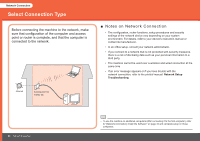
Network Connection
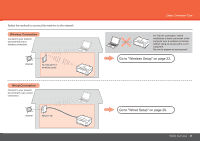
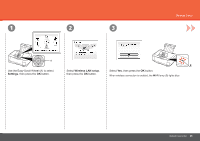
Wireless Setup
Select
Easy settings
, then press the
OK
button.
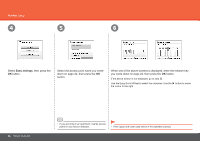
When one of the above screens is displayed, enter the network key
you wrote down on page 22, then press the
OK
button.
If the above screen is not displayed, go to step
.
If you are living in an apartment, nearby access
points in use may be detected.
•
Select the access point name you wrote
down on page 22, then press the
OK
button.
Enter upper and lower case letters of the alphabet correctly.
•
Use the Easy-Scroll Wheel to select the character. Use the
]
button to move
the cursor to the right.