Canon PIXMA MX870 MX870 series Getting Started - Page 13
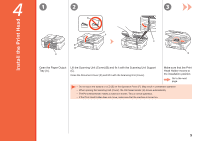
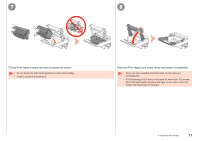
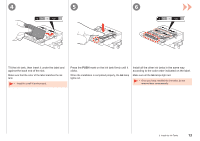
Tilt the Print Head forward and set it in place as shown.
 |
UPC - 013803119015
View all Canon PIXMA MX870 manuals
Add to My Manuals
Save this manual to your list of manuals |
Page 13 highlights
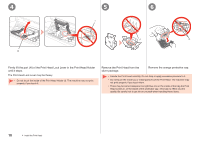
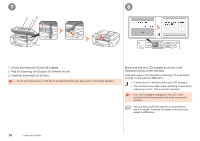
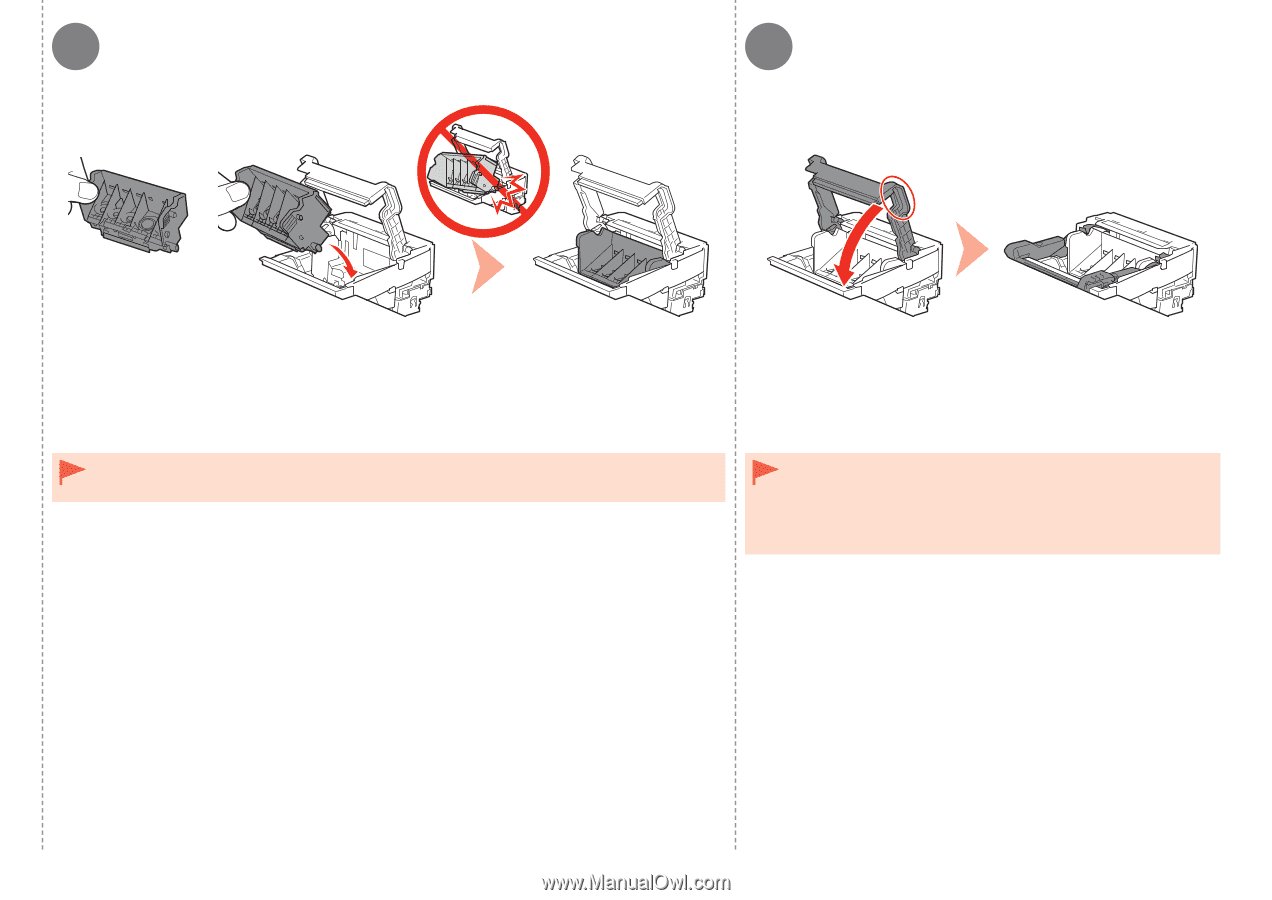
7 8 Tilt the Print Head forward and set it in place as shown. • Do not knock the Print Head against the sides of the holder. • Install in a well-lit environment. Hold the Print Head Lock Lever firmly and lower it completely. • Once you have installed the Print Head, do not remove it unnecessarily. • If the Scanning Unit (Cover) is left open for more than 10 minutes, the Print Head Holder moves to the right. In this case, close and reopen the Scanning Unit (Cover). 4 Install the Print Head 11
-
 1
1 -
2
-
3
-
4
-
5
-
6
-
7
-
 8
8 -
 9
9 -
 10
10 -
 11
11 -
 12
12 -
 13
13 -
 14
14 -
 15
15 -
 16
16 -
 17
17 -
 18
18 -
19
-
20
-
21
-
22
-
23
-
24
-
25
-
26
-
27
-
28
-
29
-
30
-
31
-
32
-
33
-
34
-
35
-
36
-
37
-
38
-
39
-
40
-
41
-
42
-
43
-
44
-
45
-
46
-
47
-
48
-
49
-
50
-
51
-
52
-
53
-
54
-
55
-
56
-
57
-
58
-
59
-
60
-
61
-
62
-
63
-
64
-
65
-
66
-
67
 |
 |
7
8
11
4
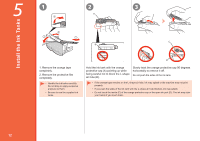
Install the Print Head
Tilt the Print Head forward and set it in place as shown.
Hold the Print Head Lock Lever firmly and lower it completely.
Do not knock the Print Head against the sides of the holder.
Install in a well-lit environment.
•
•
Once you have installed the Print Head, do not remove it
unnecessarily.
If the Scanning Unit (Cover) is left open for more than 10 minutes,
the Print Head Holder moves to the right. In this case, close and
reopen the Scanning Unit (Cover).
•
•