Compaq ProLiant 1000 Compaq IDE CD-ROM Drive for Servers and Workstations Inst - Page 27
Step 4 - Connecting the Cables, Vertical Orientation, Securing the Drive
 |
View all Compaq ProLiant 1000 manuals
Add to My Manuals
Save this manual to your list of manuals |
Page 27 highlights
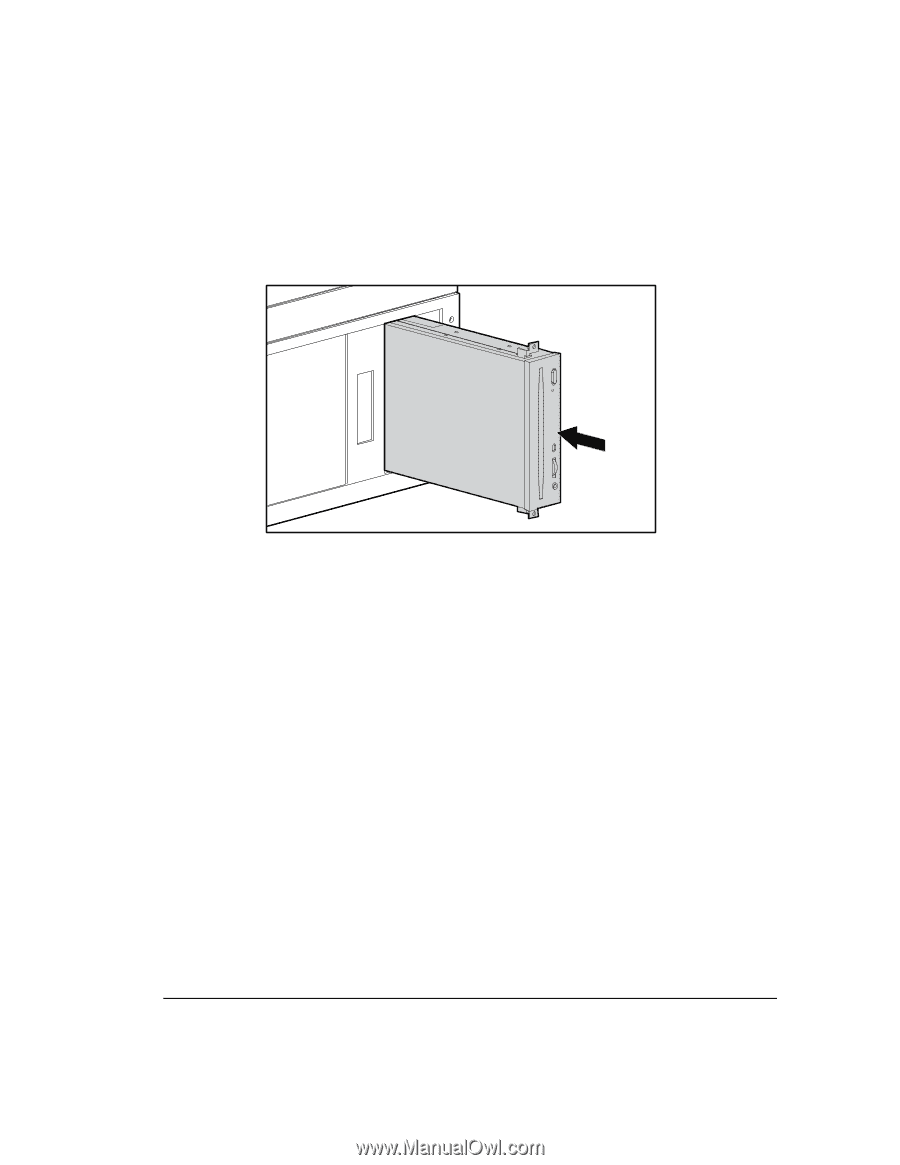
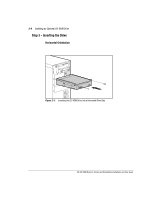
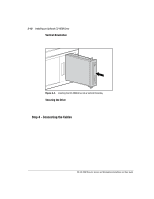
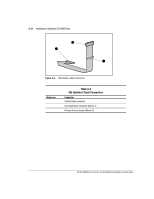
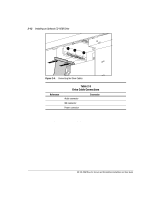
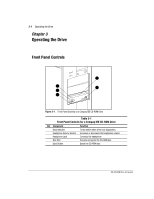
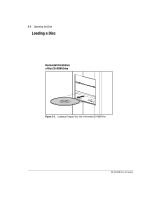
2-10 Installing an Optional CD-ROM Drive Vertical Orientation Position the drive on the drive guides, then slide it into the drive bay, as indicated. Figure 2-4. Inserting the CD-ROM Drive into a Vertical Drive Bay Securing the Drive Secure the drive to the computer with the 2 retaining screws provided in this kit, or with the retaining screws from the front bezel. Step 4 - Connecting the Cables If a 2-device IDE cable was not shipped with your system, use one of the 2-device IDE cables supplied with this kit to connect your IDE devices. These cables are identical, except in length. It is a good idea to save your 1-device IDE cable for future use. Note the position of each connector on the IDE interface cable supplied with your kit, as indicated in Figure 2-5. IDE CD-ROM Drive for Servers and Workstations Installation and User Guide
-
 1
1 -
2
-
3
-
4
-
5
-
6
-
7
-
8
-
9
-
10
-
11
-
12
-
13
-
14
-
15
-
16
-
17
-
18
-
19
-
20
-
21
-
 22
22 -
 23
23 -
 24
24 -
 25
25 -
 26
26 -
 27
27 -
 28
28 -
 29
29 -
 30
30 -
 31
31 -
 32
32 -
33
-
34
-
35
-
36
-
37
-
38
-
39
-
40
-
41
-
42
-
43
-
44
-
45
-
46
-
47
-
48
-
49
-
50
-
51
-
52
-
53
 |
 |