Epson BrightLink 585Wi Operation Guide - EasyMP Network Updater - Page 11
EasyMP Network Updater Ver.X.XX, Edit Projector List
 |
View all Epson BrightLink 585Wi manuals
Add to My Manuals
Save this manual to your list of manuals |
Page 11 highlights
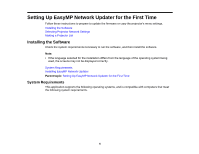
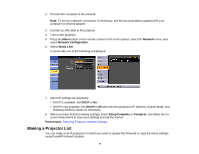
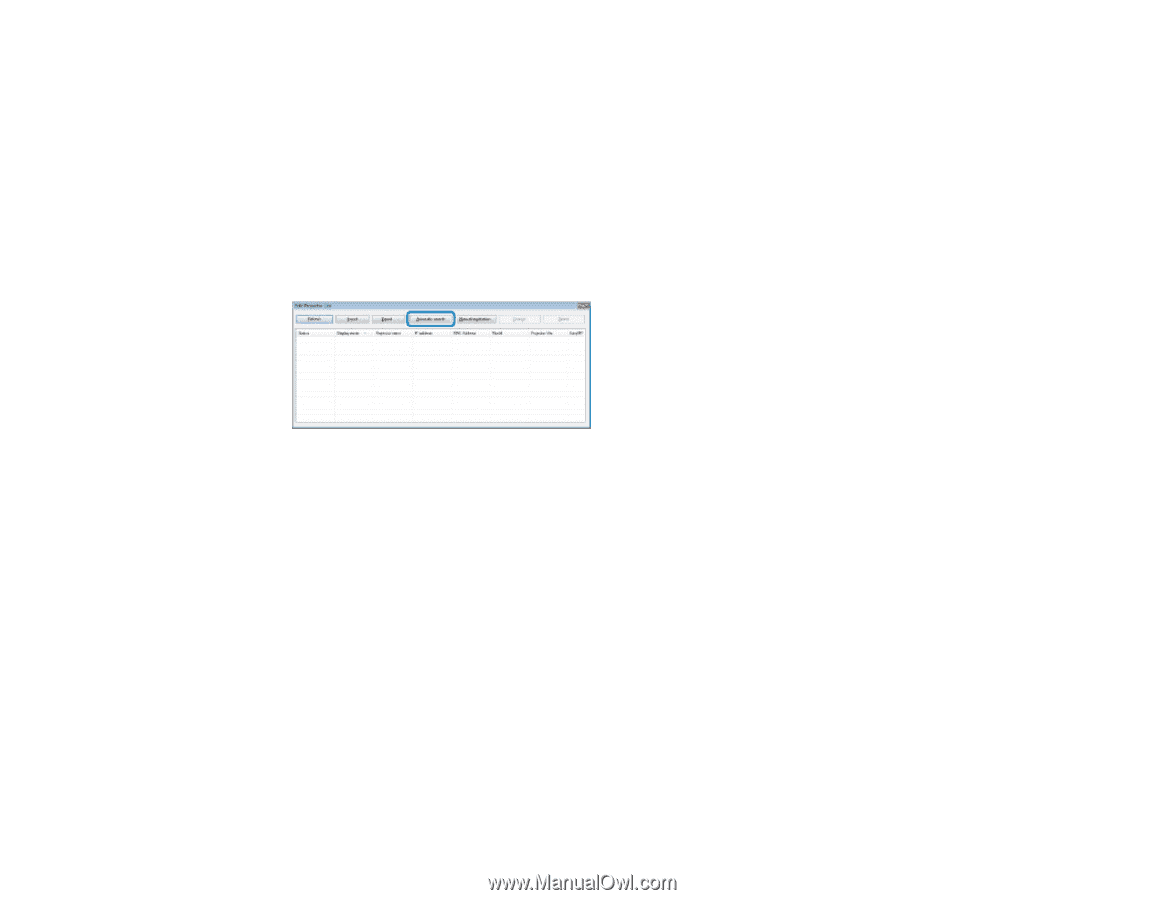
1. Start EasyMP Network Updater. • Windows XP, Windows Vista, and Windows 7: Click Start, select Programs (or All Programs), EPSON Projector, EasyMP Network Updater, and then click EasyMP Network Updater Ver.X.XX. • Windows 8.x: Navigate to the Apps screen and select EasyMP Network Updater Ver.X.XX. EasyMP Network Updater starts. 2. Open the Edit menu, and then click Edit Projector List. The Edit Projector List screen is displayed. 3. Click Automatic search. The Create new projector (auto registration) screen is displayed. 4. Perform one of the following operations. • Setting an IP address range: Select Specify an address range and search. Enter an IP address in Start address and End address, and then click Search. 11
-
 1
1 -
2
-
3
-
4
-
5
-
 6
6 -
 7
7 -
 8
8 -
 9
9 -
 10
10 -
 11
11 -
 12
12 -
 13
13 -
 14
14 -
 15
15 -
 16
16 -
17
-
18
-
19
-
20
-
21
-
22
-
23
-
24
-
25
-
26
-
27
-
28
-
29
-
30
-
31
-
32
-
33
-
34
-
35
-
36
-
37
-
38
-
39
-
40
-
41
-
42
-
43
-
44
-
45
-
46
-
47
-
48
-
49
-
50
-
51
-
52
-
53
 |
 |
1.
Start EasyMP Network Updater.
•
Windows XP
,
Windows Vista
, and
Windows 7
: Click
Start
, select
Programs
(or
All Programs
),
EPSON Projector
,
EasyMP Network Updater
, and then click
EasyMP Network Updater
Ver.X.XX
.
•
Windows 8.x
: Navigate to the
Apps
screen and select
EasyMP Network Updater Ver.X.XX
.
EasyMP Network Updater starts.
2.
Open the
Edit
menu, and then click
Edit Projector List
.
The
Edit Projector List
screen is displayed.
3.
Click
Automatic search
.
The
Create new projector (auto registration)
screen is displayed.
4.
Perform one of the following operations.
• Setting an IP address range: Select
Specify an address range and search
. Enter an IP address
in
Start address
and
End address
, and then click
Search
.
11