Epson BrightLink 585Wi Operation Guide - EasyMP Network Updater - Page 21
EasyMP Network Updater, All Programs
 |
View all Epson BrightLink 585Wi manuals
Add to My Manuals
Save this manual to your list of manuals |
Page 21 highlights
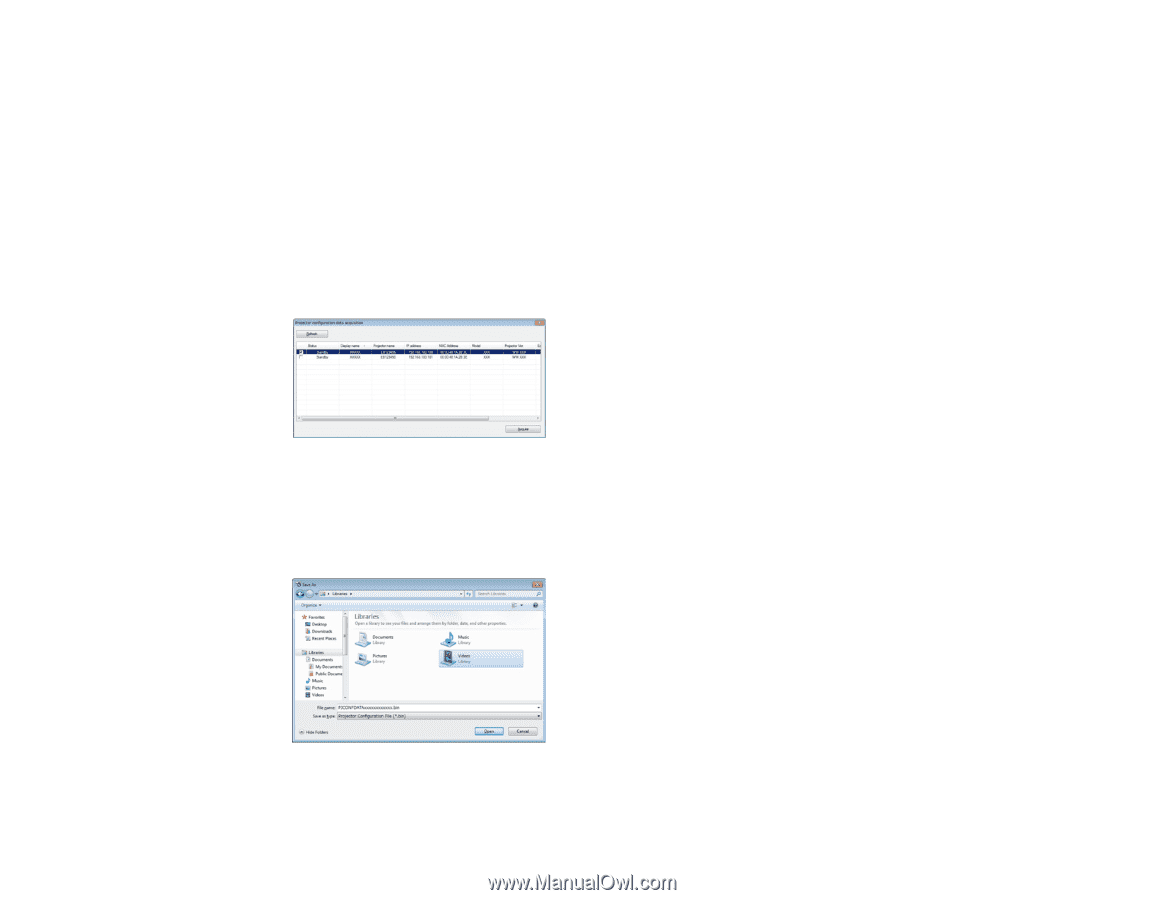
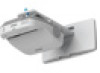
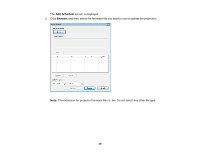
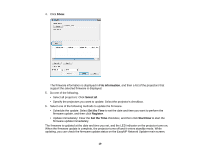
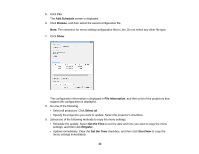
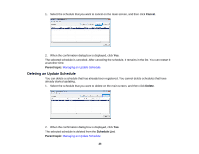
1. Start EasyMP Network Updater. • Windows XP, Windows Vista, and Windows 7: Click Start, select Programs (or All Programs), EPSON Projector, EasyMP Network Updater, and then click EasyMP Network Updater Ver.X.XX. • Windows 8 or Windows 8.1: Navigate to the Apps screen and select EasyMP Network Updater Ver.X.XX. EasyMP Network Updater starts. 2. Open the Tool menu and select Projector configuration data acquisition. The Projector configuration data acquisition screen is displayed. 3. Select the projector from which you want to copy the menu settings and click Acquire. Note: If you do not see the projector, make sure the projector is on and click Refresh. The Save As screen appears. 4. Name the projector menu setting configuration file and click Save to save it on your computer. You see a message asking if you want to apply the menu settings to another projector. 21
-
 1
1 -
2
-
3
-
4
-
5
-
6
-
7
-
8
-
9
-
10
-
11
-
12
-
13
-
14
-
15
-
 16
16 -
 17
17 -
 18
18 -
 19
19 -
 20
20 -
 21
21 -
 22
22 -
 23
23 -
 24
24 -
 25
25 -
 26
26 -
27
-
28
-
29
-
30
-
31
-
32
-
33
-
34
-
35
-
36
-
37
-
38
-
39
-
40
-
41
-
42
-
43
-
44
-
45
-
46
-
47
-
48
-
49
-
50
-
51
-
52
-
53
 |
 |