Epson PowerLite 1770W User's Guide - Page 88
Starting a Slide Show or Presentation, Slideshow, Option, Enter
 |
View all Epson PowerLite 1770W manuals
Add to My Manuals
Save this manual to your list of manuals |
Page 88 highlights
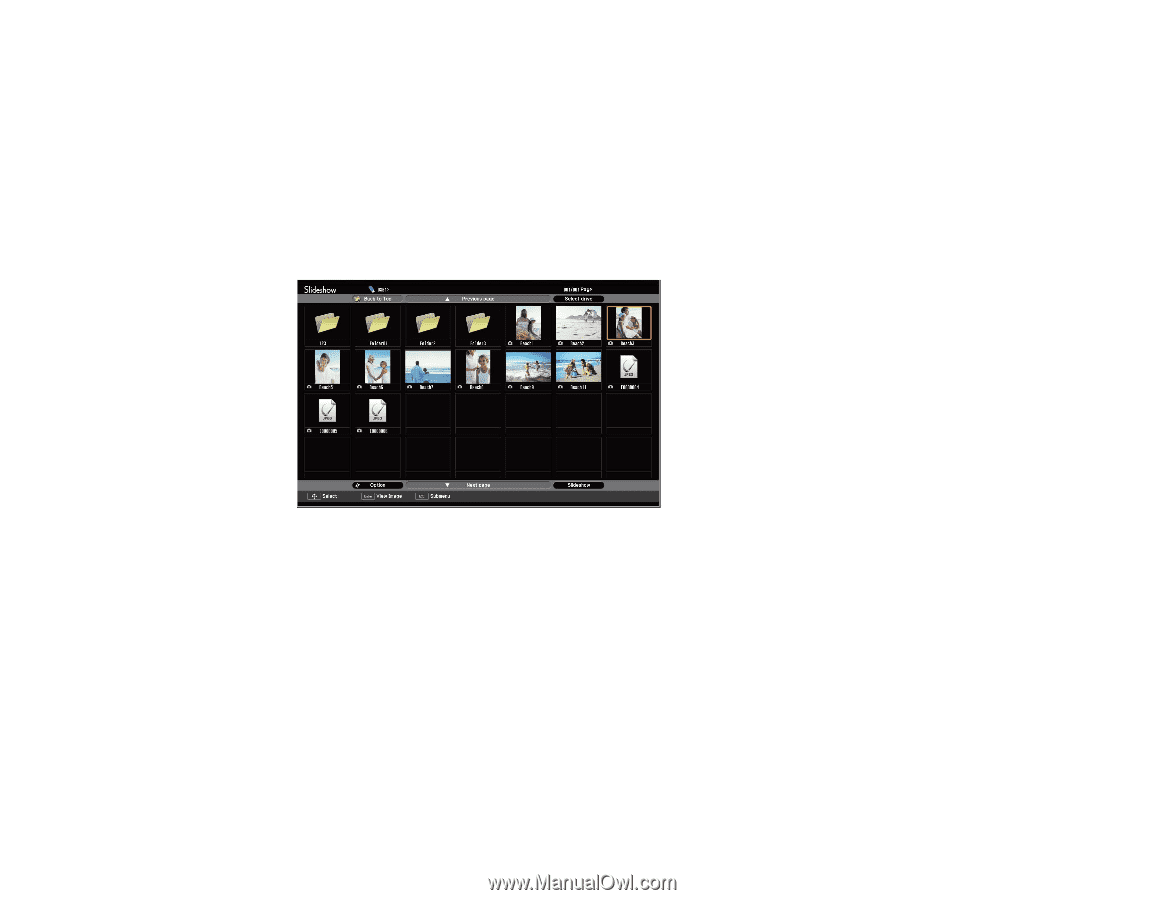
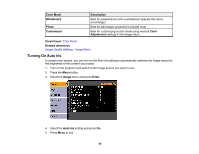
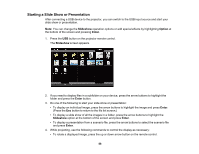
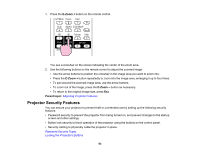
Starting a Slide Show or Presentation After connecting a USB device to the projector, you can switch to the USB input source and start your slide show or presentation. Note: You can change the Slideshow operation options or add special effects by highlighting Option at the bottom of the screen and pressing Enter. 1. Press the USB button on the projector remote control. The Slideshow screen appears. 2. If you need to display files in a subfolder on your device, press the arrow buttons to highlight the folder and press the Enter button. 3. Do one of the following to start your slide show or presentation: • To display an individual image, press the arrow buttons to highlight the image and press Enter. (Press the Esc button to return to the file list screen.) • To display a slide show of all the images in a folder, press the arrow buttons to highlight the Slideshow option at the bottom of the screen and press Enter. • To display a presentation from a scenario file, press the arrow buttons to select the scenario file and press Enter. 4. While projecting, use the following commands to control the display as necessary: • To rotate a displayed image, press the up or down arrow button on the remote control. 88
-
 1
1 -
2
-
3
-
4
-
5
-
6
-
7
-
8
-
9
-
10
-
11
-
12
-
13
-
14
-
15
-
16
-
17
-
18
-
19
-
20
-
21
-
22
-
23
-
24
-
25
-
26
-
27
-
28
-
29
-
30
-
31
-
32
-
33
-
34
-
35
-
36
-
37
-
38
-
39
-
40
-
41
-
42
-
43
-
44
-
45
-
46
-
47
-
48
-
49
-
50
-
51
-
52
-
53
-
54
-
55
-
56
-
57
-
58
-
59
-
60
-
61
-
62
-
63
-
64
-
65
-
66
-
67
-
68
-
69
-
70
-
71
-
72
-
73
-
74
-
75
-
76
-
77
-
78
-
79
-
80
-
81
-
82
-
 83
83 -
 84
84 -
 85
85 -
 86
86 -
 87
87 -
 88
88 -
 89
89 -
 90
90 -
 91
91 -
 92
92 -
 93
93 -
94
-
95
-
96
-
97
-
98
-
99
-
100
-
101
-
102
-
103
-
104
-
105
-
106
-
107
-
108
-
109
-
110
-
111
-
112
-
113
-
114
-
115
-
116
-
117
-
118
-
119
-
120
-
121
-
122
-
123
-
124
-
125
-
126
-
127
-
128
-
129
-
130
-
131
-
132
-
133
-
134
-
135
-
136
-
137
-
138
-
139
-
140
-
141
-
142
-
143
-
144
-
145
-
146
-
147
-
148
-
149
-
150
-
151
-
152
-
153
-
154
-
155
-
156
-
157
-
158
-
159
-
160
-
161
-
162
-
163
-
164
-
165
-
166
-
167
-
168
-
169
-
170
-
171
-
172
-
173
-
174
-
175
-
176
-
177
-
178
-
179
-
180
-
181
-
182
-
183
-
184
-
185
-
186
-
187
-
188
-
189
-
190
-
191
-
192
-
193
 |
 |