Epson PowerLite Pro Cinema 7500 UB User's Guide - Page 28
Choosing the Aspect Ratio - 1080p
 |
View all Epson PowerLite Pro Cinema 7500 UB manuals
Add to My Manuals
Save this manual to your list of manuals |
Page 28 highlights
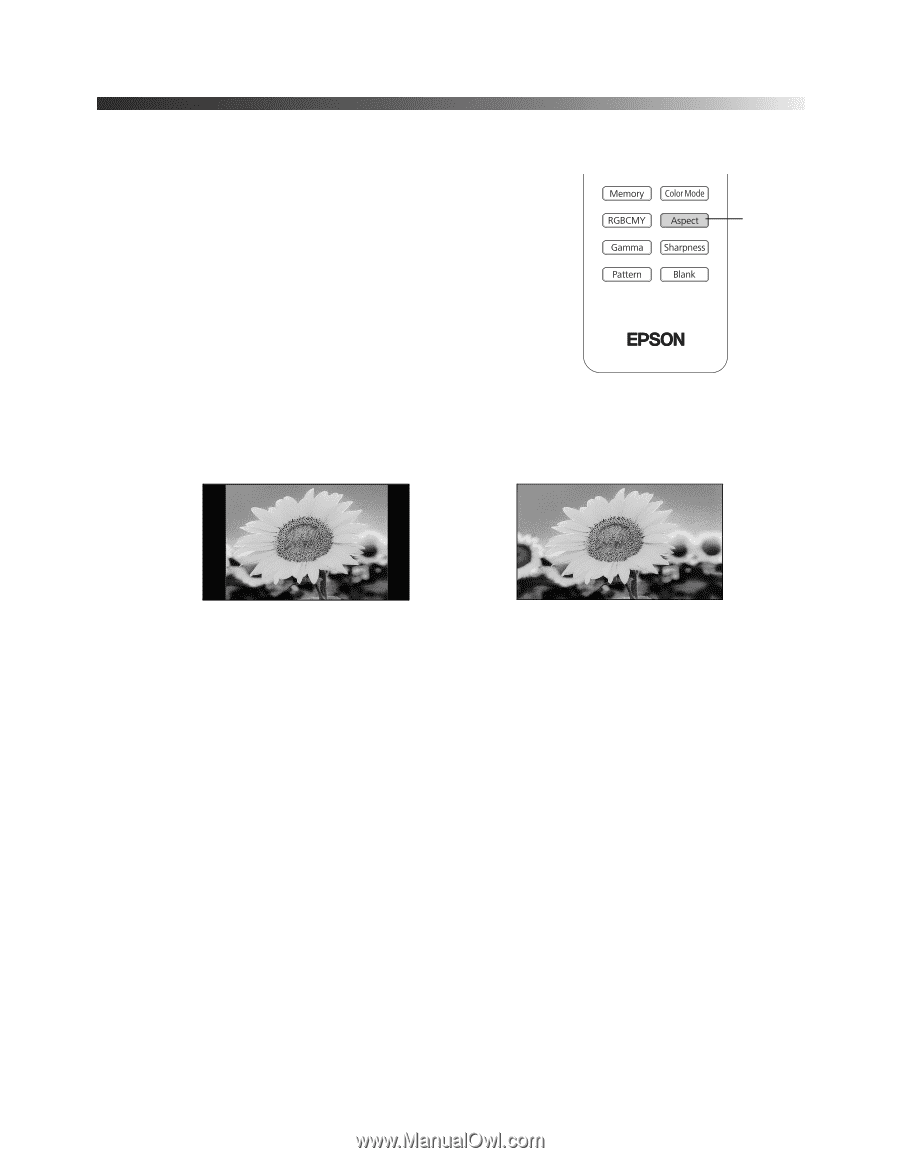
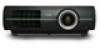
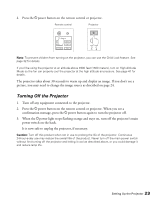
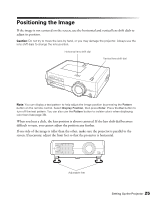
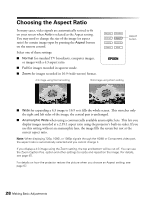
Choosing the Aspect Ratio In many cases, video signals are automatically resized to fit on your screen when Auto is selected as the Aspect setting. You may need to change the size of the image (or aspect ratio) for certain image types by pressing the Aspect button on the remote control. Select one of these settings: ■ Normal for standard TV broadcasts, computer images, or images with a 4:3 aspect ratio. ■ Full for images recorded in squeeze mode. ■ Zoom for images recorded in 16:9 (wide-screen) format. 4:3 image using Normal setting 16:9 image using Zoom setting Aspect button ■ Wide for expanding a 4:3 image to 16:9 so it fills the whole screen. This stretches only the right and left sides of the image; the central part is unchanged. ■ Anamorphic Wide when using a commercially available anamorphic lens. This lets you display images recorded at a 2.35:1 aspect ratio using the projector's built-in scaler. If you use this setting without an anamorphic lens, the image fills the screen but not at the correct aspect ratio. Note: When displaying 720p, 1080i, or 1080p signals through the HDMI or Component video port, the aspect ratio is automatically selected and you cannot change it. If you display a 4:3 image using the Zoom setting, the top and bottom will be cut off. You can use the Zoom Caption Pos. option and other settings to resize and reposition the image. For details, see page 45. For details on how the projector resizes the picture when you choose an Aspect setting, see page 67. 28 Making Basic Adjustments
-
 1
1 -
2
-
3
-
4
-
5
-
6
-
7
-
8
-
9
-
10
-
11
-
12
-
13
-
14
-
15
-
16
-
17
-
18
-
19
-
20
-
21
-
22
-
 23
23 -
 24
24 -
 25
25 -
 26
26 -
 27
27 -
 28
28 -
 29
29 -
 30
30 -
 31
31 -
 32
32 -
 33
33 -
34
-
35
-
36
-
37
-
38
-
39
-
40
-
41
-
42
-
43
-
44
-
45
-
46
-
47
-
48
-
49
-
50
-
51
-
52
-
53
-
54
-
55
-
56
-
57
-
58
-
59
-
60
-
61
-
62
-
63
-
64
-
65
-
66
-
67
-
68
-
69
-
70
-
71
-
72
-
73
-
74
-
75
-
76
-
77
-
78
-
79
-
80
 |
 |