Epson Stylus Pro User Setup Information - Mac - Page 18
Attaching the Paper Tray and Output Tray, Installing the Printer
 |
View all Epson Stylus Pro manuals
Add to My Manuals
Save this manual to your list of manuals |
Page 18 highlights
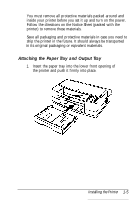
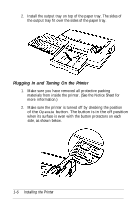
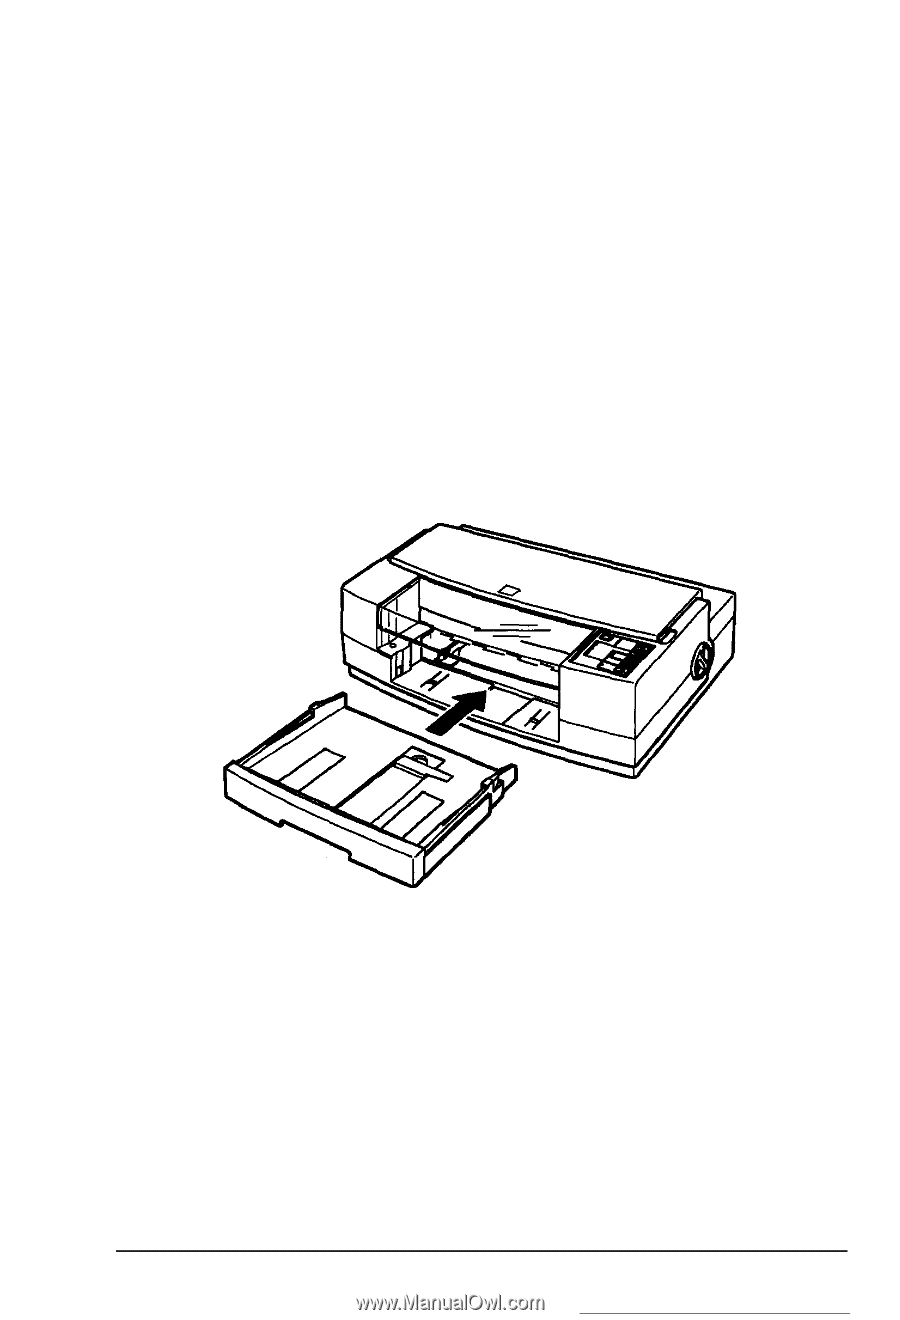
You must remove all protective materials packed around and inside your printer before you set it up and turn on the power. Follow the directions on the Notice Sheet (packed with the printer) to remove these materials. Save all packaging and protective materials in case you need to ship the printer in the future. It should always be transported in its original packaging or eqivalent materials. Attaching the Paper Tray and Output Tray 1. Insert the paper tray into the lower front opening of the printer and push it firmly into place. Installing the Printer 1-5
-
 1
1 -
2
-
3
-
4
-
5
-
6
-
7
-
8
-
9
-
10
-
11
-
12
-
 13
13 -
 14
14 -
 15
15 -
 16
16 -
 17
17 -
 18
18 -
 19
19 -
 20
20 -
 21
21 -
 22
22 -
 23
23 -
24
-
25
-
26
-
27
-
28
-
29
-
30
-
31
-
32
-
33
-
34
-
35
-
36
-
37
-
38
-
39
-
40
-
41
-
42
-
43
-
44
-
45
-
46
-
47
-
48
-
49
-
50
-
51
-
52
 |
 |
You must remove all protective materials packed around and
inside your printer before you set it up and turn on the power.
Follow the directions on the Notice Sheet (packed with the
printer) to remove these materials.
Save all packaging and protective materials in case you need to
ship the printer in the future. It should always be transported
in its original packaging or eqivalent materials.
Attaching the Paper Tray and Output Tray
1.
Insert the paper tray into the lower front opening of
the printer and push it firmly into place.
Installing the Printer
1-5