HP 418800-B21 HP StorageWorks 70 Modular Smart Array Enclosure maintenance and - Page 34
Installing the I/O module, Verifying component replacement, Before you begin, Verifying component
 |
UPC - 882780564640
View all HP 418800-B21 manuals
Add to My Manuals
Save this manual to your list of manuals |
Page 34 highlights
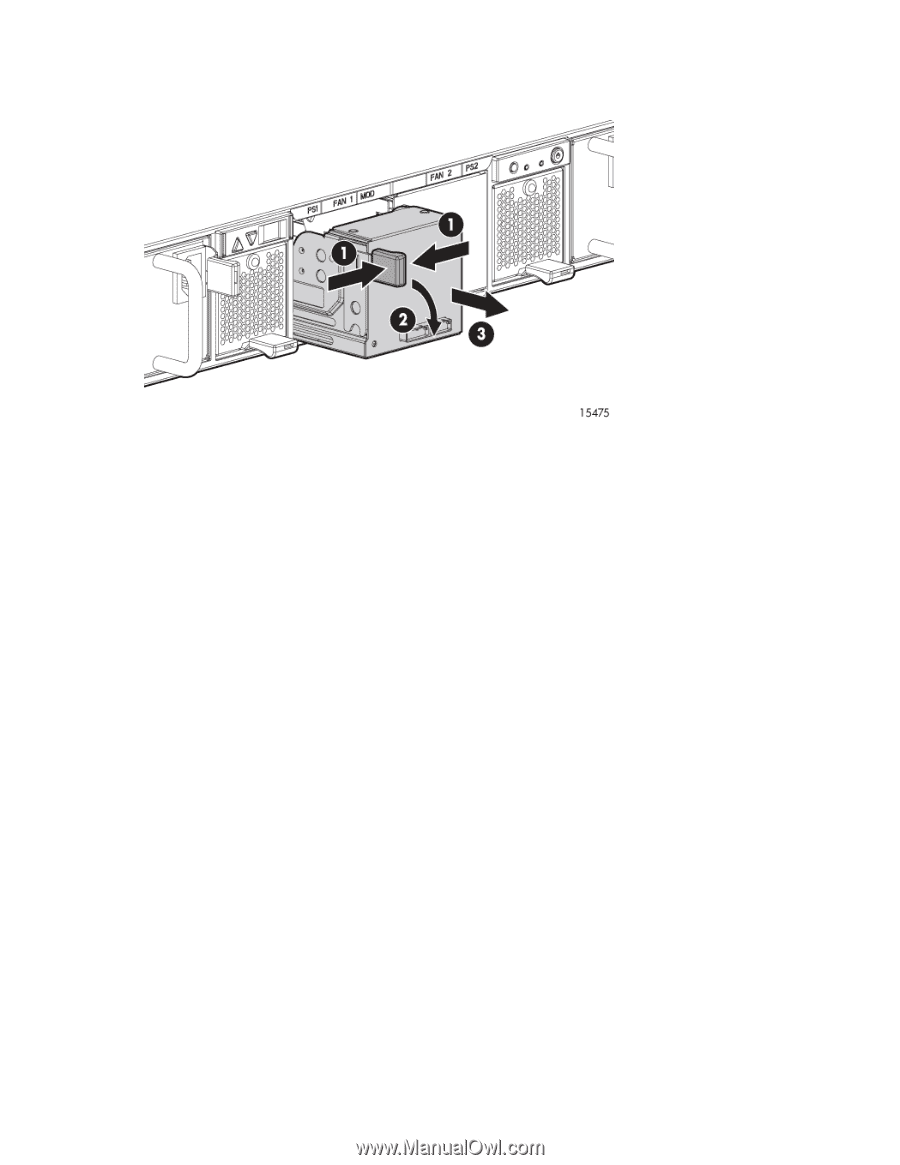
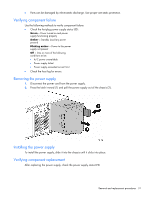
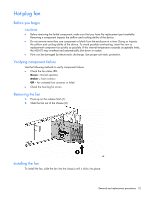
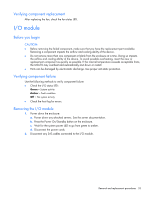
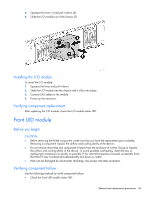
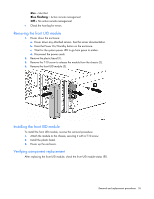
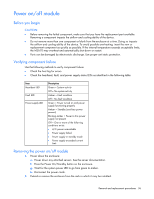
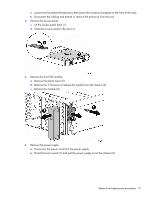
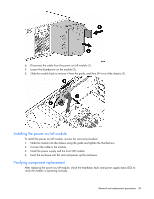
3. Squeeze the lever (1) and pull it down (2). 4. Slide the I/O module out of the chassis (3). Installing the I/O module To install the I/O module: 1. Squeeze the lever and pull it down. 2. Slide the I/O module into the chassis until it clicks into place. 3. Connect SAS cables to the module. 4. Power up the enclosure. Verifying component replacement After replacing the I/O module, check the I/O module status LED. Front UID module Before you begin CAUTION: • Before removing the failed component, make sure that you have the replacement part available. Removing a component impacts the airflow and cooling ability of the device. • Do not remove more than one component or blank from the enclosure at a time. Doing so impacts the airflow and cooling ability of the device. To avoid possible overheating, insert the new or replacement component as quickly as possible. If the internal temperature exceeds acceptable limits, the MSA70 may overheat and automatically shut down or restart. • Parts can be damaged by electrostatic discharge. Use proper anti-static protection. Verifying component failure Use the following methods to verify component failure: • Check the front UID module status LED: Removal and replacement procedures 34
-
 1
1 -
2
-
3
-
4
-
5
-
6
-
7
-
8
-
9
-
10
-
11
-
12
-
13
-
14
-
15
-
16
-
17
-
18
-
19
-
20
-
21
-
22
-
23
-
24
-
25
-
26
-
27
-
28
-
 29
29 -
 30
30 -
 31
31 -
 32
32 -
 33
33 -
 34
34 -
 35
35 -
 36
36 -
 37
37 -
 38
38 -
 39
39 -
40
-
41
-
42
-
43
-
44
-
45
-
46
-
47
-
48
-
49
-
50
-
51
-
52
-
53
-
54
-
55
-
56
-
57
-
58
-
59
-
60
-
61
-
62
-
63
 |
 |