HP HP-380467-003 Getting Started Guide - Page 91
Adding Images
 |
UPC - 846084030171
View all HP HP-380467-003 manuals
Add to My Manuals
Save this manual to your list of manuals |
Page 91 highlights
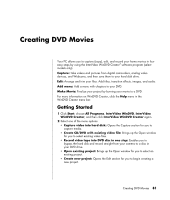
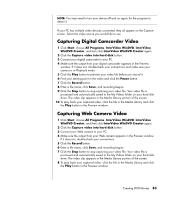
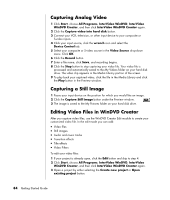
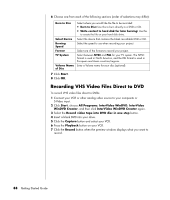
4 If you have already captured video for this project, drag and drop the video files from the Media Library to the Storyboard. If you have video files on your hard disk drive you would like to add to this project, click the Drag and Drop button. 5 If you do not like the sequence of the video files, drag and drop the files in the storyboard to change the sequence. Adding Images 1 Click the Image Library icon. 2 Click the Drag and Drop button to open the My Pictures folder on your hard disk drive. 3 Select the images from your hard disk you would like to add to your Image Library and click Open. 4 Drag and drop images from the Image Library to your storyboard. Click the following icons to edit still images and video files. Storyboard icons Group Expand Save Movie Edit Clip Merge Clip Split Clip Groups multiple images into one on the storyboard. Expands grouped images so they are all displayed on the storyboard. Records output directly to a DV camcorder. Or writes output to a file in your selected format. Trims a video clip: 1 Double-click a video clip on the Storyboard. 2 Adjust the sliders to cut off video at the beginning or the end. Merges a clip with the next clip. Splits a video clip: 1 Click the video clip you want to split. 2 Click the Play button in the Preview window. 3 Click the Split Clip icon at the point of the clip you want split. Creating DVD Movies 85
-
 1
1 -
2
-
3
-
4
-
5
-
6
-
7
-
8
-
9
-
10
-
11
-
12
-
13
-
14
-
15
-
16
-
17
-
18
-
19
-
20
-
21
-
22
-
23
-
24
-
25
-
26
-
27
-
28
-
29
-
30
-
31
-
32
-
33
-
34
-
35
-
36
-
37
-
38
-
39
-
40
-
41
-
42
-
43
-
44
-
45
-
46
-
47
-
48
-
49
-
50
-
51
-
52
-
53
-
54
-
55
-
56
-
57
-
58
-
59
-
60
-
61
-
62
-
63
-
64
-
65
-
66
-
67
-
68
-
69
-
70
-
71
-
72
-
73
-
74
-
75
-
76
-
77
-
78
-
79
-
80
-
81
-
82
-
83
-
84
-
85
-
 86
86 -
 87
87 -
 88
88 -
 89
89 -
 90
90 -
 91
91 -
 92
92 -
 93
93 -
 94
94 -
 95
95 -
 96
96 -
97
-
98
-
99
-
100
-
101
-
102
-
103
-
104
-
105
-
106
-
107
-
108
-
109
-
110
-
111
-
112
-
113
-
114
 |
 |
