HP LaserJet 4350 HP Embedded Web Server - User Guide - Page 42
Date & Time, Configuring the product from the Settings screens
 |
View all HP LaserJet 4350 manuals
Add to My Manuals
Save this manual to your list of manuals |
Page 42 highlights
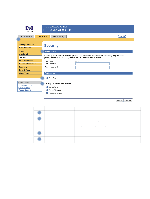
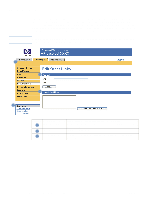
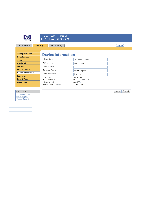
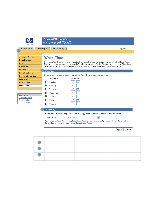
Date & Time Use the Date & Time screen to update the product time. The following illustration and table describe how to use this screen. 1 2 4 3 Callout Area on the screen 1 EWS tabs and menus 2 Current Date and Current Time 3 Date/Time Format 4 Get Time Information or capability that the area provides For more information, see "Navigating through the HP Embedded Web Server" on page 5. Shows the product date and time when the EWS was opened. If either is incorrect, an IT administrator can change the information at the product control panel. Click this button to open a screen where you can select the date and time format. Click this button to update the product date and time on the screen. 36 Configuring the product from the Settings screens ENWW
-
 1
1 -
2
-
3
-
4
-
5
-
6
-
7
-
8
-
9
-
10
-
11
-
12
-
13
-
14
-
15
-
16
-
17
-
18
-
19
-
20
-
21
-
22
-
23
-
24
-
25
-
26
-
27
-
28
-
29
-
30
-
31
-
32
-
33
-
34
-
35
-
36
-
 37
37 -
 38
38 -
 39
39 -
 40
40 -
 41
41 -
 42
42 -
 43
43 -
 44
44 -
 45
45 -
 46
46 -
 47
47 -
48
-
49
-
50
-
51
-
52
-
53
-
54
-
55
-
56
 |
 |
