HP ProBook 4525s Installing SATA Drivers on HP Notebook PCs - White Paper - Page 14
How to Obtain SATA Device IDs, Where these guidelines are applicable - only boots to
 |
View all HP ProBook 4525s manuals
Add to My Manuals
Save this manual to your list of manuals |
Page 14 highlights
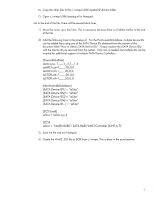
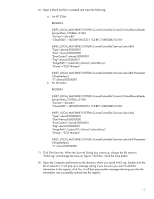
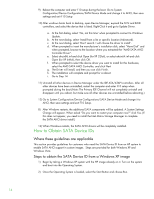
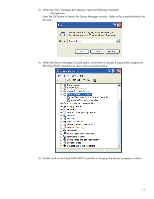
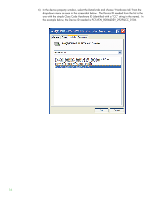
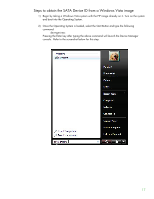
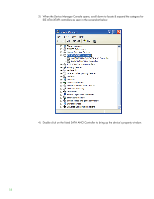
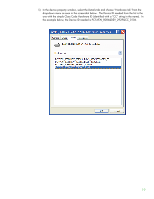
9) Reboot the computer and enter F10 setup during the boot. Go to System Configuration/Device Configurations/SATA Device Mode and change it to AHCI, then save settings and exit F10 Setup 10) After windows boots back to desktop, open Device Manager, expand the SCSI and RAID controllers, and select the device that is listed. Right-Click it and go to Update Driver. a. At the first dialog, select 'No, not this time' when prompted to connect to Windows Update. b. At the next dialog, select 'Install from a list or specific location (Advanced). c. At the next dialog, select 'Don't search. I will choose the driver to install'. d. When prompted to insert the manufacturer's installation disk, select "Have Disk" and when prompted, browse to the location where you extracted the "AMD SATA AHCI Controller Driver". e. Select ahcix86.inf and click Open (for XP 32-bit), or select ahcix64.inf and click Open (for XP 64-bit), then click OK. f. When prompted to select the device driver you want to install for this hardware, select the AMD SATA AHCI Controller, and click Next g. The Driver will install, and then you can click Finish. h. The installation will complete and prompt for a reboot. i. Go to Step 14 11) Uninstall all other devices in Device Manager under the IDE ATA/ATAPI controllers. After all other devices have been uninstalled, restart the computer and enter F10 setup when prompted during the boot.(Note: The Primary IDE Channel will not completely uninstall and disappear until you reboot, but make sure all other devices are uninstalled before rebooting.) 12) Go to System Configuration/Device Configurations/SATA Device Mode and change it to AHCI, then save settings and exit F10 Setup. 8) After Windows restarts, the additional SATA components will be updated. A System Settings Change will appear. When asked "Do you want to restart your computer now?" click Yes. (If this does not appear, you need to install the Intel Matrix Storage Manager to complete the SATA AHCI driver install.) 14) When Windows restarts, the SATA AHCI drivers will be completely installed. How to Obtain SATA Device IDs Where these guidelines are applicable This section provides guidelines for customers who need the SATA Device ID from an HP system to enable SATA AHCI support in custom images. Steps are provided for both Windows XP and Windows Vista. Steps to obtain the SATA Device ID from a Windows XP image 1) Begin by taking a Windows XP system with the HP image already on it. Turn on the system and boot into the Operating System. 2) Once the Operating System is loaded, select the Start Button and choose Run. 14
-
 1
1 -
2
-
3
-
4
-
5
-
6
-
7
-
8
-
 9
9 -
 10
10 -
 11
11 -
 12
12 -
 13
13 -
 14
14 -
 15
15 -
 16
16 -
 17
17 -
 18
18 -
 19
19 -
20
 |
 |
