Konica Minolta Kodak i4600 User Guide - Page 26
Running a print test, Start>Programs>Kodak>Document Imaging>Scan Validation, TWAIN
 |
View all Konica Minolta Kodak i4600 manuals
Add to My Manuals
Save this manual to your list of manuals |
Page 26 highlights
6. Slide the printer carrier into the desired print position. See the section entitled, "Changing print positions" later in this chapter for more information. 7. Close the printer access cover and reinstall the output tray. 8. Run a print test (see the next section). Running a print test You can only run a print test by using the Kodak Scan Validation Tool. 1. Place a blank sheet of paper in the input elevator. 2. Ensure that the ink cartridge is properly installed. 3. Select Start>Programs>Kodak>Document Imaging>Scan Validation Tool. 4. Select TWAIN for the Driver Type and the KODAK Scanner: i4000. The Scan Validation Tool dialog box will be displayed. A-61651 November 2010 4-5
-
 1
1 -
2
-
3
-
4
-
5
-
6
-
7
-
8
-
9
-
10
-
11
-
12
-
13
-
14
-
15
-
16
-
17
-
18
-
19
-
20
-
 21
21 -
 22
22 -
 23
23 -
 24
24 -
 25
25 -
 26
26 -
 27
27 -
 28
28 -
 29
29 -
 30
30 -
 31
31 -
32
-
33
-
34
-
35
-
36
-
37
-
38
-
39
-
40
-
41
-
42
-
43
-
44
-
45
-
46
-
47
-
48
-
49
-
50
-
51
-
52
-
53
-
54
-
55
-
56
-
57
-
58
-
59
 |
 |
A-61651
November 2010
4-5
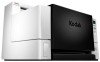
6.
Slide the printer carrier into the desired print position. See the section
entitled, “Changing print positions” later in this chapter for more
information.
7.
Close the printer access cover and reinstall the output tray.
8.
Run a print test (see the next section).
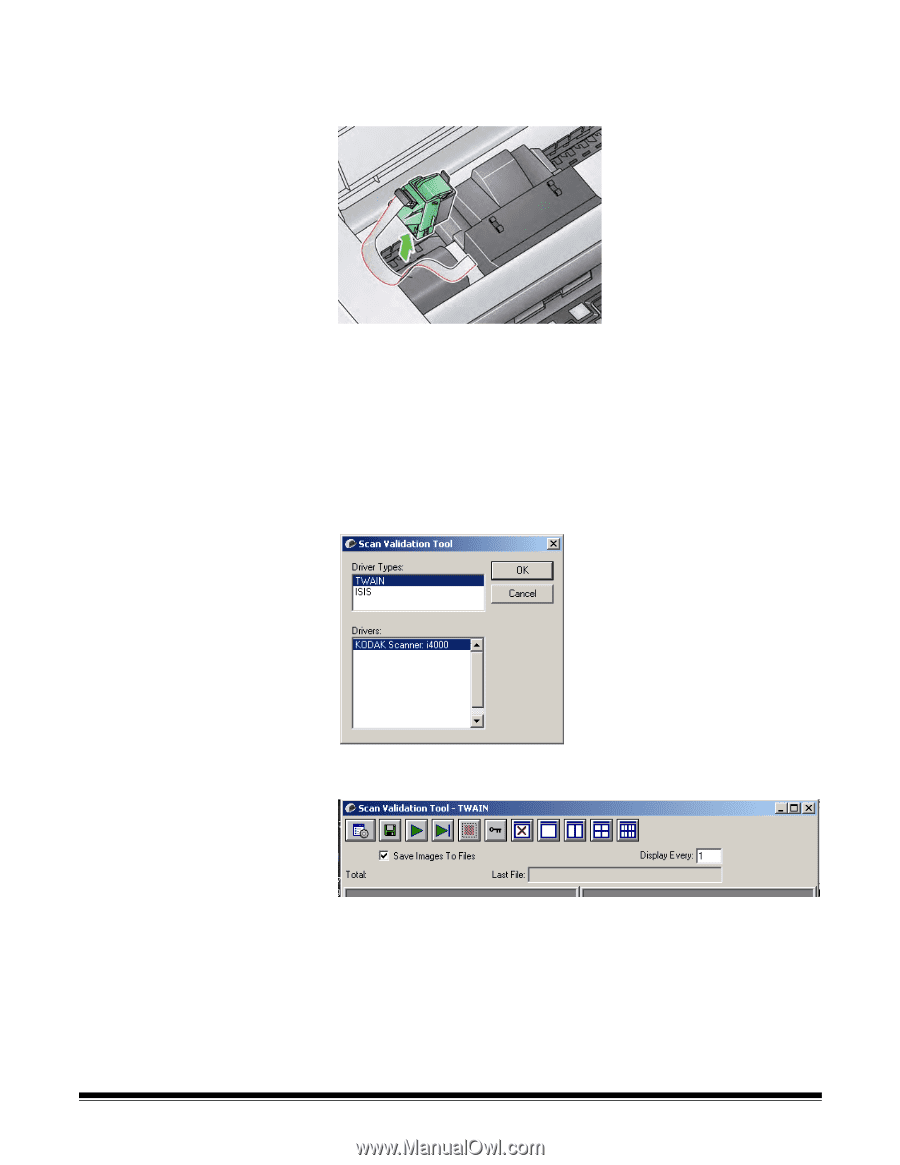
Running a print test
You can only run a print test by using the
Kodak
Scan Validation Tool.
1.
Place a blank sheet of paper in the input elevator.
2.
Ensure that the ink cartridge is properly installed.
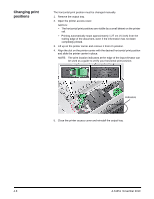
3.
Select
Start>Programs>Kodak>Document Imaging>Scan Validation
Tool
.
4.
Select
TWAIN
for the Driver Type and the
KODAK Scanner: i4000
. The
Scan Validation Tool dialog box will be displayed.