Konica Minolta bizhub C3110 bizhub C3110 Scan Functions User Guide - Page 10
Specifying a destination
 |
View all Konica Minolta bizhub C3110 manuals
Add to My Manuals
Save this manual to your list of manuals |
Page 10 highlights
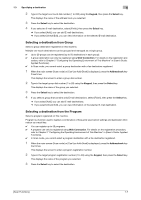
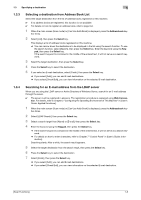
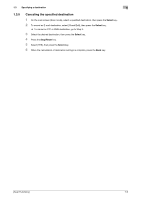
1.3 Specifying a destination 1 1.3 Specifying a destination dReference For details on Save to HDD, refer to page 5-2. For details on Save to USB Memory, refer to page 6-2. For details on WS Scan, refer to page 7-2. 1.3.1 Directly entering data Enter the destination mail address. 0 SMB or FTP destinations cannot be specified using Direct Input. 1 When the main screen (Scan mode) is displayed, enter the destination E-mail address using the Key- pad. % For details on how to enter characters, refer to Chapter 7 "Control Panel" in [User's Guide: Intro- duction]. 2 Press the Select key to confirm the destination. 3 Select [Finish], then press the Select key. % If you select [Add], you can add E-mail destinations. % If you select [Check/Edit], you can view information on the selected E-mail destination. Tips To edit the destination that has been directly entered, select the target destination on the main screen (Scan mode), then select [Check/Edit] on the displayed menu. 1.3.2 Selecting a destination from the registered addresses Selecting a destination from Favorites Select a destination registered on this machine. Selecting [Favorites] displays the destinations registered in Favorites. 0 For details on how to register an address book, refer to page 9-2. 1 When the main screen (Scan mode) or [Can Use Addr Book] is displayed, press the Addressbook key. This displays a list of destinations registered in Favorites. 2 Select the target destination, then press the Select key. 3 Press the Select key to select the destination. 4 If you select an E-mail destination, select [Finish], then press the Select key. % If you select [Add], you can add E-mail destinations. % If you select [Check/Edit], you can view information on the selected E-mail destination. Selecting a destination from Address Book Select an address book registered on this machine. 0 Up to 250 address books can be registered. 0 For details on how to register an address book, refer to page 9-2. 1 When the main screen (Scan mode) or [Can Use Addr Book] is displayed, press the Addressbook key twice. This displays the screen to enter a one-touch dial number. [Scan Functions] 1-6
-
 1
1 -
2
-
3
-
4
-
 5
5 -
 6
6 -
 7
7 -
 8
8 -
 9
9 -
 10
10 -
 11
11 -
 12
12 -
 13
13 -
 14
14 -
 15
15 -
16
-
17
-
18
-
19
-
20
-
21
-
22
-
23
-
24
-
25
-
26
-
27
-
28
-
29
-
30
-
31
-
32
-
33
-
34
-
35
-
36
-
37
-
38
-
39
-
40
-
41
-
42
-
43
-
44
-
45
-
46
-
47
-
48
-
49
-
50
-
51
-
52
-
53
-
54
-
55
-
56
-
57
-
58
-
59
-
60
-
61
-
62
-
63
-
64
-
65
-
66
-
67
-
68
-
69
-
70
-
71
-
72
-
73
-
74
-
75
-
76
-
77
 |
 |
