Konica Minolta bizhub C552 AU-211P Authentication Unit User Guide for bizhub C - Page 40
Encrypting an E-Mail and Adding a Digital Signature
 |
View all Konica Minolta bizhub C552 manuals
Add to My Manuals
Save this manual to your list of manuals |
Page 40 highlights
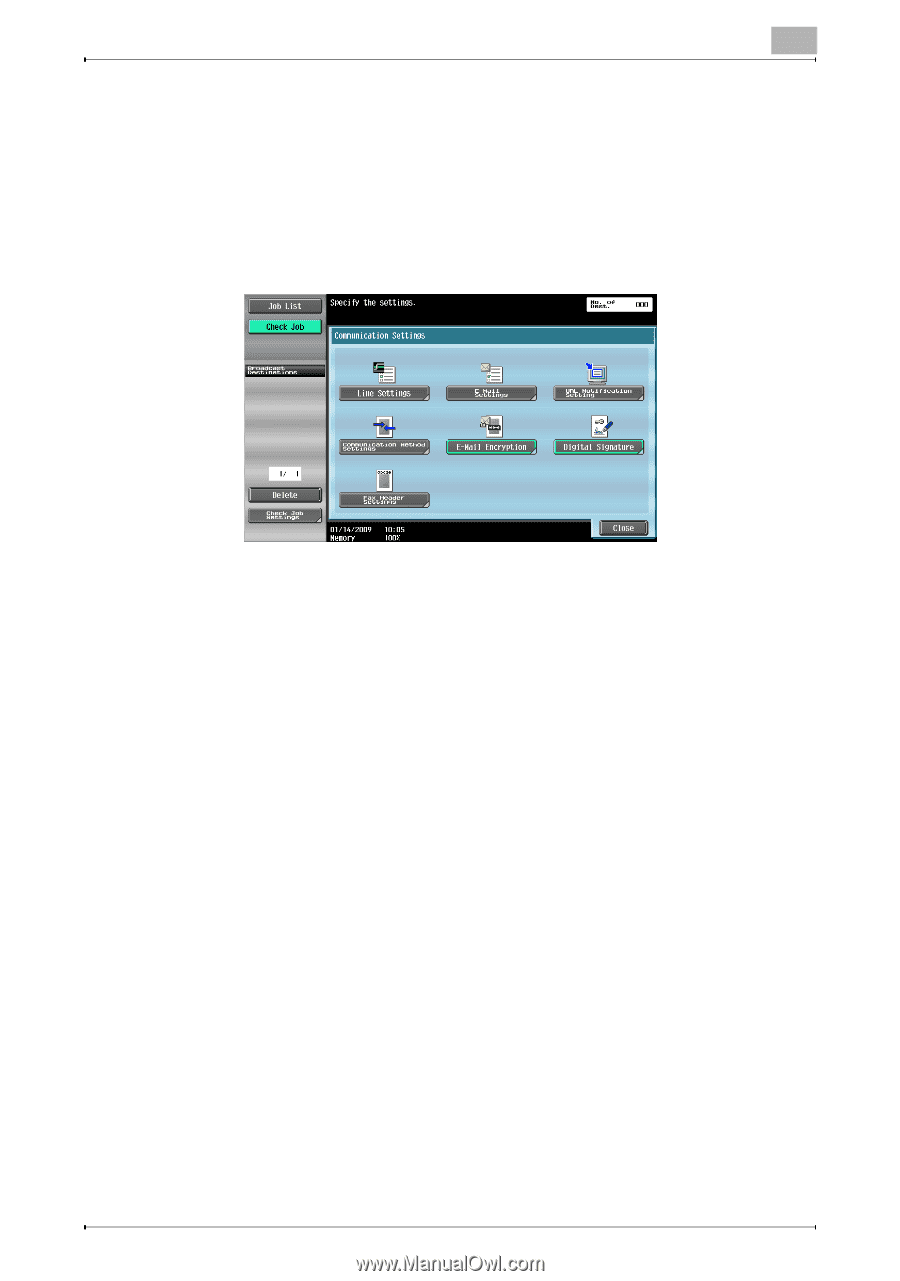
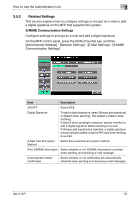
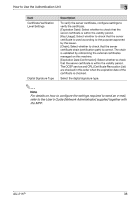
How to Use the Authentication Unit 3 3.5.3 Encrypting an E-Mail and Adding a Digital Signature Display the Fax/Scan screen on the MFP control panel, and press [Communication Settings]. - To encrypt an e-mail, press [E-Mail Encryption]. - If [Select when sending] is selected to add a digital signature, press [Digital Signature]. If [Always add signature] is selected, a digital signature will be automatically added. ! Detail • When setting to enable encryption or to add a digital signature, you can specify up to 10 E-mail addresses to be broadcasted. • When setting to enable encryption or to add a digital signature after 11 or more E-mail addresses have already been specified, you need to cancel all the specified addresses once and reselect them. • When the encryption is set after specifying the E-mail addresses (up to 10 E-mail addresses), specified E-mail addresses that do not have a registered certificate will be canceled. • For details on how to send an e-mail, refer to the User's Guide [Network Scan/Fax/Network Fax Operations] supplied together with the MFP. • For details on how to register the certificate in the e-mail address, refer to the User's Guide [Network Administrator] supplied together with the MFP. • When adding a digital signature with a PIV card, enter the PIN code when sending an e-mail. If the PIV card is locked as a result of an incorrectly entered PIN code, the e-mail sending job will be discarded. AU-211P 39
-
 1
1 -
2
-
3
-
4
-
5
-
6
-
7
-
8
-
9
-
10
-
11
-
12
-
13
-
14
-
15
-
16
-
17
-
18
-
19
-
20
-
21
-
22
-
23
-
24
-
25
-
26
-
27
-
28
-
29
-
30
-
31
-
32
-
33
-
34
-
 35
35 -
 36
36 -
 37
37 -
 38
38 -
 39
39 -
 40
40 -
 41
41 -
 42
42 -
 43
43 -
 44
44 -
 45
45 -
46
-
47
-
48
-
49
-
50
-
51
-
52
-
53
-
54
-
55
-
56
-
57
-
58
-
59
-
60
-
61
-
62
-
63
-
64
-
65
 |
 |