Kyocera KM-5530 LDAP Converter Operation Guide - Page 18
criteria will be shown below that key., and the number of registered individuals that met
 |
View all Kyocera KM-5530 manuals
Add to My Manuals
Save this manual to your list of manuals |
Page 18 highlights
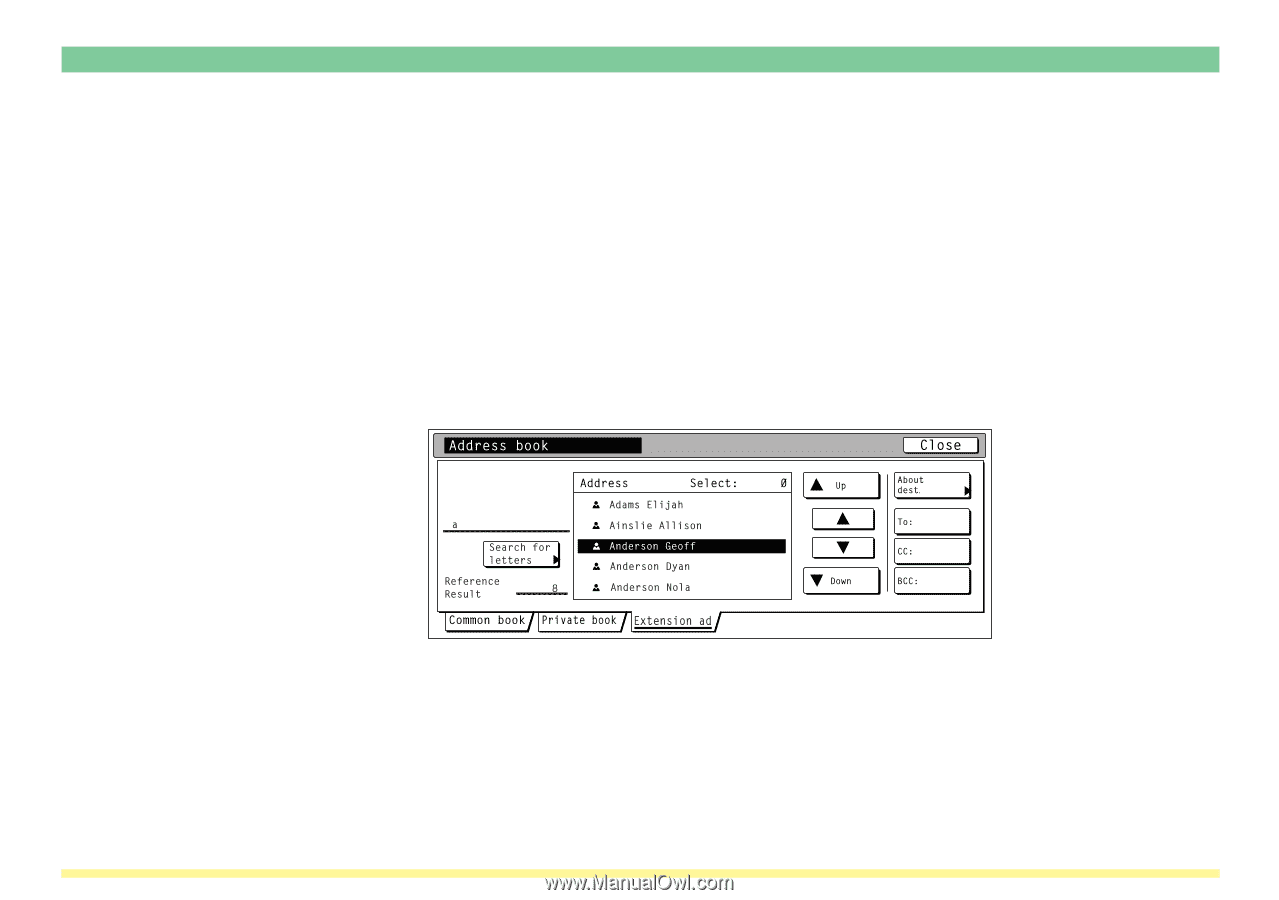
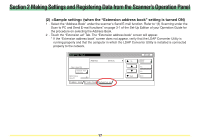
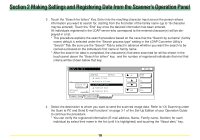
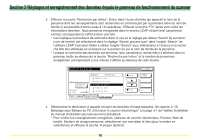
Section 2 Making Settings and Registering Data from the Scanner's Operation Panel 3 . Touch the "Search for letters" Key. Enter into the resulting character input screen the person whose information you want to search for, starting from the first letter of the family name (up to 16 character may be entered). Touch the "End" key once the desired information has been entered. All individuals registered in the LDAP server who correspond to the entered character(s) will be displayed in a list. * This procedure explains the search procedure based on the case that the "Search by surname" (family name) default is selected under the "Search process type" setting in the LDAP Converter Utility's "Search" Tab. Be sure use the "Search" Tab to select in advance whether you want the search to be carried out based on the individual's first name or family name. * After the search for data is completed, the character(s) that were searched for will be shown in the touch panel above the "Search for letters" key, and the number of registered individuals that met that criteria will be shown below that key. 4 . Select the destination to whom you want to send the scanned image data. Refer to "(3) Scanning under the Scan to PC and Send E-mail functions" on page 3-1 of the Set-Up Edition of your Operation Guide to continue the procedure. * You can verify the registered information (E-mail address, Name, Family name, Section) for each individual by select their name in the list (until it is highlighted) and touching the "About dest." key. 18
-
 1
1 -
2
-
3
-
4
-
5
-
6
-
7
-
8
-
9
-
10
-
11
-
12
-
 13
13 -
 14
14 -
 15
15 -
 16
16 -
 17
17 -
 18
18 -
 19
19 -
 20
20 -
 21
21 -
 22
22 -
 23
23 -
24
-
25
-
26
 |
 |