Lexmark 34S0500 User Manual - Page 55
paper jam
 |
View all Lexmark 34S0500 manuals
Add to My Manuals
Save this manual to your list of manuals |
Page 55 highlights
Jam number 235 242 251 To access the jam Remove the jam from the standard exit bin. Remove Tray 2. Open the multipurpose feeder door. 200 paper jam 1 Remove the tray from the printer. 2 Remove the jam if you see it here. 3 If you do not see it, open the front door, and then remove the photoconductor kit and toner cartridge (unit). Note: When the photoconductor kit and toner cartridge are together, they are called a unit. Clearing jams 55
-
 1
1 -
2
-
3
-
4
-
5
-
6
-
7
-
8
-
9
-
10
-
11
-
12
-
13
-
14
-
15
-
16
-
17
-
18
-
19
-
20
-
21
-
22
-
23
-
24
-
25
-
26
-
27
-
28
-
29
-
30
-
31
-
32
-
33
-
34
-
35
-
36
-
37
-
38
-
39
-
40
-
41
-
42
-
43
-
44
-
45
-
46
-
47
-
48
-
49
-
 50
50 -
 51
51 -
 52
52 -
 53
53 -
 54
54 -
 55
55 -
 56
56 -
 57
57 -
 58
58 -
 59
59 -
 60
60 -
61
-
62
-
63
-
64
-
65
-
66
-
67
-
68
-
69
-
70
-
71
-
72
-
73
-
74
-
75
-
76
-
77
-
78
-
79
-
80
-
81
-
82
-
83
-
84
-
85
-
86
-
87
-
88
-
89
-
90
-
91
-
92
-
93
-
94
-
95
-
96
-
97
-
98
-
99
-
100
-
101
-
102
-
103
-
104
-
105
-
106
-
107
-
108
-
109
-
110
-
111
-
112
-
113
-
114
-
115
-
116
-
117
-
118
-
119
-
120
-
121
-
122
-
123
-
124
-
125
-
126
-
127
-
128
-
129
-
130
-
131
-
132
-
133
-
134
-
135
-
136
-
137
-
138
-
139
-
140
-
141
-
142
-
143
-
144
 |
 |
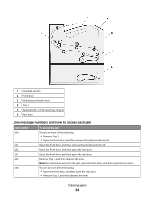
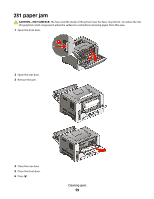
Jam number
To access the jam
235
Remove the jam from the standard exit bin.
242
Remove Tray 2.
251
Open the multipurpose feeder door.
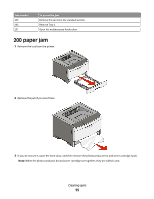
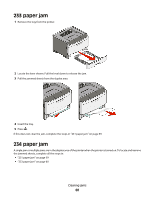
200 paper jam
1
Remove the tray from the printer.
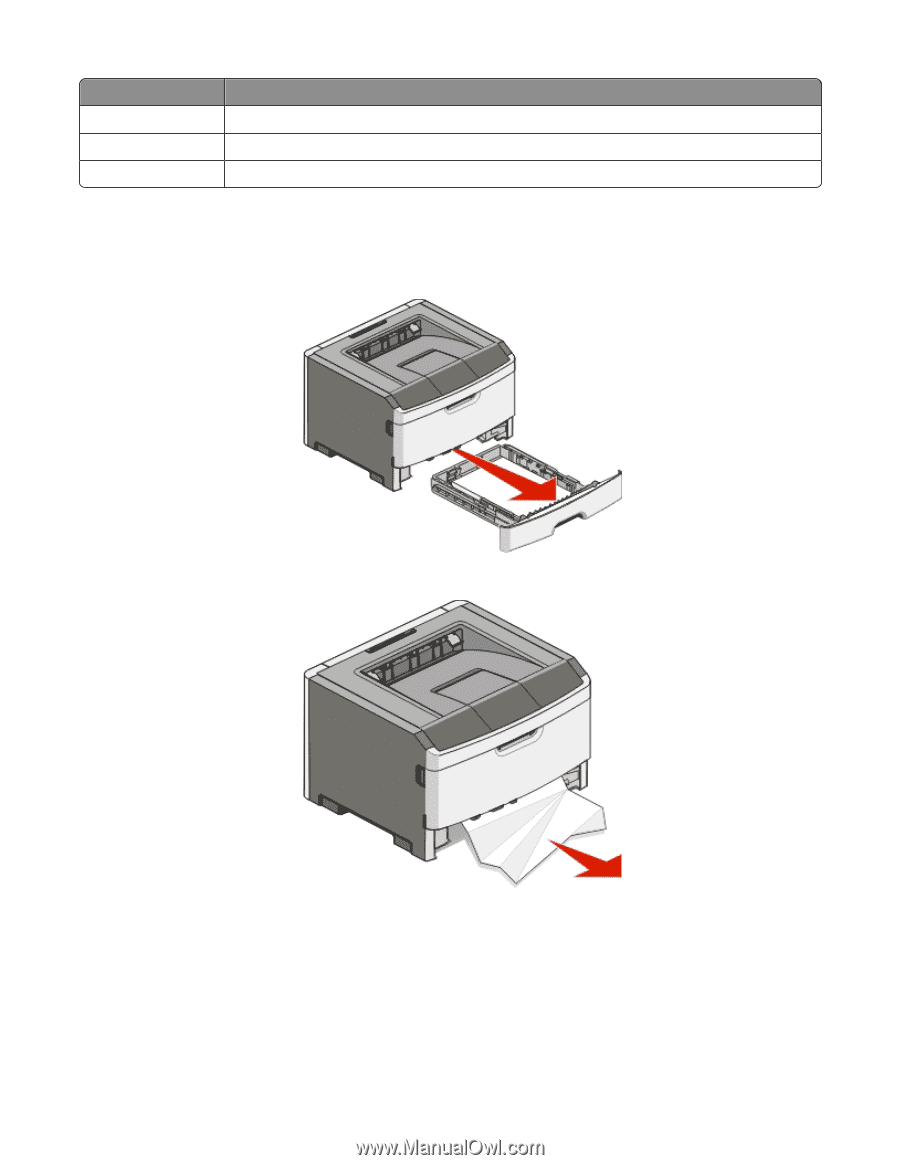
2
Remove the jam if you see it here.
3
If you do not see it, open the front door, and then remove the photoconductor kit and toner cartridge (unit).
Note:
When the photoconductor kit and toner cartridge are together, they are called a unit.
Clearing jams
55