Lexmark Interpret S402 Quick Reference - Page 20
Printhead errors
 |
View all Lexmark Interpret S402 manuals
Add to My Manuals
Save this manual to your list of manuals |
Page 20 highlights
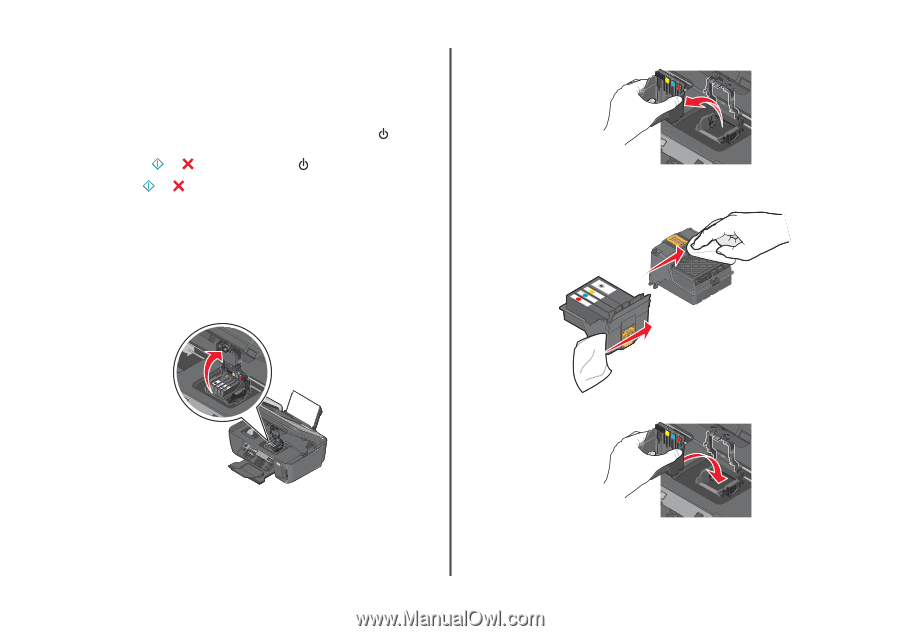
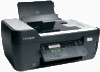
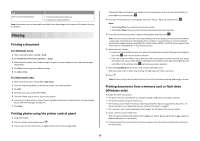
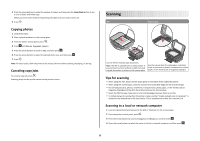
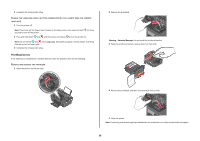
5 Complete the initial printer setup. CHANGE THE LANGUAGE USING A BUTTON COMBINATION (IF YOU CANNOT READ THE CURRENT LANGUAGE) 1 Turn the printer off. Note: If you have set the Power Saver timeout in the Setup menu, then press and hold for three seconds to turn off the printer. 2 Press and hold down and , and then press and release to turn the printer on. Note: Do not release and until Language Selection appears on the display, indicating that the printer has been reset. 3 Complete the initial printer setup. Printhead errors If the "Before you troubleshoot" checklist does not solve the problem, then try the following: REMOVE AND REINSERT THE PRINTHEAD 1 Open the printer and lift the latch. 2 Remove the printhead. Warning-Potential Damage: Do not touch the printhead nozzles. 3 Wipe the printhead contacts using a clean, lint-free cloth. 4 Reinsert the printhead, and then close the latch until it clicks. 2 WI F I PRINTING 5 Close the printer. Note: If removing and reinserting the printhead does not resolve the error, then contact technical support. 20
-
 1
1 -
2
-
3
-
4
-
5
-
6
-
7
-
8
-
9
-
10
-
11
-
12
-
13
-
14
-
 15
15 -
 16
16 -
 17
17 -
 18
18 -
 19
19 -
 20
20 -
 21
21 -
 22
22 -
 23
23
 |
 |