Lexmark MX711 Quick Reference - Page 8
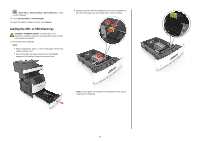
Loading the 2100, sheet tray
 |
View all Lexmark MX711 manuals
Add to My Manuals
Save this manual to your list of manuals |
Page 8 highlights
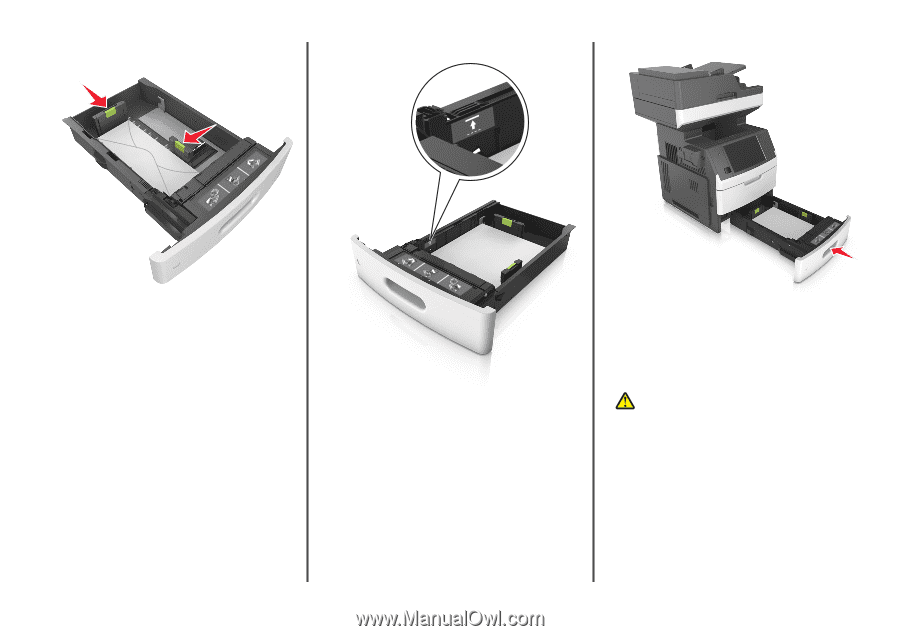
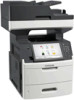
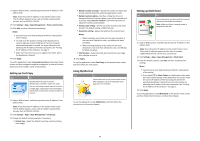
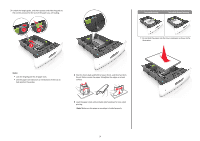
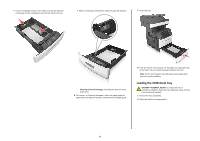
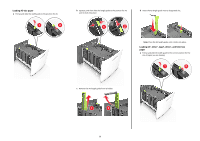
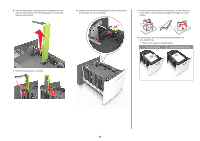
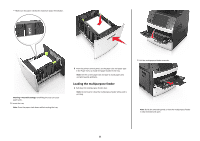
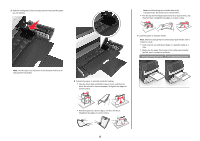
• If you are loading envelopes, then make sure that the flap side is facing up and the envelopes are on the left side of the tray. • Make sure the paper is below the maximum paper fill indicator. 7 Insert the tray. Warning-Potential Damage: Overfilling the tray can cause paper jams. 6 For custom‑ or Universal‑size paper, adjust the paper guides to lightly touch the sides of the stack, and then lock the length guide. 8 From the printer control panel, set the paper size and paper type in the Paper menu to match the paper loaded in the tray. Note: Set the correct paper size and type to avoid paper jams and print quality problems. Loading the 2100‑sheet tray CAUTION-POTENTIAL INJURY: To reduce the risk of equipment instability, load each tray separately. Keep all other trays closed until needed. 1 Pull out the tray completely. 2 Adjust the width and length guides. 8
-
 1
1 -
2
-
 3
3 -
 4
4 -
 5
5 -
 6
6 -
 7
7 -
 8
8 -
 9
9 -
 10
10 -
 11
11 -
 12
12 -
 13
13 -
14
-
15
-
16
-
17
-
18
-
19
-
20
-
21
-
22
-
23
-
24
-
25
-
26
-
27
 |
 |