Marantz DV9500 DV9500 User Manual - Page 30
Video Adjust - memory
 |
View all Marantz DV9500 manuals
Add to My Manuals
Save this manual to your list of manuals |
Page 30 highlights
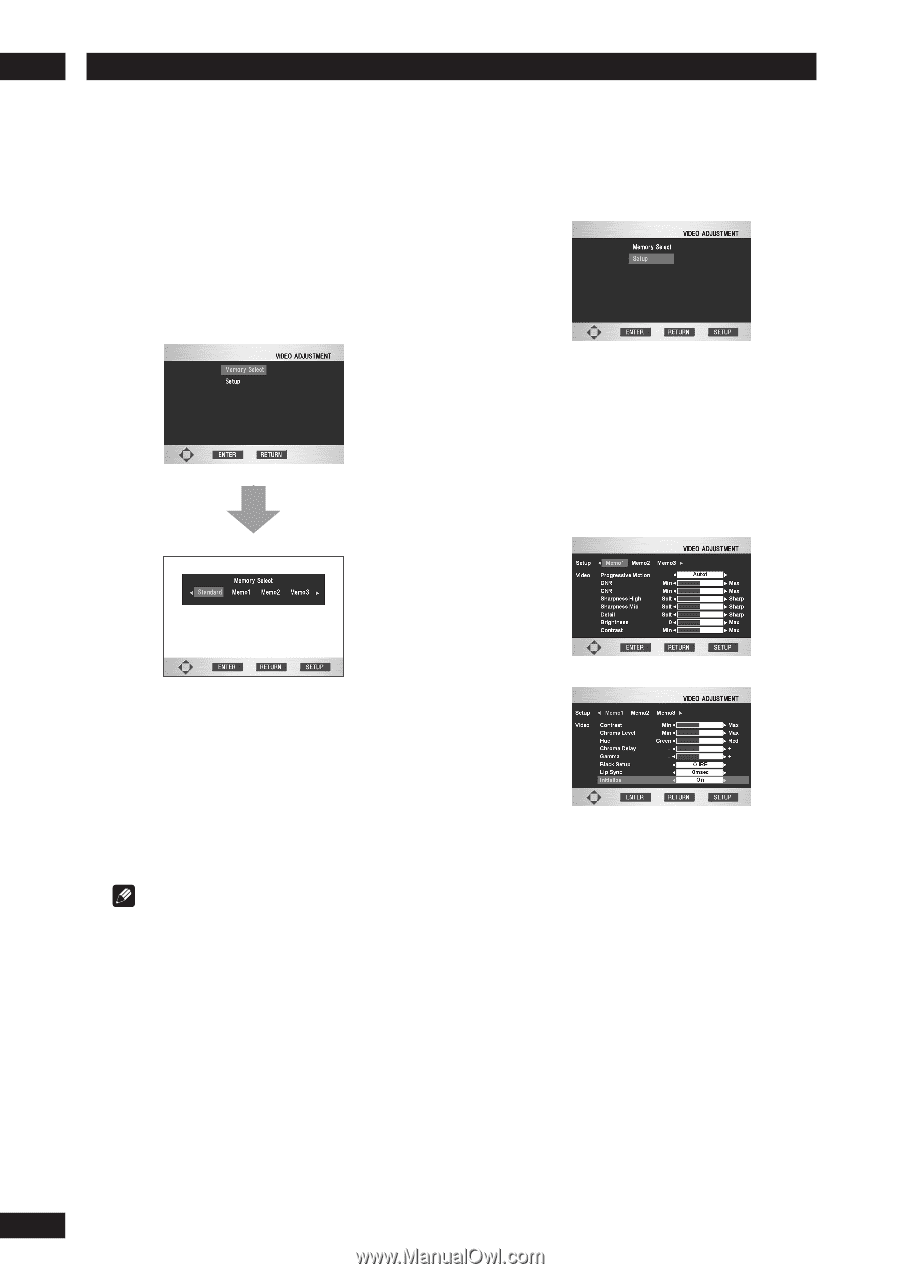
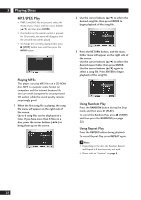
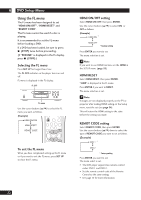
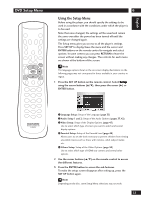
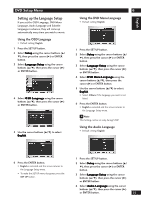
5 Playing Discs Video Adjust You can set the picture settings you desire and store them in the player's memory. Selecting a preset 1 Press the VIDEO ADJ. button on the remote control. 2 Select Memory Select. 3 Select a preset. Press ENTER Creating your own setting 1 Press the VIDEO ADJ. button on the remote control. 2 Select Setup. 3 Use the cursor buttons (2/3) to select a Memory (Memo1, 2, 3) to change/store a picture quality parameter. 4 Use the cursor buttons (5/∞) to select a picture quality parameter, then use the cursor buttons (2/3) to adjust that parameter. • Standard - optimized settings for a standard television set • Memo 1, 2, 3 - User presets (see below for more on these) You can highlight a preset while a disc is playing (before you press ENTER to select it) to see the effect on the picture immediately. Note Depending on the disc and your TV/monitor, the effect of these settings may not be clear. 30 • Progressive Motion - When using progressive scan, this adjusts the motion and still picture quality. There are two modes: Auto and Video. In Auto mode, the player automatically distinguishes film-source material and video-source material. Set to the Video mode when you know the program you are watching is from videosource material (such as animations). Auto 1: Standard setting Auto 2: Setting for moving images Auto 3: Setting for still images Video 1: Standard setting Video 2: Setting for moving images Video 3: Setting for still images • DNR - Adjusts the amount of noise reduction (NR) applied to the Y (brightness) component • CNR - Adjusts the amount of noise reduction (NR) applied to the C (color) component
-
 1
1 -
2
-
3
-
4
-
5
-
6
-
7
-
8
-
9
-
10
-
11
-
12
-
13
-
14
-
15
-
16
-
17
-
18
-
19
-
20
-
21
-
22
-
23
-
24
-
 25
25 -
 26
26 -
 27
27 -
 28
28 -
 29
29 -
 30
30 -
 31
31 -
 32
32 -
 33
33 -
 34
34 -
 35
35 -
36
-
37
-
38
-
39
-
40
-
41
-
42
-
43
-
44
-
45
-
46
-
47
-
48
-
49
-
50
-
51
-
52
-
53
-
54
-
55
-
56
-
57
-
58
-
59
-
60
-
61
-
62
 |
 |