Marantz SR7300OSE User Guide - Page 41
Sorting Preset Stations, Name Input Of The Preset Station.
 |
View all Marantz SR7300OSE manuals
Add to My Manuals
Save this manual to your list of manuals |
Page 41 highlights
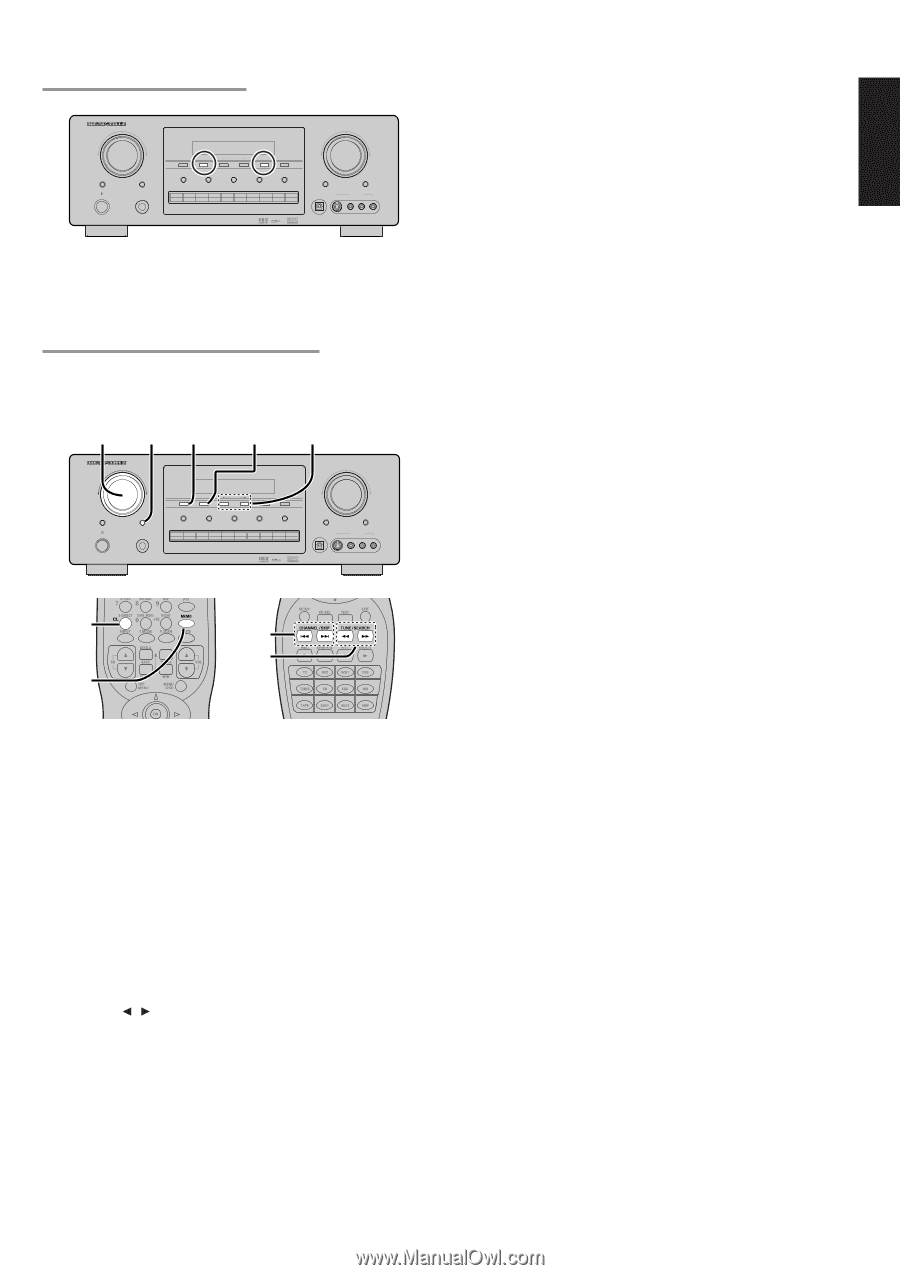
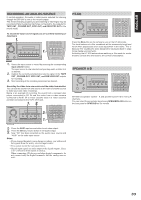
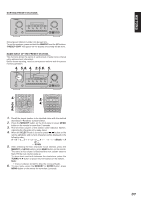
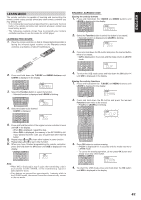
SORTING PRESET STATIONS SURROUND AV SURROUND RECEIVER SR7300 VOLUME SELECT STANDBY POWER ON/STANDBY ENTER PHONES CLEAR MEMORY TUNING F/P MODE SPEAKRS A/B 7.1CH INPUT A/D S-DIRECT MULTIROOM TV DVD VCR1 DSS/VCR2 AUX1 AUX2 CD-R TAPE CD TUNER DOWN UP MUTE ATT DIGITAL S-VIDEO AUX1 INPUT VIDEO L AUDIO R Stored preset stations number can be kept line. To sort the numbers, press and hold the MEMORY and the F/P buttons. "PRESET SORT" will appear on the display and sorting will be done. NAME INPUT OF THE PRESET STATION. This function allows the name of each preset channel to be entered using alphanumeric characters. Before name inputting, need to store preset stations with the preset memory operation. 4. 5. 6. 4. 2. 5. 6. 5. SURROUND AV SURROUND RECEIVER SR7300 VOLUME SELECT STANDBY POWER ON/STANDBY ENTER PHONES CLEAR MEMORY TUNING F/P MODE SPEAKRS A/B 7.1CH INPUT A/D S-DIRECT MULTIROOM TV DVD VCR1 DSS/VCR2 AUX1 AUX2 CD-R TAPE CD TUNER DOWN UP MUTE ATT DIGITAL S-VIDEO AUX1 INPUT VIDEO L AUDIO R 4. 5. 2. 4. 5. 6. 1. Recall the preset number to be inputted name with the method described in "Recalling" a preset station. 2. Press the MEMORY button on the front panel or press MEMO button on the remote for more than 3 seconds. 3. The left most column of the station name indicator flashes, indicating the character entry ready status. 4. When the SELECT knob is turned or press 5 / 6 button on the remote alphabetic and numeric characters will be displayed in the following order: A → B → C ... Z → 1 → 2 → 3 ..... 0 Blank) → A UP → ← DOWN 5. After selecting the first character to be entered, press the MEMORY or ENTER buttons, press MEMO button on the remote. The entry in this column is fixed and the next column starts to flash. Fill the next column same as. To move back and forth between the characters, press the TUNING / button or press 4 or ¢ buttons on the remote. Note: • Unused columns should be filled by entering blanks. 6. To save name, press the MEMORY or ENTER button, press MEMO button on the remote for more than 2 seconds. 37 ENGLISH
-
 1
1 -
2
-
3
-
4
-
5
-
6
-
7
-
8
-
9
-
10
-
11
-
12
-
13
-
14
-
15
-
16
-
17
-
18
-
19
-
20
-
21
-
22
-
23
-
24
-
25
-
26
-
27
-
28
-
29
-
30
-
31
-
32
-
33
-
34
-
35
-
 36
36 -
 37
37 -
 38
38 -
 39
39 -
 40
40 -
 41
41 -
 42
42 -
 43
43 -
 44
44 -
 45
45 -
 46
46 -
47
-
48
-
49
-
50
-
51
-
52
-
53
 |
 |