NEC PX-50XR5A 42XR4/50XR5/61XR4 UM - Page 18
Controls
 |
View all NEC PX-50XR5A manuals
Add to My Manuals
Save this manual to your list of manuals |
Page 18 highlights
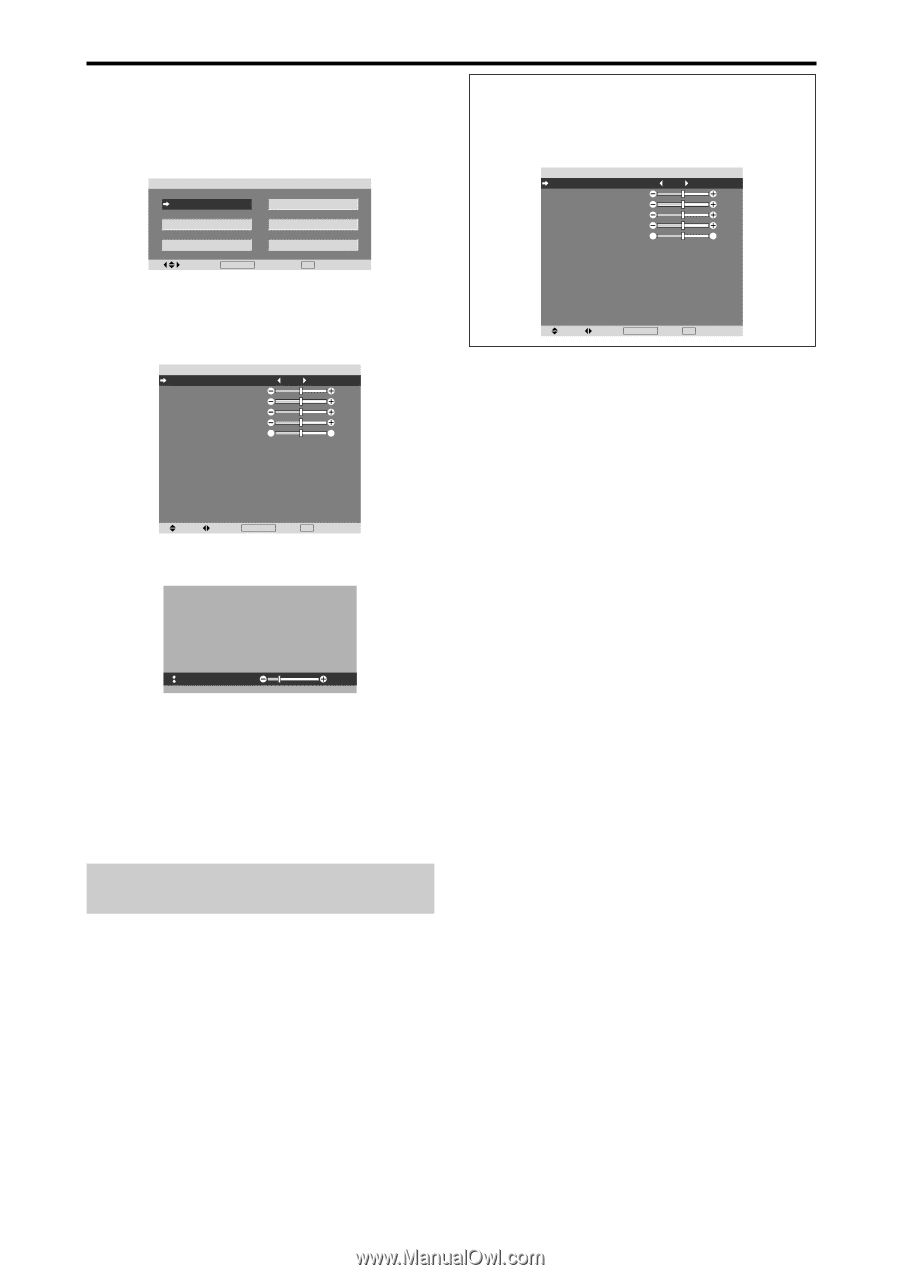
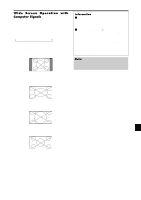
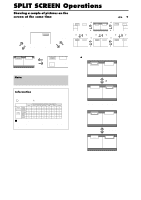
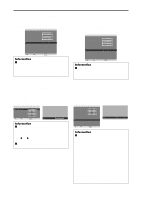
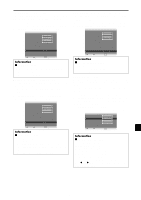
OSM (On Screen Menu) Controls Menu Operations The following describes how to use the menus and the selected items. 1. Press the MENU/ENTER button on the remote control to display the MAIN MENU. MAIN MENU PICTURE SET UP AUDIO FUNCTION IMAGE ADJ. SIGNAL INFO. SEL. MENU/ENTER OK EXIT EXIT 2. Press the cursor buttons v w on the remote control to highlight the menu you wish to enter. 3. Press the MENU/ENTER button on the remote control to select a sub menu or item. PICTURE PICTURE MEMORY : OFF CONTRAST : 52 BRIGHTNESS : 32 SHARPNESS : 16 COLOR : 32 TINT R G : 32 NR : OFF COLOR TEMP. : MIDDLE CINEMA MODE : ON PICTURE MODE : NORMAL Information Ⅵ Advanced menu mode When "ADVANCED OSM" is set to "ON" in the FUNCTION menu, full menu items will be shown. PICTURE PICTURE MEMORY : OFF CONTRAST : 52 BRIGHTNESS : 32 SHARPNESS : 16 COLOR : 32 TINT R G : 32 NR : OFF COLOR TEMP. : MIDDLE CINEMA MODE : ON PICTURE MODE : NORMAL GAMMA : 2.2 LOW TONE : AUTO SET UP LEVEL : 0% COLOR TUNE SEL. ADJ. MENU/ENTER OK EXIT RETURN * The actual screen may be different from the ones in this manual. SEL. ADJ. MENU/ENTER OK EXIT RETURN 4. Adjust the level or change the setting of the selected item by using the cursor buttons ᮤ ᮣ on the remote control. CONTRAST : 10 5. The adjustments or settings are then stored in memory. The change is stored until another change is made. 6. Repeat steps 2 - 5 to adjust an additional item, or press the EXIT button on the remote control to return to the main menu. * When adjusting using the bar at the bottom of the screen, press the ᮤ or ᮣ button within 5 seconds. If not, the current setting is stored and the previous screen appears. Note: The main menu disappears by pressing the EXIT button. En-16
-
 1
1 -
2
-
3
-
4
-
5
-
6
-
7
-
8
-
9
-
10
-
11
-
12
-
 13
13 -
 14
14 -
 15
15 -
 16
16 -
 17
17 -
 18
18 -
 19
19 -
 20
20 -
 21
21 -
 22
22 -
 23
23 -
24
-
25
-
26
-
27
-
28
-
29
-
30
-
31
-
32
-
33
-
34
-
35
-
36
-
37
-
38
-
39
-
40
-
41
-
42
-
43
-
44
-
45
-
46
-
47
-
48
-
49
-
50
-
51
-
52
-
53
-
54
-
55
-
56
-
57
-
58
-
59
-
60
-
61
-
62
-
63
-
64
-
65
-
66
-
67
-
68
-
69
-
70
-
71
-
72
-
73
-
74
-
75
-
76
-
77
-
78
-
79
-
80
-
81
-
82
-
83
-
84
-
85
-
86
-
87
-
88
-
89
-
90
-
91
-
92
-
93
-
94
-
95
-
96
-
97
-
98
-
99
-
100
-
101
-
102
-
103
-
104
-
105
-
106
-
107
-
108
-
109
-
110
-
111
-
112
-
113
-
114
-
115
-
116
-
117
-
118
-
119
-
120
-
121
-
122
-
123
-
124
-
125
-
126
-
127
-
128
-
129
-
130
-
131
-
132
-
133
-
134
-
135
-
136
-
137
-
138
-
139
-
140
 |
 |