Netgear RND4000 RND4000 Setup Manual - Page 20
Setting up Shares, Share List - specification
 |
UPC - 606449053272
View all Netgear RND4000 manuals
Add to My Manuals
Save this manual to your list of manuals |
Page 20 highlights
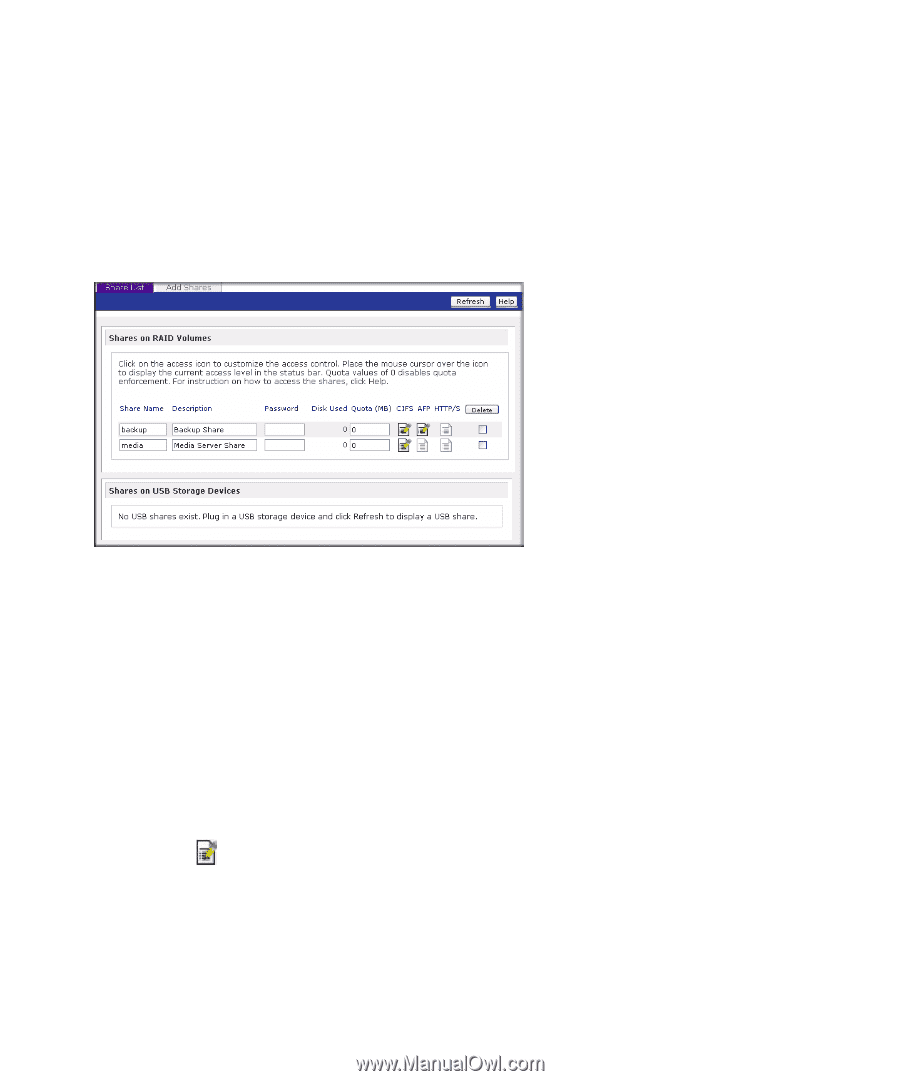
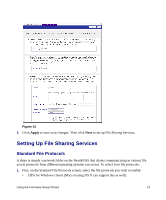
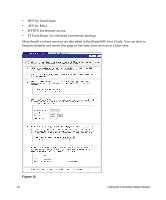
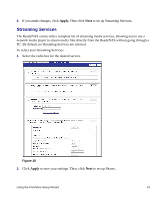
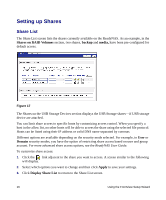
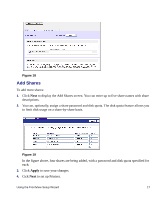
Setting up Shares Share List The Share List screen lists the shares currently available on the ReadyNAS. As an example, in the Shares on RAID Volumes section, two shares, backup and media, have been pre-configured for default access. Figure 17 The Shares on the USB Storage Devices section displays the USB Storage shares-if USB storage device are attached. You can limit share access to specific hosts by customizing access control. When you specify a host in the allow list, no other hosts will be able to access the share using the selected file protocol. Hosts can be listed using their IP address or valid DNS name separated by commas Different options are available depending on the security mode selected. For example, in User or Domain security modes, you have the option of restricting share access based on user and group account. For more advanced share access options, see the ReadyNAS User Guide. To customize share access: 1. Click the link adjacent to the share you want to access. A screen similar to the following will display. 2. Select which options you want to change and then click Apply to save your settings. 3. Click Display Share List to return to the Share List screen. 16 Using the FrontView Setup Wizard
-
 1
1 -
2
-
3
-
4
-
5
-
6
-
7
-
8
-
9
-
10
-
11
-
12
-
13
-
14
-
 15
15 -
 16
16 -
 17
17 -
 18
18 -
 19
19 -
 20
20 -
 21
21 -
 22
22 -
 23
23 -
 24
24
 |
 |