Netgear RND4000 RND4000 Setup Manual - Page 22
Setting Up Printers, Refresh, Browse, hostname, Apply, Register Product - - software
 |
UPC - 606449053272
View all Netgear RND4000 manuals
Add to My Manuals
Save this manual to your list of manuals |
Page 22 highlights
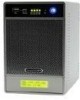
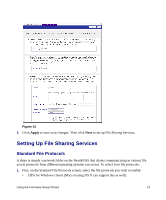
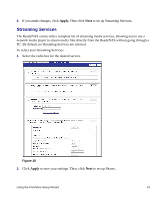
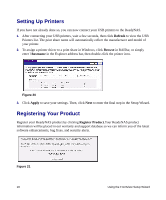
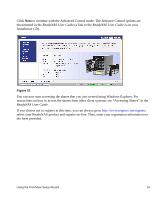
Setting Up Printers If you have not already done so, you can now connect your USB printers to the ReadyNAS. 1. After connecting your USB printers, wait a few seconds, then click Refresh to view the USB Printers list. The print share name will automatically reflect the manufacturer and model of your printer. 2. To assign a printer driver to a print share in Windows, click Browse in RAIDar, or simply enter \\hostname in the Explorer address bar, then double-click the printer icon. Figure 20 3. Click Apply to save your settings. Then, click Next to enter the final step in the Setup Wizard. Registering Your Product Register your ReadyNAS product by clicking Register Product.Your ReadyNAS product information will be placed in our warranty and support database so we can inform you of the latest software enhancements, bug fixes, and security alerts. Figure 21 18 Using the FrontView Setup Wizard
-
 1
1 -
2
-
3
-
4
-
5
-
6
-
7
-
8
-
9
-
10
-
11
-
12
-
13
-
14
-
15
-
16
-
 17
17 -
 18
18 -
 19
19 -
 20
20 -
 21
21 -
 22
22 -
 23
23 -
 24
24
 |
 |