Olympus E-420 E-420 Instruction Manual (English) - Page 32
Color-White balance, A guide to functions for different subjects, Taking landscape pictures, Color
 |
UPC - 050332163898
View all Olympus E-420 manuals
Add to My Manuals
Save this manual to your list of manuals |
Page 32 highlights
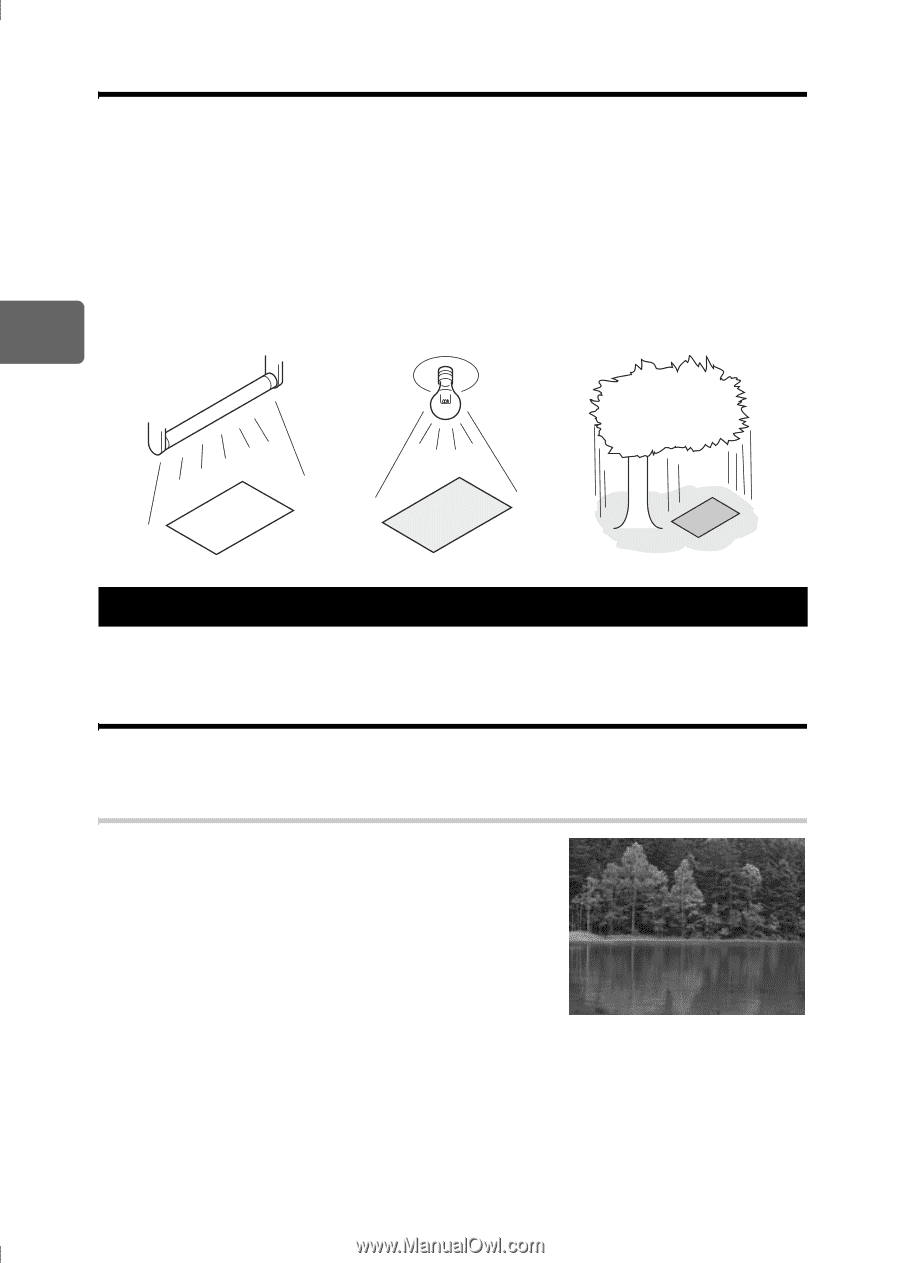
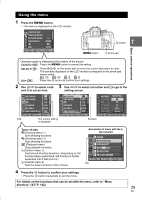
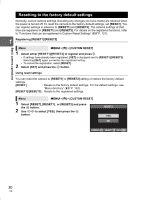
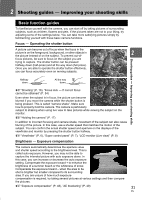
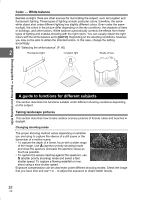
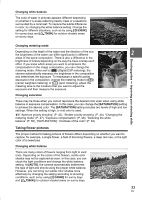
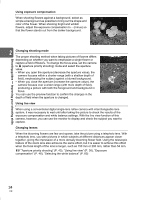
Color k White balance Besides sunlight, there are other sources for illuminating the subject, such as tungsten and fluorescent lighting. These types of lighting contain particular colors; therefore, the same white object shot under different lighting has slightly different colors. Even under the same sunlight, the colors in the picture differ depending on the sky conditions, the shadows of trees or buildings, and other factors. White balance automatically corrects the effects from these types of lighting and enables shooting with the right colors. You can usually obtain the right colors with the white balance set to [AUTO]. Depending on the shooting conditions, however, you may not be able to obtain the intended colors. In this case, change the setting accordingly. g"Selecting the white balance" (P. 60) 2 Fluorescent light Tungsten light Shade of tree Shooting guides k Improving your shooting skills A guide to functions for different subjects This section describes the functions suitable under different shooting conditions depending on the subject. Taking landscape pictures This section describes how to take outdoor scenery pictures of forests, lakes and beaches in daylight. Changing shooting mode The proper shooting method varies depending on whether you are trying to capture the silence of a still scene or the dynamism of a motion scene. • To capture the depth of a forest, focus with a wider range of the image. Use A (aperture priority shooting) mode and close the aperture (increase the aperture value) as much as possible. • To capture the waves crashing against the seashore, use S (shutter priority shooting) mode and select a fast shutter speed. To capture a flowing waterfall or river, shoot using a slow shutter speed. Exposure compensation can be used even under different shooting modes. Check the image that you have shot and use + or - to adjust the exposure to obtain better results. 32 EN
-
 1
1 -
2
-
3
-
4
-
5
-
6
-
7
-
8
-
9
-
10
-
11
-
12
-
13
-
14
-
15
-
16
-
17
-
18
-
19
-
20
-
21
-
22
-
23
-
24
-
25
-
26
-
 27
27 -
 28
28 -
 29
29 -
 30
30 -
 31
31 -
 32
32 -
 33
33 -
 34
34 -
 35
35 -
 36
36 -
 37
37 -
38
-
39
-
40
-
41
-
42
-
43
-
44
-
45
-
46
-
47
-
48
-
49
-
50
-
51
-
52
-
53
-
54
-
55
-
56
-
57
-
58
-
59
-
60
-
61
-
62
-
63
-
64
-
65
-
66
-
67
-
68
-
69
-
70
-
71
-
72
-
73
-
74
-
75
-
76
-
77
-
78
-
79
-
80
-
81
-
82
-
83
-
84
-
85
-
86
-
87
-
88
-
89
-
90
-
91
-
92
-
93
-
94
-
95
-
96
-
97
-
98
-
99
-
100
-
101
-
102
-
103
-
104
-
105
-
106
-
107
-
108
-
109
-
110
-
111
-
112
-
113
-
114
-
115
-
116
-
117
-
118
-
119
-
120
-
121
-
122
-
123
-
124
-
125
-
126
-
127
-
128
-
129
-
130
-
131
-
132
-
133
-
134
-
135
-
136
-
137
-
138
-
139
-
140
 |
 |