Philips 234CL2SB User manual (English) - Page 45
Troubleshooting & FAQs, 7.1 Troubleshooting
 |
View all Philips 234CL2SB manuals
Add to My Manuals
Save this manual to your list of manuals |
Page 45 highlights
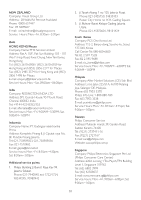
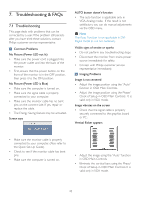
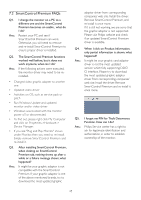
7. Troubleshooting & FAQs 7.1 Troubleshooting This page deals with problems that can be corrected by a user. If the problem still persists after you have tried these solutions, contact Philips customer service representative. Common Problems No Picture (Power LED not lit) • Make sure the power cord is plugged into the power outlet and into the back of the monitor. • First, ensure that the power button on the front of the monitor is in the OFF position, then press it to the ON position. No Picture (Power LED is Blue) • Make sure the computer is turned on. • Make sure the signal cable is properly connected to your computer. • Make sure the monitor cable has no bent pins on the connect side. If yes, repair or replace the cable. • The Energy Saving feature may be activated. Screen says AUTO button doesn't function • The auto function is applicable only in VGA-Analog mode. If the result is not satisfactory, you can do manual adjustments via the OSD menu. Note The Auto Function is not applicable in DVIDigital mode as it is not necessary. Visible signs of smoke or sparks • Do not perform any troubleshooting steps. • Disconnect the monitor from mains power source immediately for safety. • Contact with Philips customer service representative immediately. Imaging Problems Image is not centered • Adjust the image position using the "Auto" function in OSD Main Controls. • Adjust the image position using the Phase/ Clock of Setup in OSD Main Controls. It is valid only in VGA mode. Image vibrates on the screen • Check that the signal cable is properly securely connected to the graphics board or PC. Vertical flicker appears • Make sure the monitor cable is properly connected to your computer. (Also refer to the Quick Set-Up Guide). • Check to see if the monitor cable has bent pins. • Make sure the computer is turned on. • Adjust the image using the "Auto" function in OSD Main Controls. • Eliminate the vertical bars using the Phase/ Clock of Setup in OSD Main Controls. It is valid only in VGA mode. 43
-
 1
1 -
2
-
3
-
4
-
5
-
6
-
7
-
8
-
9
-
10
-
11
-
12
-
13
-
14
-
15
-
16
-
17
-
18
-
19
-
20
-
21
-
22
-
23
-
24
-
25
-
26
-
27
-
28
-
29
-
30
-
31
-
32
-
33
-
34
-
35
-
36
-
37
-
38
-
39
-
 40
40 -
 41
41 -
 42
42 -
 43
43 -
 44
44 -
 45
45 -
 46
46 -
 47
47 -
 48
48 -
 49
49 -
 50
50
 |
 |