Pioneer BDP-140 Owner's Manual - Page 6
Before you start - remote
 |
View all Pioneer BDP-140 manuals
Add to My Manuals
Save this manual to your list of manuals |
Page 6 highlights
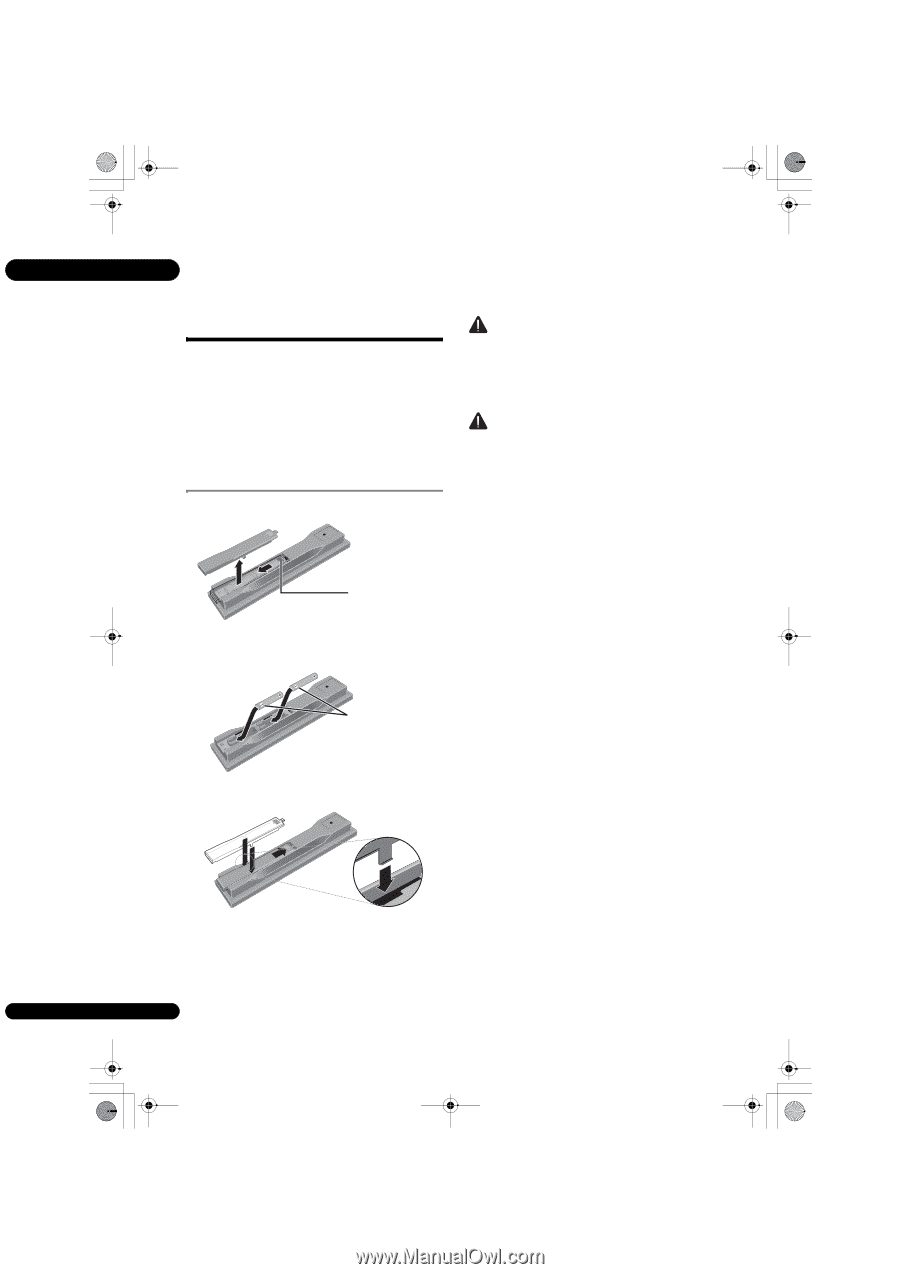
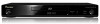
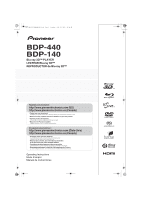
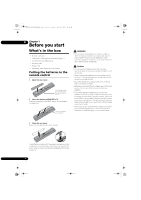
BDP-140_UCXCNSM_IBD_EN.book Page 6 Tuesday, July 19, 2011 10:54 AM 01 Chapter 1 Before you start What's in the box • Remote control x 1 • Video/audio cable (yellow/white/red plugs) x 1 • AAA/R03 dry cell batteries x 2 • Warranty card • Power cord • Operating instructions (this document) Putting the batteries in the remote control 1 Open the rear cover. Press lightly on this part and slide into the direction of the arrow. 2 Insert the batteries (AAA/R03 x 2). Insert as indicated by the / marks into the battery compartment. Insert the negative () side first. WARNING • Do not use or store batteries in direct sunlight or other excessively hot place, such as inside a car or near a heater. This can cause batteries to leak, overheat, explode or catch fire. It can also reduce the life or performance of batteries. Caution • Do not use any batteries other than the ones specified. Also, do not use a new battery together with an old one. • When loading the batteries into the remote control, set them in the proper direction, as indicated by the polarity marks ( and ). • Do not heat batteries, disassemble them, or throw them into flames or water. • Batteries may have different voltages, even if they look similar. Do not use different kinds of batteries together. • To prevent leakage of battery fluid, remove the batteries if you do not plan to use the remote control for a long period of time (1 month or more). If the fluid should leak, wipe it carefully off the inside of the case, then insert new batteries. If a battery should leak and the fluid should get on your skin, flush it off with large quantities of water. • When disposing of used batteries, please comply with governmental regulations or environmental public institution's rules that apply in your country/area. 3 Close the rear cover. Close securely (a click should be heard). The batteries included with the player have been provided to allow you to check product operation and may not last long. We recommend using alkaline batteries that have a longer life. 6 En
-
 1
1 -
 2
2 -
 3
3 -
 4
4 -
 5
5 -
 6
6 -
 7
7 -
 8
8 -
 9
9 -
 10
10 -
 11
11 -
 12
12 -
13
-
14
-
15
-
16
-
17
-
18
-
19
-
20
-
21
-
22
-
23
-
24
-
25
-
26
-
27
-
28
-
29
-
30
-
31
-
32
-
33
-
34
-
35
-
36
-
37
-
38
-
39
-
40
-
41
-
42
-
43
-
44
-
45
-
46
-
47
-
48
-
49
-
50
-
51
-
52
-
53
-
54
-
55
-
56
-
57
-
58
-
59
-
60
-
61
-
62
-
63
-
64
-
65
-
66
-
67
-
68
-
69
-
70
-
71
-
72
-
73
-
74
-
75
-
76
-
77
-
78
-
79
-
80
-
81
-
82
-
83
-
84
-
85
-
86
-
87
-
88
-
89
-
90
-
91
-
92
-
93
-
94
-
95
-
96
-
97
-
98
-
99
-
100
-
101
-
102
-
103
-
104
-
105
-
106
-
107
-
108
-
109
-
110
-
111
-
112
-
113
-
114
-
115
-
116
-
117
-
118
-
119
-
120
-
121
-
122
-
123
-
124
-
125
-
126
-
127
-
128
-
129
-
130
-
131
-
132
-
133
-
134
-
135
-
136
-
137
-
138
-
139
-
140
-
141
-
142
-
143
-
144
-
145
-
146
-
147
-
148
-
149
-
150
-
151
-
152
-
153
-
154
-
155
-
156
-
157
-
158
-
159
-
160
-
161
-
162
-
163
-
164
-
165
-
166
-
167
-
168
-
169
-
170
-
171
-
172
-
173
-
174
-
175
-
176
-
177
-
178
-
179
-
180
-
181
-
182
-
183
-
184
-
185
-
186
-
187
-
188
-
189
-
190
-
191
-
192
 |
 |