Sanyo PLV Z700 Owners Manual - Page 18
Basic Operation, Turning On the Projector
 |
UPC - 086483072420
View all Sanyo PLV Z700 manuals
Add to My Manuals
Save this manual to your list of manuals |
Page 18 highlights
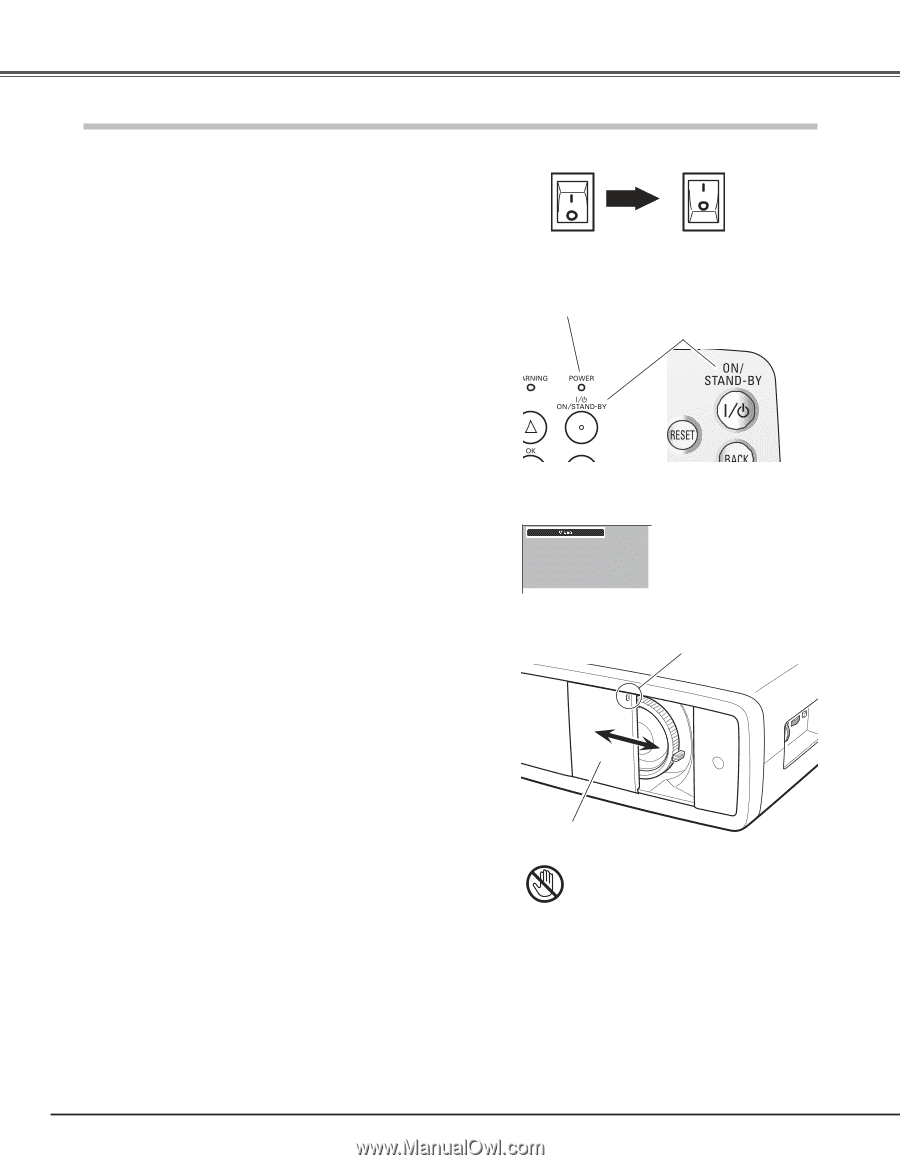
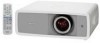
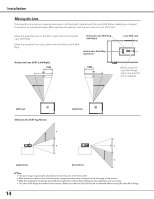
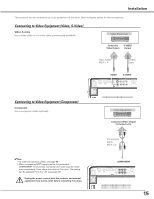
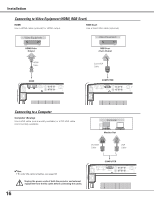
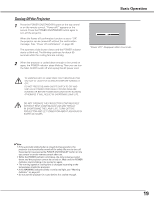
Basic Operation Turning On the Projector 1 Complete peripheral connections (with a computer, VCR, etc.) before turning on the projector. 2 Connect the projector's AC power cord into an AC outlet and turn the Main On/Off switch on. The POWER indicator lights red. 3 Press the POWER ON/STAND-BY button on the top control or on the remote control. The POWER indicator turns green and the cooling fans start to operate. As the automatic slide shutter opens, a preparation display appears on the screen and the countdown starts. 4 After the countdown, the input source that was selected the last time appears on the screen. Main On/Off switch OFF ON POWER indicator POWER ON/STAND-BY button ✔Note: • If the automatic slide shutter does not open properly, the projector will not be turned on and the POWER indicator will blink orange. Press the POWER ON/STAND-BY button again to restart. • When "Countdown off" or "Off" is selected in the Display function, the countdown will not be displayed on the screen (p.40). • During the countdown period, all operations are invalid. • Image may look dark for a while after turning on the projector. Lamp needs some time to stabilize after the power is turned on. Stored lamp mode and the image mode will be active after the lamp is stabilized. • When the shutter is manually closed slightly during projection, the shutter will be automatically closed. Top Control Remote Control Selected Input Source Use this tab when handling manually. Automatic Slide Shutter Do not touch the slide shutter while it is moving, as this could cause injury or the projector to malfunction. 18
-
 1
1 -
2
-
3
-
4
-
5
-
6
-
7
-
8
-
9
-
10
-
11
-
12
-
 13
13 -
 14
14 -
 15
15 -
 16
16 -
 17
17 -
 18
18 -
 19
19 -
 20
20 -
 21
21 -
 22
22 -
 23
23 -
24
-
25
-
26
-
27
-
28
-
29
-
30
-
31
-
32
-
33
-
34
-
35
-
36
-
37
-
38
-
39
-
40
-
41
-
42
-
43
-
44
-
45
-
46
-
47
-
48
-
49
-
50
-
51
-
52
-
53
-
54
-
55
-
56
-
57
-
58
-
59
-
60
 |
 |