Sharp XR-32SL XR-32S XR-32X Operation Manual - Page 36
Useful Features, Operating with the Remote Control, Displaying and Setting the Break Timer
 |
UPC - 074000365582
View all Sharp XR-32SL manuals
Add to My Manuals
Save this manual to your list of manuals |
Page 36 highlights
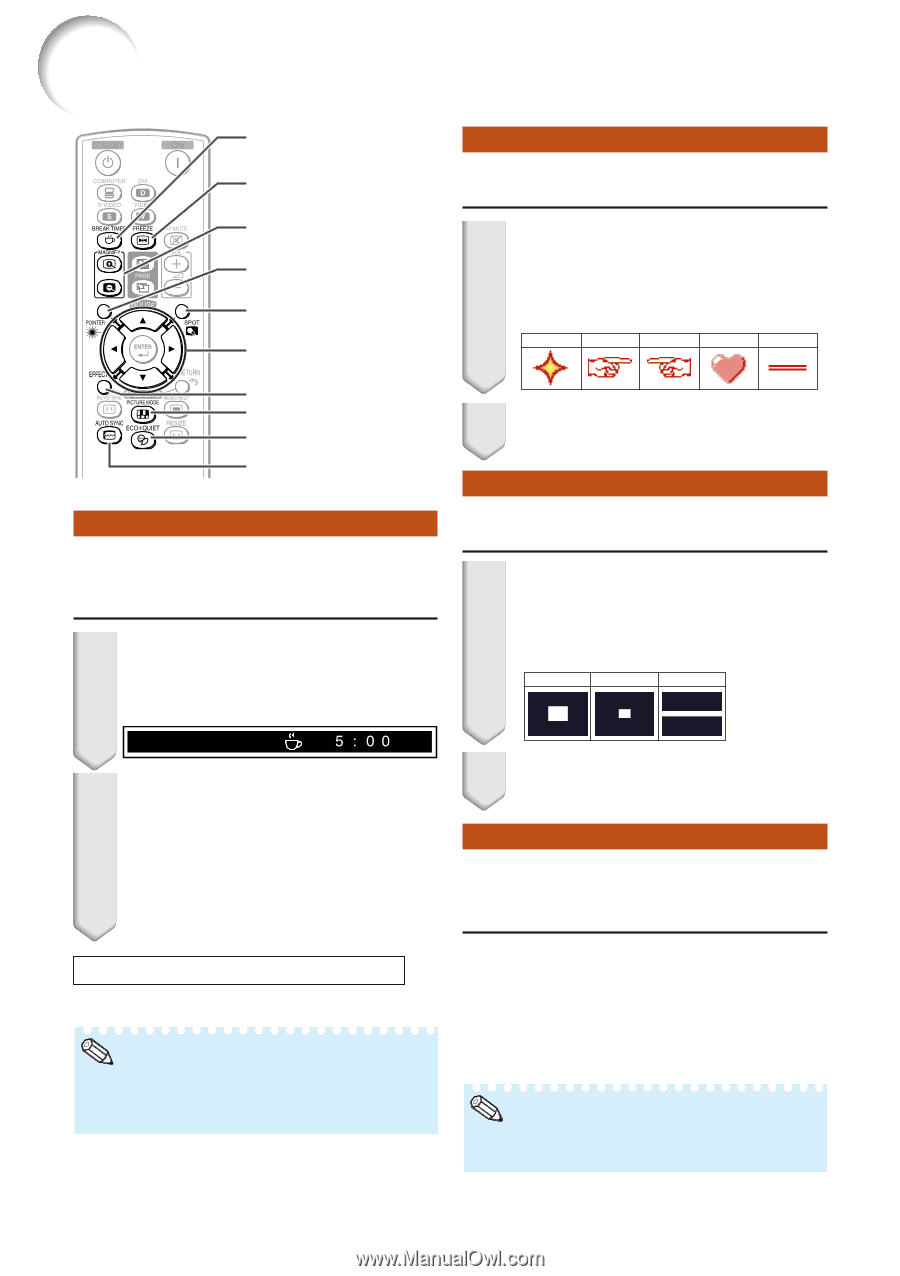
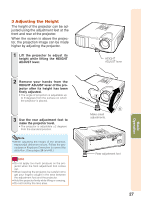
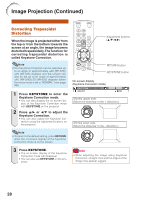
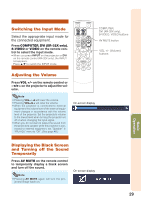
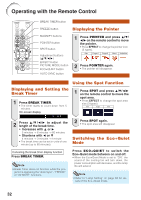
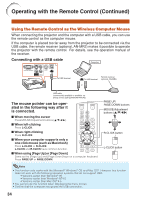
Operating with the Remote Control BREAK TIMER button FREEZE button Displaying the Pointer MAGNIFY buttons POINTER button SPOT button Adjustment buttons (P/R/O/Q) EFFECT button PICTURE MODE button ECO+QUIET button AUTO SYNC button 1 Press POINTER and press P/R/ O/Q on the remote control to move the pointer. • Press EFFECT to change the pointer icon (5 types). Star Finger1 Finger2 Heart Underline 2 Press POINTER again. • The pointer will disappear. Using the Spot Function Displaying and Setting the Break Timer 1 Press BREAK TIMER. • The timer starts to count down from 5 minutes. On-screen display 1 Press SPOT and press P/R/O/Q on the remote control to move the spot area. • Press EFFECT to change the spot area size (3 types). 1/9 1/25 1/8 2 Press P /R /O /Q to adjust the length of the break time. • Increases with P or Q 5 minutes s 6 minutes s 60 minutes • Shortens with O or R 4 minutes s 3 minutes s1 minute • The break time can be set in units of one minute (up to 60 minutes). 2 Press SPOT again. • The spot area will disappear. Switching the Eco+Quiet Mode Canceling the break timer display function Press BREAK TIMER. Note • Break Timer does not function while the pro- jector is operating the "Auto Sync", "FREEZE" or "AV MUTE" functions. Press ECO+QUIET to switch the Eco+Quiet mode between on and off. • When the Eco+Quiet Mode is set to "ON", the sound of the cooling fan will turn down, the power consumption will decrease, and the lamp life will extend. Note • Refer to "Lamp Setting" on page 42 for de- tails of the Eco+Quiet mode. 32
-
 1
1 -
2
-
3
-
4
-
5
-
6
-
7
-
8
-
9
-
10
-
11
-
12
-
13
-
14
-
15
-
16
-
17
-
18
-
19
-
20
-
21
-
22
-
23
-
24
-
25
-
26
-
27
-
28
-
29
-
30
-
 31
31 -
 32
32 -
 33
33 -
 34
34 -
 35
35 -
 36
36 -
 37
37 -
 38
38 -
 39
39 -
 40
40 -
 41
41 -
42
-
43
-
44
-
45
-
46
-
47
-
48
-
49
-
50
-
51
-
52
-
53
-
54
-
55
-
56
-
57
-
58
-
59
-
60
-
61
-
62
-
63
-
64
-
65
-
66
-
67
-
68
-
69
-
70
-
71
-
72
-
73
 |
 |