Singer H74 Instruction Manual 2 - Page 64
Edge Joining Foot, Open Toe Foot, 4 Piecing Foot
 |
View all Singer H74 manuals
Add to My Manuals
Save this manual to your list of manuals |
Page 64 highlights
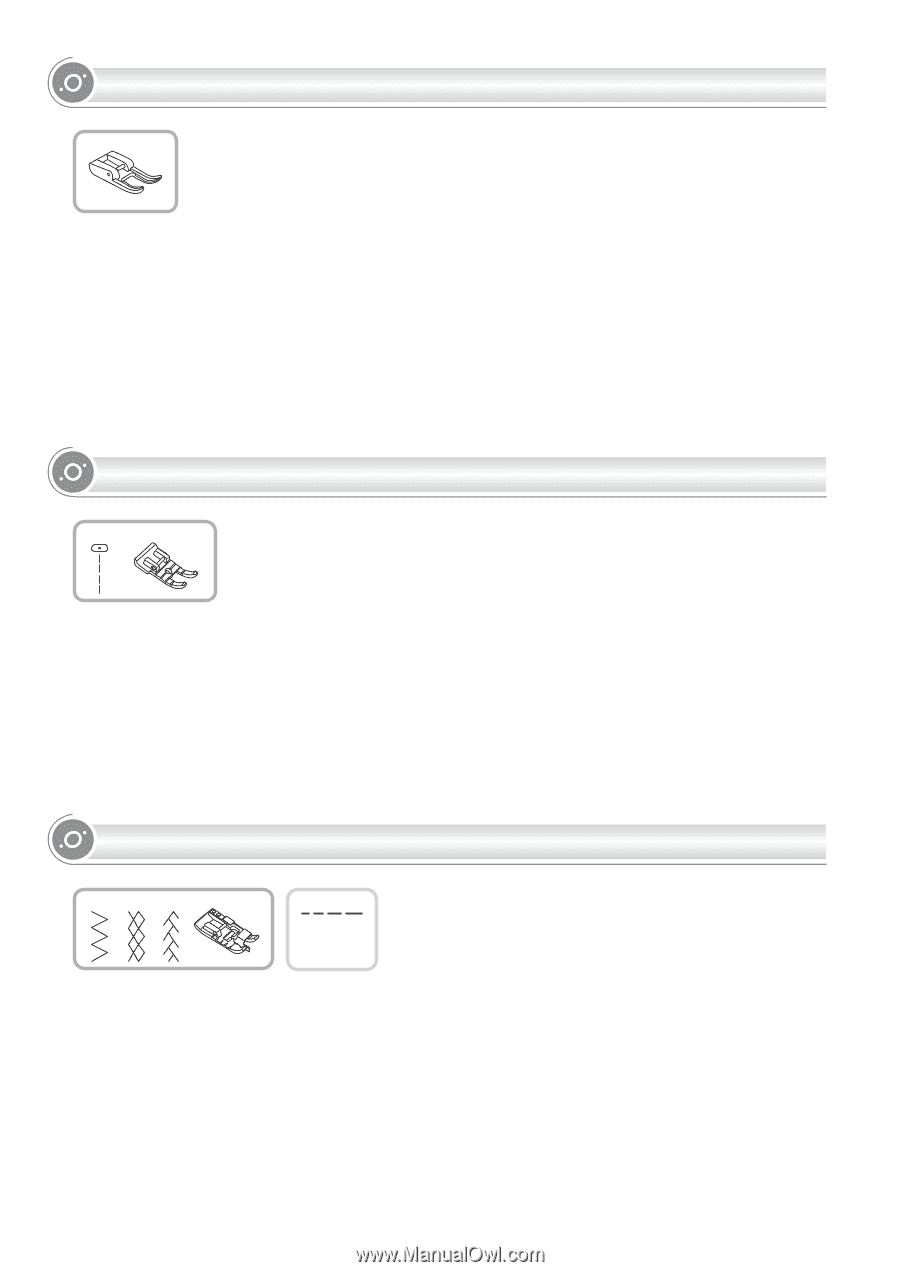
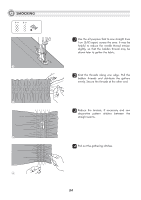
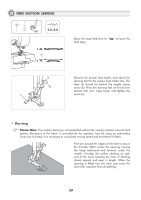
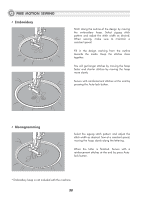
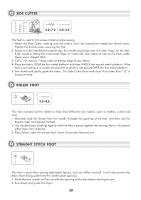
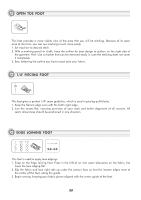
OPEN TOE FOOT This foot provides a more visible view of the area that you will be stitching. Because of its open area at the front, you can see markings much more easily. 1. Set machine to desired stitch. 2. With a marking pencil or chalk, trace the outline for your design or pattern on the right side of the garment. Hint: Use a marker that can be removed easily in case the stitching does not cover it completely. 3. Sew, following the outline you have traced onto your fabric. 1/4" PIECING FOOT 1 This foot gives a perfect 1/4" seam guideline, which is used in piecing quilt blocks. 1. Keep the fabric's edge even with the foot's right edge. 2. Iron the seams flat, ensuring precision of your work and better alignment of all corners. All seam allowances should be positioned in one direction. EDGE JOINING FOOT 5 B-14 B-15 3.0~4.0 This foot is used to apply lace edgings. 1. Snap on the Edge Joining Foot. Press in the 5/8 of an inch seam allowance on the fabric, but leave the lace edging flat. 2. Slip the fabric and lace right side up under the presser foot, so that the inseam edges meet at the center of the foot, along the guide. 3. Begin sewing, keeping your fabric pieces aligned with the center guide of the foot. 59
-
 1
1 -
2
-
3
-
4
-
5
-
6
-
7
-
8
-
9
-
10
-
11
-
12
-
13
-
14
-
15
-
16
-
17
-
18
-
19
-
20
-
21
-
22
-
23
-
24
-
25
-
26
-
27
-
28
-
29
-
30
-
31
-
32
-
33
-
34
-
35
-
36
-
37
-
38
-
39
-
40
-
41
-
42
-
43
-
44
-
45
-
46
-
47
-
48
-
49
-
50
-
51
-
52
-
53
-
54
-
55
-
56
-
57
-
58
-
 59
59 -
 60
60 -
 61
61 -
 62
62 -
 63
63 -
 64
64 -
 65
65 -
 66
66 -
 67
67 -
 68
68 -
 69
69 -
70
-
71
-
72
-
73
-
74
-
75
-
76
-
77
-
78
-
79
-
80
-
81
-
82
-
83
-
84
-
85
-
86
 |
 |