Sony PCV-RX755 VAIO User Guide - Page 44
Using Net Movie Mode, Format
 |
View all Sony PCV-RX755 manuals
Add to My Manuals
Save this manual to your list of manuals |
Page 44 highlights
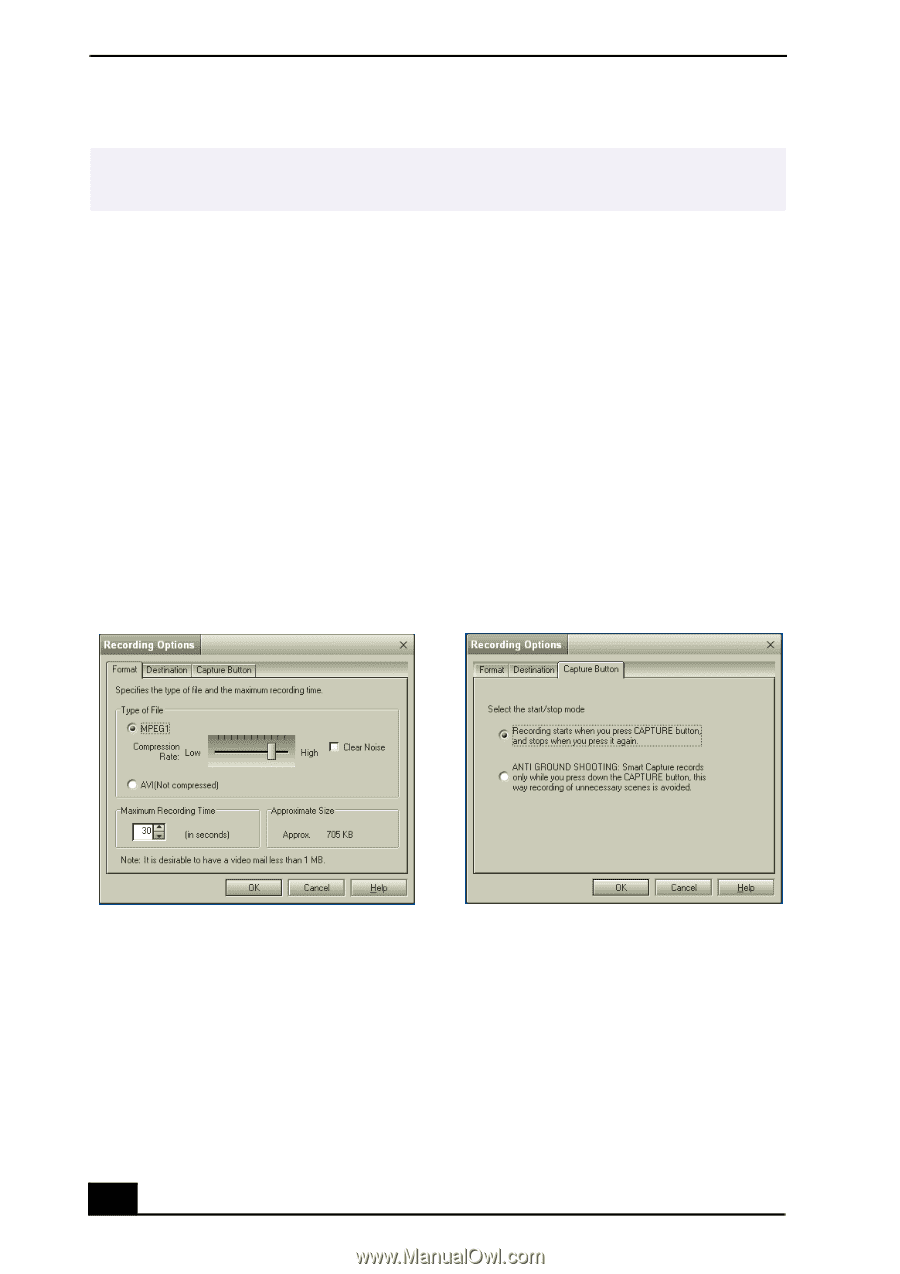
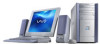
VAIO Digital Studio Computer User Guide ✍ You must be connected to the Internet before attempting to upload or e-mail your still images or videos. Using Net Movie Mode 1 From the Start button in the Windows taskbar, select All Programs, select Smart Capture, and then click Smart Capture. The Smart Capture main window appears. 2 Connect your compatible i.LINK digital camcorder to your computer with an i.LINK cable (optional). An image appears in the Smart Capture main window. 3 Verify that the Mode dial is set to Net Movie. Click the Mode dial to switch between Still mode and Net Movie mode. 4 Click the Options button to view the available options for your movie capture. The Recording Options window appears. Recording Options window Format tab view Capture Button tab view The Recording Options window has three tabs: ❑ Format - You can adjust the compression rate for your movies in MPEG1 format or choose the AVI option for no compression. You can also set the maximum recording time for your movie capture. 44
-
 1
1 -
2
-
3
-
4
-
5
-
6
-
7
-
8
-
9
-
10
-
11
-
12
-
13
-
14
-
15
-
16
-
17
-
18
-
19
-
20
-
21
-
22
-
23
-
24
-
25
-
26
-
27
-
28
-
29
-
30
-
31
-
32
-
33
-
34
-
35
-
36
-
37
-
38
-
 39
39 -
 40
40 -
 41
41 -
 42
42 -
 43
43 -
 44
44 -
 45
45 -
 46
46 -
 47
47 -
 48
48 -
 49
49 -
50
-
51
-
52
-
53
-
54
-
55
-
56
-
57
-
58
-
59
-
60
-
61
-
62
-
63
-
64
-
65
-
66
-
67
-
68
-
69
-
70
-
71
-
72
-
73
-
74
-
75
-
76
-
77
-
78
-
79
-
80
-
81
-
82
-
83
-
84
-
85
-
86
-
87
-
88
-
89
-
90
-
91
-
92
-
93
 |
 |