Sony STR-DG600 Operating Instructions - Page 65
Connecting the XM Radio, Check the XM Radio ID on - canada
 |
View all Sony STR-DG600 manuals
Add to My Manuals
Save this manual to your list of manuals |
Page 65 highlights
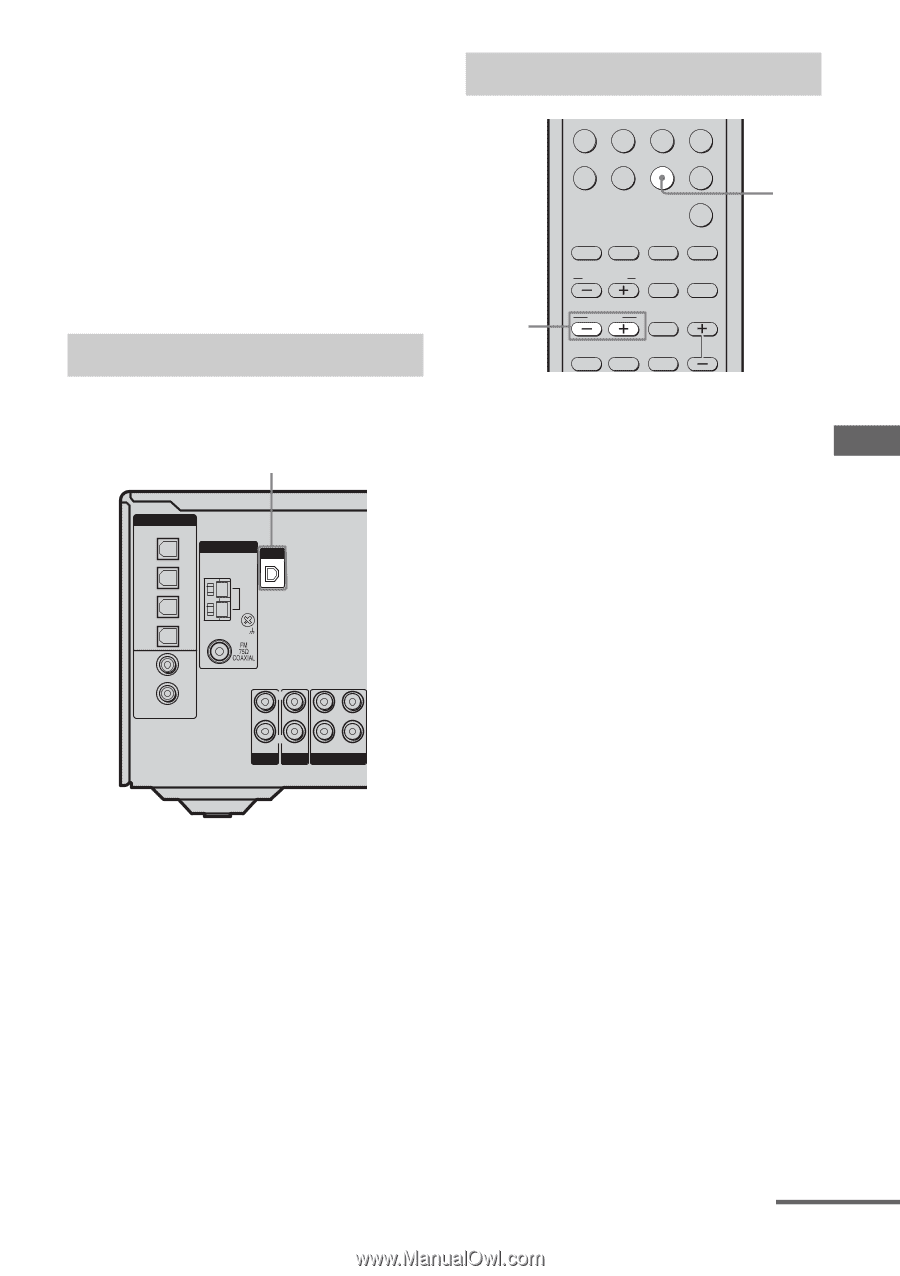
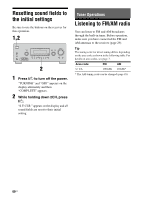
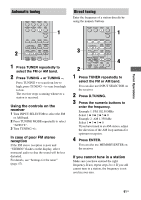
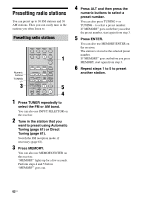
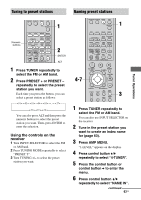
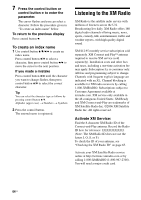
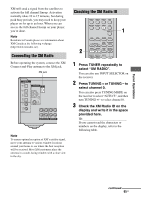
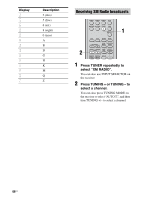
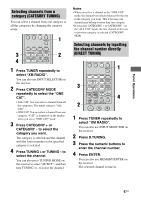
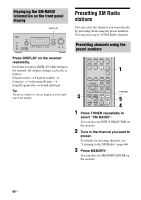
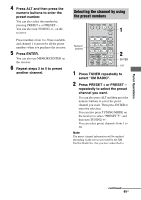
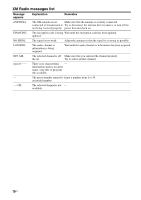
Tuner Operations XM will send a signal from the satellites to activate the full channel lineup. Activation normally takes 10 to 15 minutes, but during peak busy periods, you may need to keep your player on for up to an hour. When you can access the full channel lineup on your player, you're done. Note Residents in Canada please see information about XM Canada at the following webpage: (http://www.xmradio.ca/). Connecting the XM Radio Before operating the system, connect the XM Connect-and-Play antenna to the XM jack. XM jack DIGITAL OPTICAL VIDEO 1 IN VIDEO 2 IN MD/ TAPE IN MD/ TAPE OUT DVD IN SA-CD/ CD IN COAXIAL ANTENNA XM AM L L R IN IN AUX SA-CD/CD R OUT IN MD/TAPE Note To ensure optimal reception of XM's satelite signal, move your antenna to various window locations around your home to see where the best reception will be received. Most XM customers place the antenna in a south-facing window with a clear view to the sky. Checking the XM Radio ID VIDEO1 VIDEO2 VIDEO3 DVD MD/TAPE SA-CD/CD TUNER AUX MULTI CH 1 2 2CH A.F.D. MOVIE MUSIC 1 CATEGORY 2 3 DUAL CATEGORY MONO MODE 4 5 6 AUDIO ANGLE JUMP/ PRESET/ TUNING TIME CH/D.SKIP 7 8 9 MEMORY SUBTITLE ENTER .> 1 Press TUNER repeatedly to select "XM RADIO". You can also use INPUT SELECTOR on the receiver. 2 Press TUNING + or TUNING - to select channel 0. You can also press TUNING MODE on the receiver to select "AUTO T.", and then turn TUNING +/- to select channel 0. 3 Check the XM Radio ID on the display and write it in the space provided here. ID If you cannot read the characters or numbers on the display, refer to the following table. continued 65US
-
 1
1 -
2
-
3
-
4
-
5
-
6
-
7
-
8
-
9
-
10
-
11
-
12
-
13
-
14
-
15
-
16
-
17
-
18
-
19
-
20
-
21
-
22
-
23
-
24
-
25
-
26
-
27
-
28
-
29
-
30
-
31
-
32
-
33
-
34
-
35
-
36
-
37
-
38
-
39
-
40
-
41
-
42
-
43
-
44
-
45
-
46
-
47
-
48
-
49
-
50
-
51
-
52
-
53
-
54
-
55
-
56
-
57
-
58
-
59
-
 60
60 -
 61
61 -
 62
62 -
 63
63 -
 64
64 -
 65
65 -
 66
66 -
 67
67 -
 68
68 -
 69
69 -
 70
70 -
71
-
72
-
73
-
74
-
75
-
76
-
77
-
78
-
79
-
80
-
81
-
82
-
83
-
84
-
85
-
86
-
87
-
88
 |
 |