Vivitar DVR 943HD Camera Manual - Page 56
Connecting to a TV with the TV Cable, Connecting to an HDTV with the HDMI Cable
 |
View all Vivitar DVR 943HD manuals
Add to My Manuals
Save this manual to your list of manuals |
Page 56 highlights
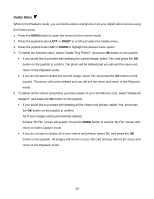
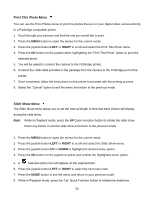
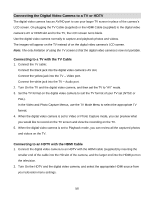
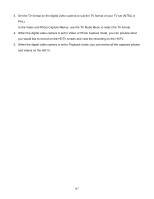
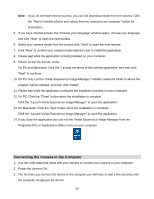
Connecting the Digital Video Camera to a TV or HDTV The digital video camera has an AV/HD port to use your larger TV screen in place of the camera‟s LCD screen. On plugging the TV Cable (supplied) or the HDMI Cable (supplied) to the digital video camera‟s AV or HDMI slot and to the TV, the LCD screen turns blank. Use the digital video camera normally to capture and playback photos and videos. The images will appear on the TV instead of on the digital video camera‟s LCD screen. Note: The only limitation of using the TV screen is that the digital video camera is now not portable. Connecting to a TV with the TV Cable 1. Connect the TV cable: Connect the black jack into the digital video camera‟s AV slot. Connect the yellow jack into the TV - Video port. Connect the white jack into the TV - Audio port. 2. Turn On the TV and the digital video camera, and then set the TV to "AV" mode. 3. Set the TV format on the digital video camera to suit the TV format of your TV set (NTSC or PAL). In the Video and Photo Capture Menus, use the TV Mode Menu to select the appropriate TV format. 4. When the digital video camera is set to Video or Photo Capture mode, you can preview what you would like to record on the TV screen and view the recording on the TV. 5. When the digital video camera is set to Playback mode, you can review all the captured photos and videos on the TV. Connecting to an HDTV with the HDMI Cable 1. Connect the digital video camera to an HDTV with the HDMI cable (supplied) by inserting the smaller end of the cable into the HD slot of the camera, and the larger end into the HDMI port on the television. 2. Turn On the HDTV and the digital video camera, and select the appropriate HDMI source from your television menu settings. 56
-
 1
1 -
2
-
3
-
4
-
5
-
6
-
7
-
8
-
9
-
10
-
11
-
12
-
13
-
14
-
15
-
16
-
17
-
18
-
19
-
20
-
21
-
22
-
23
-
24
-
25
-
26
-
27
-
28
-
29
-
30
-
31
-
32
-
33
-
34
-
35
-
36
-
37
-
38
-
39
-
40
-
41
-
42
-
43
-
44
-
45
-
46
-
47
-
48
-
49
-
50
-
 51
51 -
 52
52 -
 53
53 -
 54
54 -
 55
55 -
 56
56 -
 57
57 -
 58
58 -
 59
59 -
 60
60 -
 61
61 -
62
-
63
-
64
-
65
 |
 |