Yamaha MO8 Owner's Manual - Page 179
Song Record mode, Song Record Standby mode
 |
UPC - 641018006938
View all Yamaha MO8 manuals
Add to My Manuals
Save this manual to your list of manuals |
Page 179 highlights
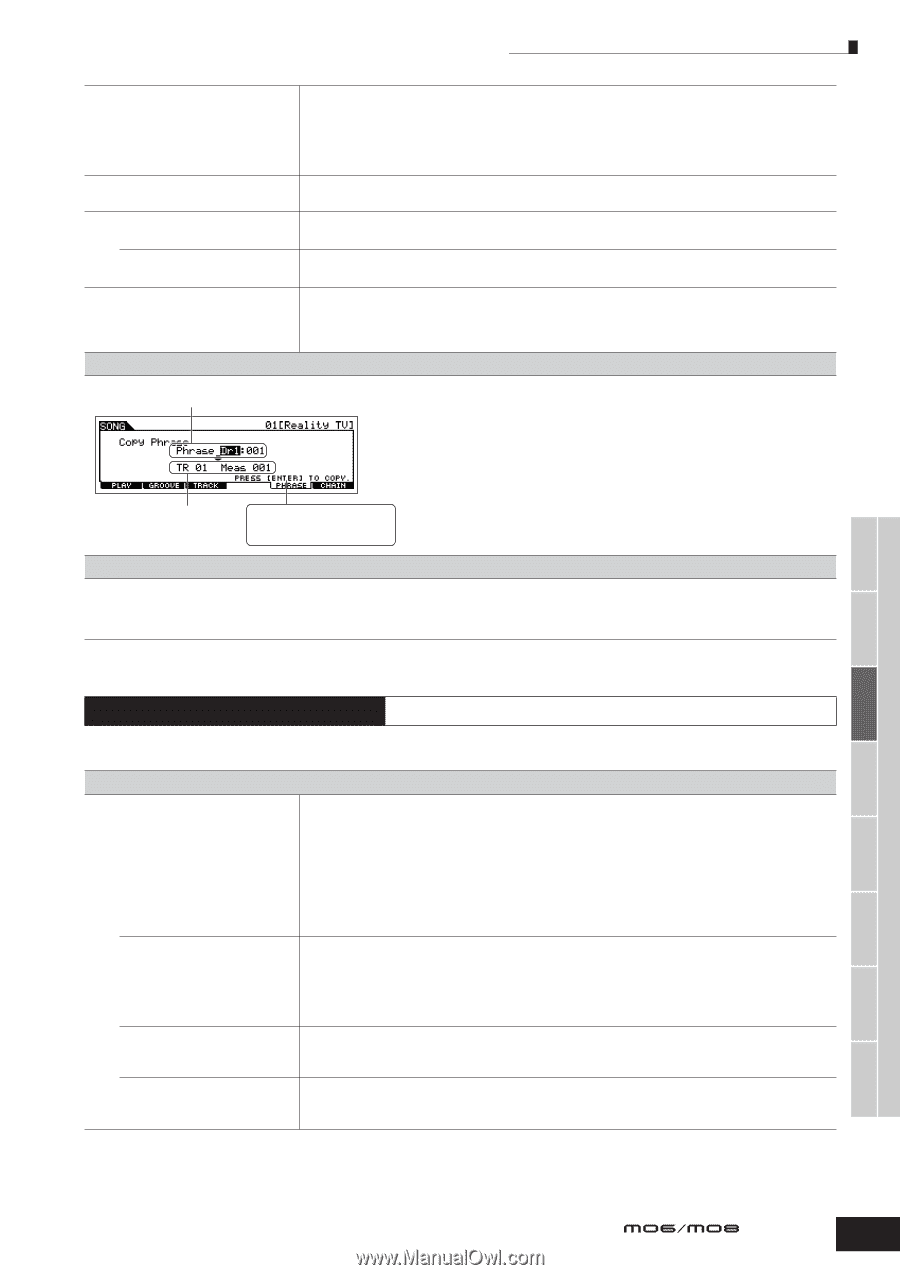
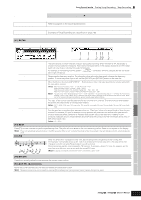
Song Record mode Song Record Standby mode PORT Determines the MIDI transmission port for the corresponding track. Playback data of tracks set to off is output via MIDI without any Port message. The internal tone generator parts of this synthesizer can be played back only over Port 1. Settings: off, 1 - 3 n Port data can be output only through the USB terminal. No port data is transmitted through the MIDI OUT terminal, even if the corresponding track is set to a specific port number. [SF2] OUT SW (Output Switch) You can also simultaneously set multiple tracks (tracks 1 - 8 or tracks 9 - 16) to the same setting as the currently selected track, by changing the parameter while holding the [SF2] 1 - 8 button or [SF3] 9 - 16 button. INT SW (Internal Switch) Determines whether playback data is transmitted to the internal tone generator block or not. Settings: on, off EXT SW (External Switch) Determines whether playback data is output to the external MIDI tone generator via MIDI or not. Settings: on, off [SF3] TR LOOP (Track Loop) From this display you can determine whether the data in the selected track loops or not in playback. Using Loop can be an effective way to repeat short patterns and phrases throughout the Song. For details, see page 193. Settings: off, on [F5] PHRASE Specify the source phrase from the Preset Phrases (Dr1 - Dr4) and the User Phrases in the previously selected Pattern. You can copy any of the Preset Phrases (Dr1 - Dr4) and User Phrases in the previously selected Pattern to the track of the currently selected song. Performance mode Reference Voice mode Song mode Pattern mode Specify the destination track and measure of the current selected song. After completing the settings, press the [ENTER] button to execute Copy Phrase. [F6] CHAIN This function allows Songs to be "chained" together for automatic sequential playback. For details, refer to the Quick Guide on page 95. skip Skips past (ignores) the selected chain number and continues playback from the next chain number. stop Stops Song chain playback at that chain number. You can restart the Song chain playback from the next chain number by pressing the [F] (Play) button. end Indicates the end mark of the Song chain data. Song Record mode [SONG] ➞ Song selection ➞ [REC] Song Record Standby mode [F1] SETUP Type (Recording Type) Quantize Event RecTrack Determines the recording method. For details on each method, refer to page 138 in the Basic Structure section. Settings: When the RecTrack is set to any of 1-16: replace, overdub, punch, step When the RecTrack is set to tempo: replace, punch, step When the RecTrack is set to scene: replace, punch When the RecTrack is set to multi: replace, overdub, punch n When "punch" is selected, "Punch-in measure: beat" and "Punch-out measure: beat" appear in the display and should be set. If you've set the Locate 1 and 2 points (Loc1, Loc2; see page 92), the punch-in/out points can be set with a single button press. Move the cursor to the punch-in/out value, and notice that a "COPYLOC" menu item appears. Press the [SF1] COPYLOC button, and the punch-in/out settings are automatically assigned to the existing Locate points. n When "step" is selected, you should specify the event type to be entered. This parameter is available when the Recording Type is set to something other than "step." Record quantize aligns the timing of notes automatically, as you record. You can set this parameter also by using the Note Type selection window called up via the [INFORMATION] button. For details, see page 35. Settings: off, 60 (32nd note), 80 (16th note triplet), 120 (16th note), 160 (8th note triplet), 240 (8th note), 320 (1/4 note triplet), 480 (1/4 note) This parameter is available when the Recording Type is set to "step." This lets you specify the event type to be entered. Settings: note, p.bend (pitch bend), CC#000 - #119 (Control Change) Determines the track to be recorded. Pressing the [F6] button lets you switch between Single Track recording and All Track recording. Settings: tempo, scene, 1 - 16, multi Mixing Voice mode Utility mode Master mode File mode Owner's Manual 179
-
 1
1 -
2
-
3
-
4
-
5
-
6
-
7
-
8
-
9
-
10
-
11
-
12
-
13
-
14
-
15
-
16
-
17
-
18
-
19
-
20
-
21
-
22
-
23
-
24
-
25
-
26
-
27
-
28
-
29
-
30
-
31
-
32
-
33
-
34
-
35
-
36
-
37
-
38
-
39
-
40
-
41
-
42
-
43
-
44
-
45
-
46
-
47
-
48
-
49
-
50
-
51
-
52
-
53
-
54
-
55
-
56
-
57
-
58
-
59
-
60
-
61
-
62
-
63
-
64
-
65
-
66
-
67
-
68
-
69
-
70
-
71
-
72
-
73
-
74
-
75
-
76
-
77
-
78
-
79
-
80
-
81
-
82
-
83
-
84
-
85
-
86
-
87
-
88
-
89
-
90
-
91
-
92
-
93
-
94
-
95
-
96
-
97
-
98
-
99
-
100
-
101
-
102
-
103
-
104
-
105
-
106
-
107
-
108
-
109
-
110
-
111
-
112
-
113
-
114
-
115
-
116
-
117
-
118
-
119
-
120
-
121
-
122
-
123
-
124
-
125
-
126
-
127
-
128
-
129
-
130
-
131
-
132
-
133
-
134
-
135
-
136
-
137
-
138
-
139
-
140
-
141
-
142
-
143
-
144
-
145
-
146
-
147
-
148
-
149
-
150
-
151
-
152
-
153
-
154
-
155
-
156
-
157
-
158
-
159
-
160
-
161
-
162
-
163
-
164
-
165
-
166
-
167
-
168
-
169
-
170
-
171
-
172
-
173
-
 174
174 -
 175
175 -
 176
176 -
 177
177 -
 178
178 -
 179
179 -
 180
180 -
 181
181 -
 182
182 -
 183
183 -
 184
184 -
185
-
186
-
187
-
188
-
189
-
190
-
191
-
192
-
193
-
194
-
195
-
196
-
197
-
198
-
199
-
200
-
201
-
202
-
203
-
204
-
205
-
206
-
207
-
208
-
209
-
210
-
211
-
212
-
213
-
214
-
215
-
216
-
217
-
218
-
219
-
220
-
221
-
222
-
223
-
224
-
225
-
226
-
227
-
228
-
229
-
230
-
231
-
232
-
233
-
234
-
235
-
236
-
237
-
238
-
239
-
240
 |
 |