2007 Suzuki Aerio Owner's Manual - Page 97
2007 Suzuki Aerio Manual

Page 97 highlights
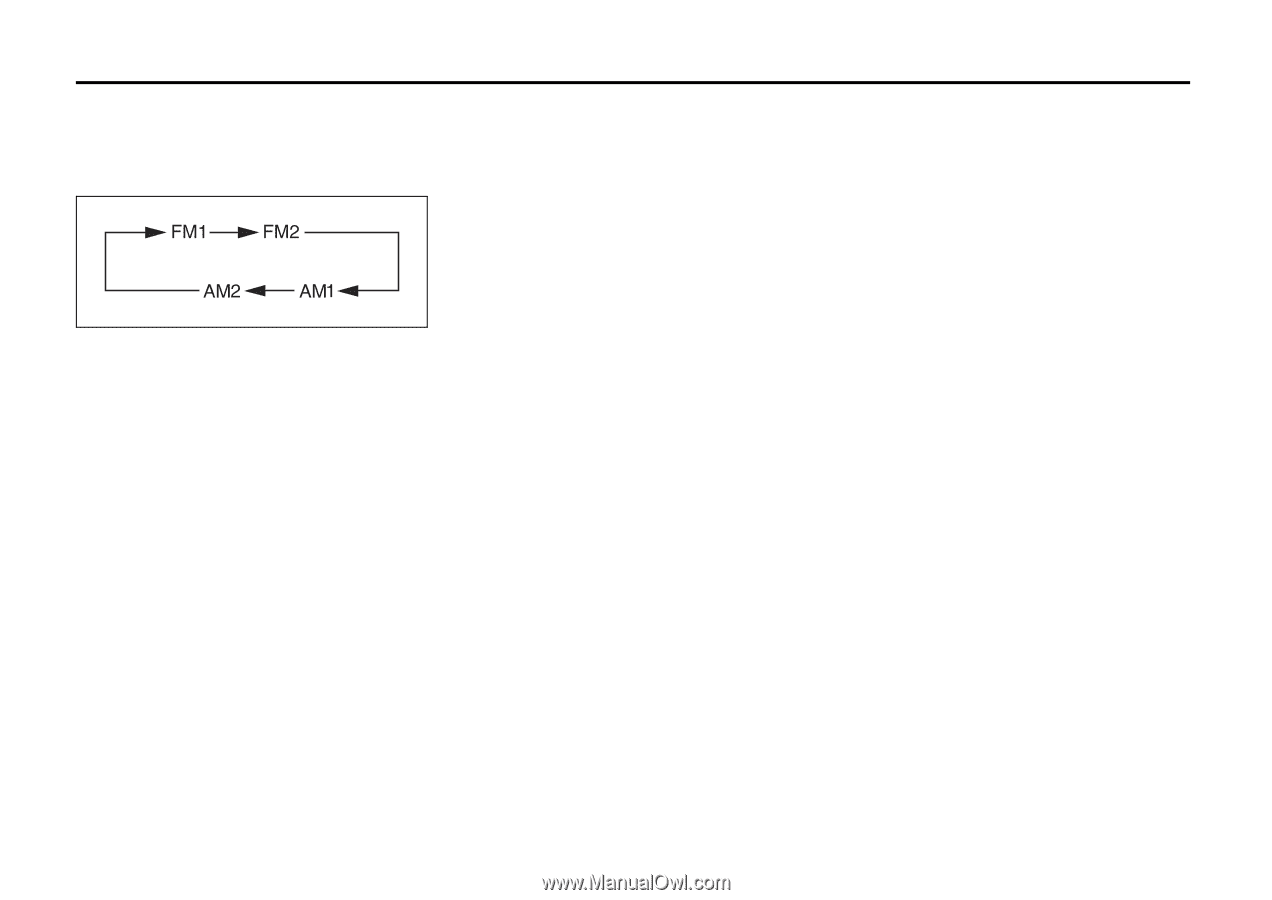
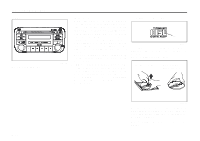
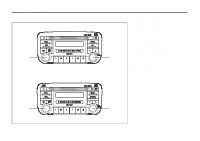
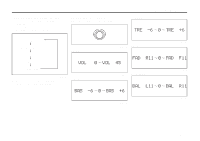
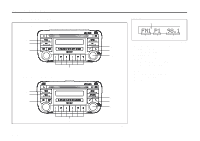
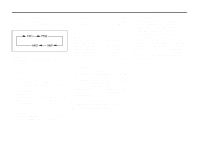
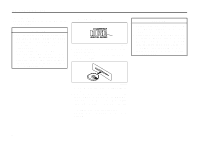
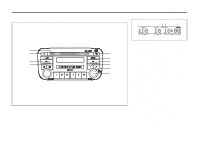
INSTRUMENT PANEL Selecting the reception band Press the band switch button (1). Each time the button is pressed, the reception band is switched as follows: Six stations in total are automatically stored to the preset buttons (5) in sequential order, starting from the lower frequencies. NOTE: • When the auto store is performed, the station previously stored in the memory at the position is overwritten. • When there are fewer than 6 stations that can be stored even if 2 rounds of auto store operation are performed, the stations previously stored at the remaining preset buttons (5) are not overwritten. Scan tuning 1) Press the scan button (7). Stations are automatically sought for in a sequential order, starting from a station being currently received, and scan stops for 5 seconds at a frequency where there is a station available. 2) Press the scan button (7) again to stop scanning at the frequency being currently received. Receiving a stereo broadcast station If a stereo broadcast station is received, the stereo indicator (C) will light. Radio Reception • Radio reception can be affected by environment, atmospheric conditions, or radio signal's power and distance from the station. Nearby mountains and buildings may interfere or deflect radio reception, causing poor reception. Poor reception or radio static can also be caused by electric current from overhead wires or high voltage power lines. • When listening to a radio while using a cell phone or walkie-talkie in or close to your vehicle, the radio may experience noise interference. 54G550 Seek tuning Press the seek up button (2) or the seek down button (3). The unit stops searching for a station at a frequency where a broadcast station is available. Manual tuning Turn the manual tuning knob (4). The frequency being received is displayed. Preset memory 1) Select the desired station. 2) Select the preset button (5) to which you want to store the station and press and hold the button for 2 seconds or longer. Auto store 1) Press the band switch button (1) and select the band (FM2 or AM2). 2) Press the auto store button (6). 4-32
-
 1
1 -
2
-
3
-
4
-
5
-
6
-
7
-
8
-
9
-
10
-
11
-
12
-
13
-
14
-
15
-
16
-
17
-
18
-
19
-
20
-
21
-
22
-
23
-
24
-
25
-
26
-
27
-
28
-
29
-
30
-
31
-
32
-
33
-
34
-
35
-
36
-
37
-
38
-
39
-
40
-
41
-
42
-
43
-
44
-
45
-
46
-
47
-
48
-
49
-
50
-
51
-
52
-
53
-
54
-
55
-
56
-
57
-
58
-
59
-
60
-
61
-
62
-
63
-
64
-
65
-
66
-
67
-
68
-
69
-
70
-
71
-
72
-
73
-
74
-
75
-
76
-
77
-
78
-
79
-
80
-
81
-
82
-
83
-
84
-
85
-
86
-
87
-
88
-
89
-
90
-
91
-
 92
92 -
 93
93 -
 94
94 -
 95
95 -
 96
96 -
 97
97 -
 98
98 -
 99
99 -
 100
100 -
 101
101 -
 102
102 -
103
-
104
-
105
-
106
-
107
-
108
-
109
-
110
-
111
-
112
-
113
-
114
-
115
-
116
-
117
-
118
-
119
-
120
-
121
-
122
-
123
-
124
-
125
-
126
-
127
-
128
-
129
-
130
-
131
-
132
-
133
-
134
-
135
-
136
-
137
-
138
-
139
-
140
-
141
-
142
-
143
-
144
-
145
-
146
-
147
-
148
-
149
-
150
-
151
-
152
-
153
-
154
-
155
-
156
-
157
-
158
-
159
-
160
-
161
-
162
-
163
-
164
-
165
-
166
-
167
-
168
-
169
-
170
-
171
-
172
-
173
-
174
-
175
-
176
-
177
-
178
-
179
-
180
-
181
-
182
-
183
-
184
-
185
-
186
-
187
-
188
-
189
-
190
-
191
-
192
-
193
-
194
-
195
-
196
-
197
-
198
-
199
-
200
-
201
-
202
-
203
-
204
-
205
-
206
-
207
-
208
-
209
-
210
-
211
-
212
-
213
-
214
-
215
-
216
-
217
-
218
-
219
-
220
-
221
-
222
-
223
-
224
-
225
-
226
-
227
-
228
-
229
-
230
-
231
-
232
-
233
 |
 |