Asus CUV4X-E CUV4X-E User Manual - Page 26
CPU Installation - 100
 |
UPC - 610839878079
View all Asus CUV4X-E manuals
Add to My Manuals
Save this manual to your list of manuals |
Page 26 highlights
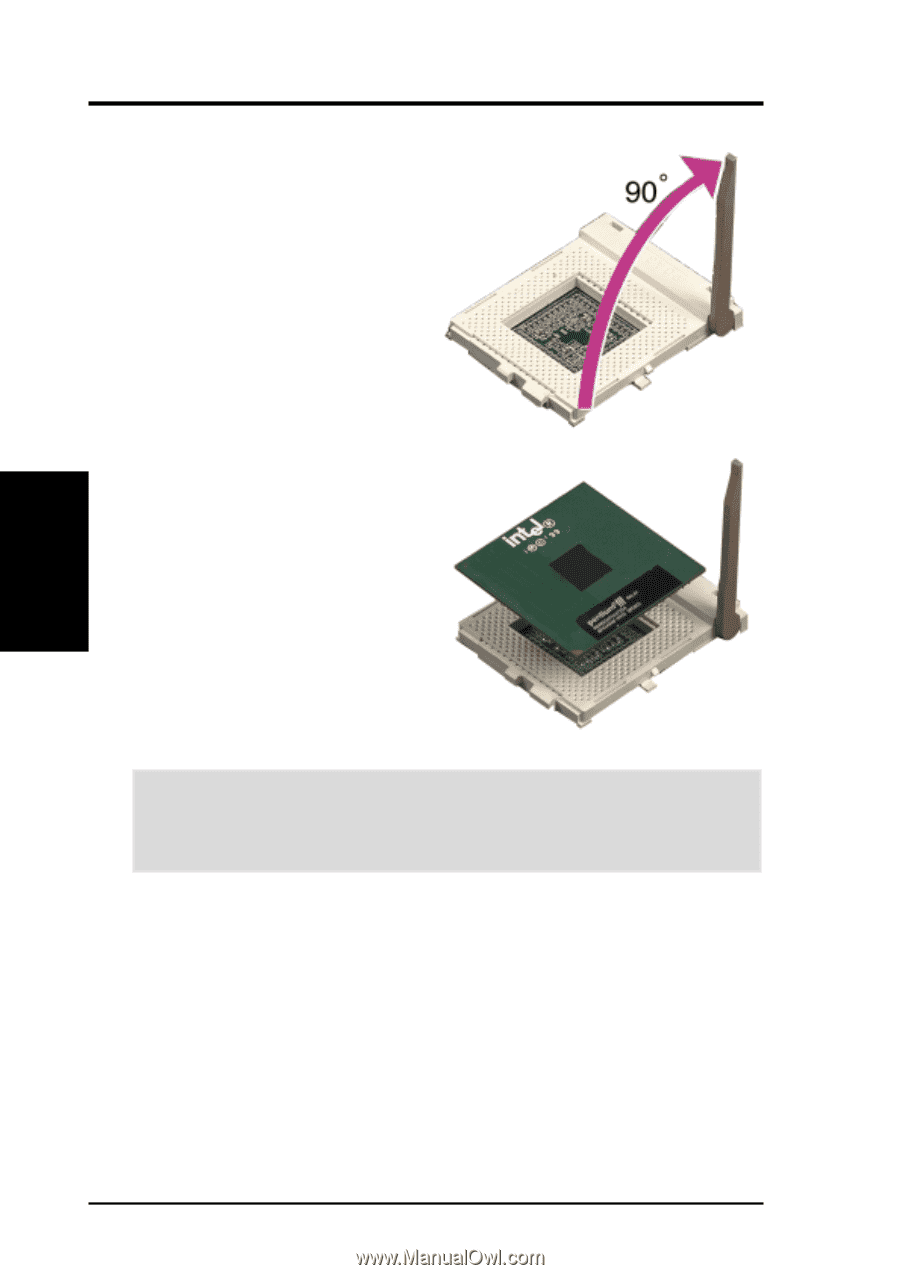
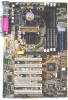
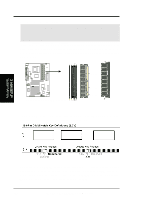
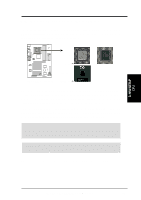
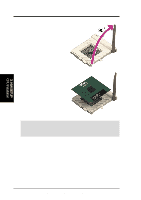
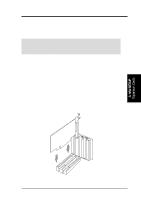
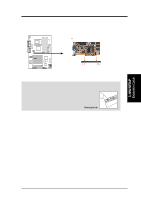
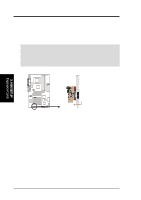
3. HARDWARE SETUP 3.6.1 CPU Installation Follow these steps to install a CPU. 1. Locate the ZIF socket on the motherboard. 2. Unlock the socket by pressing the lever sideways then lifting it up to a 90°-100° angle. 3. H/W SETUP CPU Installation 3. Position the CPU above the socket such that its notched or marked corner matches the socket corner near the end of the lever, while making sure that the CPU is parallel to the socket. 4. Carefuly insert the CPU into the socket until it fits in place. CAUTION! The CPU fits only in one orientation. Do not force the CPU into the socket to prevent bending the pins and damaging the CPU. If the CPU does not fit completely, check its orientation or check for bent pins. 5. When the CPU is in place, press it firmly on the socket while you push down the socket lever to secure the CPU. The lever clicks on the socket indicating that it is locked. 6. Attach the heatsink and fan to the CPU, if they were not pre-installed by the vendor. Refer to the installation instructions that came with the heatsink and fan. NOTE: Do not forget to set the correct Bus Frequency and Multiple (frequency multiple setting is available only on unlocked processors) for the processor to avoid start-up problems. 26 ASUS CUV4X-E User's Manual
-
 1
1 -
2
-
3
-
4
-
5
-
6
-
7
-
8
-
9
-
10
-
11
-
12
-
13
-
14
-
15
-
16
-
17
-
18
-
19
-
20
-
 21
21 -
 22
22 -
 23
23 -
 24
24 -
 25
25 -
 26
26 -
 27
27 -
 28
28 -
 29
29 -
 30
30 -
 31
31 -
32
-
33
-
34
-
35
-
36
-
37
-
38
-
39
-
40
-
41
-
42
-
43
-
44
-
45
-
46
-
47
-
48
-
49
-
50
-
51
-
52
-
53
-
54
-
55
-
56
-
57
-
58
-
59
-
60
-
61
-
62
-
63
-
64
-
65
-
66
-
67
-
68
-
69
-
70
-
71
-
72
-
73
-
74
-
75
-
76
-
77
-
78
-
79
-
80
-
81
-
82
-
83
-
84
-
85
-
86
-
87
-
88
-
89
-
90
-
91
-
92
-
93
-
94
-
95
-
96
-
97
-
98
-
99
-
100
 |
 |