Beretta PICO 380 Instruction Manual - Page 43
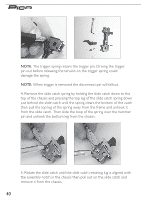
upper legs of the trigger spring bear against the disconnect pin.
 |
View all Beretta PICO 380 manuals
Add to My Manuals
Save this manual to your list of manuals |
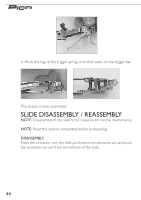
Page 43 highlights
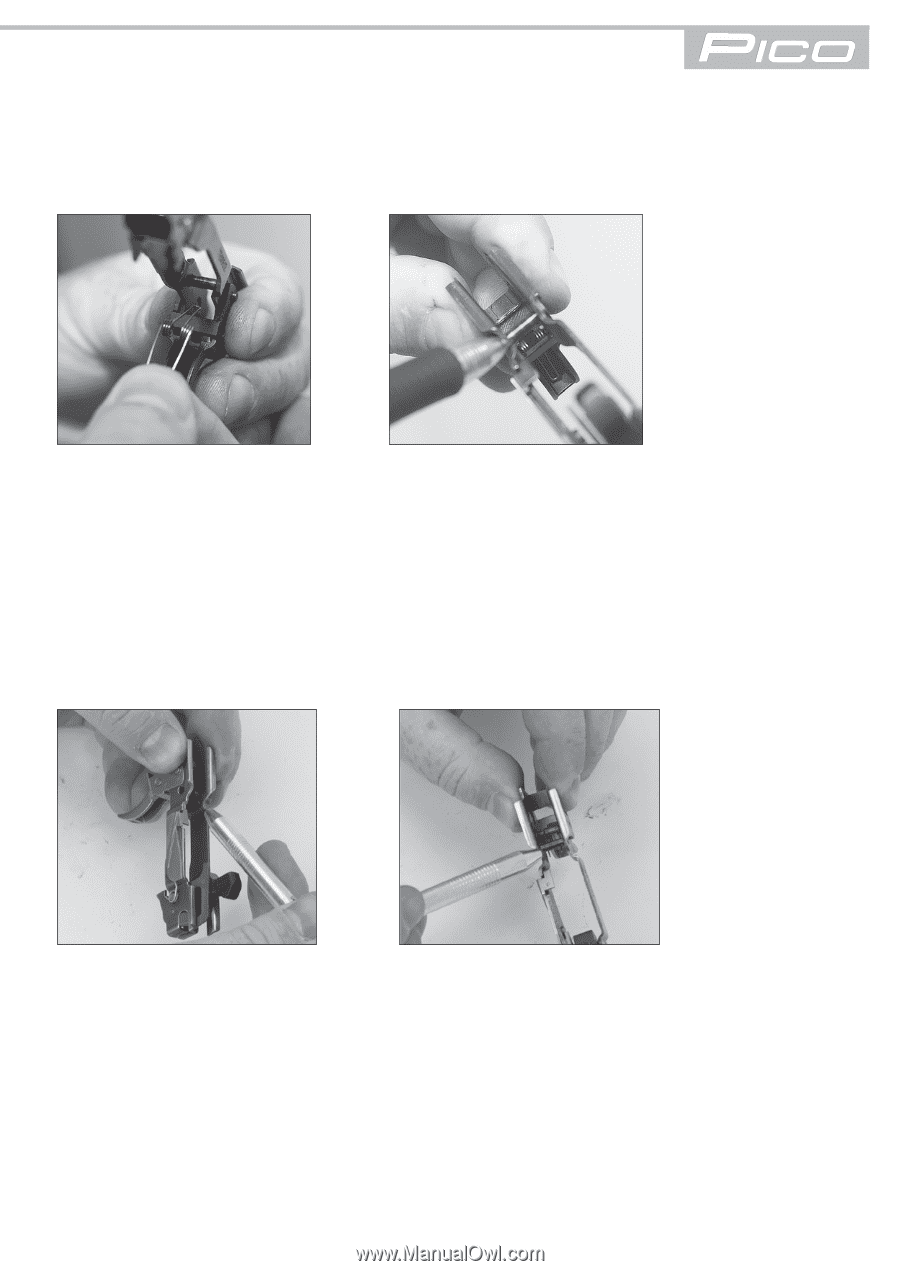
4. Feed the trigger spring, closed end first, between the bar on back of the trigger and the disconnect pin. Then angle the closed end down into the trigger where it will bear on the backside of the trigger. Wiggle the trigger pin through the trigger, chassis and trigger spring and completely through the opposite side of the chassis and trigger. NOTE: Closed loop of trigger spring bears against the trigger. The upper legs of the trigger spring bear against the disconnect pin. 5. Move the trigger to the front. Spread the trigger bar just enough to allow it to slide into place on its lugs on the trigger. 43
-
 1
1 -
2
-
3
-
4
-
5
-
6
-
7
-
8
-
9
-
10
-
11
-
12
-
13
-
14
-
15
-
16
-
17
-
18
-
19
-
20
-
21
-
22
-
23
-
24
-
25
-
26
-
27
-
28
-
29
-
30
-
31
-
32
-
33
-
34
-
35
-
36
-
37
-
 38
38 -
 39
39 -
 40
40 -
 41
41 -
 42
42 -
 43
43 -
 44
44 -
 45
45 -
 46
46 -
 47
47 -
 48
48 -
49
-
50
-
51
-
52
-
53
-
54
-
55
-
56
-
57
-
58
-
59
-
60
 |
 |
43
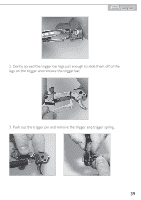
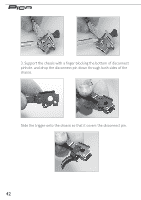
4. Feed the trigger spring, closed end first, between the bar on back of
the trigger and the disconnect pin. Then angle the closed end down into
the trigger where it will bear on the backside of the trigger.
Wiggle the trigger pin through the trigger, chassis and trigger spring and
completely through the opposite side of the chassis and trigger.
NOTE:
Closed loop of trigger spring bears against the trigger. The
upper legs of the trigger spring bear against the disconnect pin.
5. Move the trigger to the front.
Spread the trigger bar just enough to allow it to slide into place on its
lugs on the trigger.