Bose 36601 Owner's guide - Page 37
Trying out the DVD
 |
View all Bose 36601 manuals
Add to My Manuals
Save this manual to your list of manuals |
Page 37 highlights
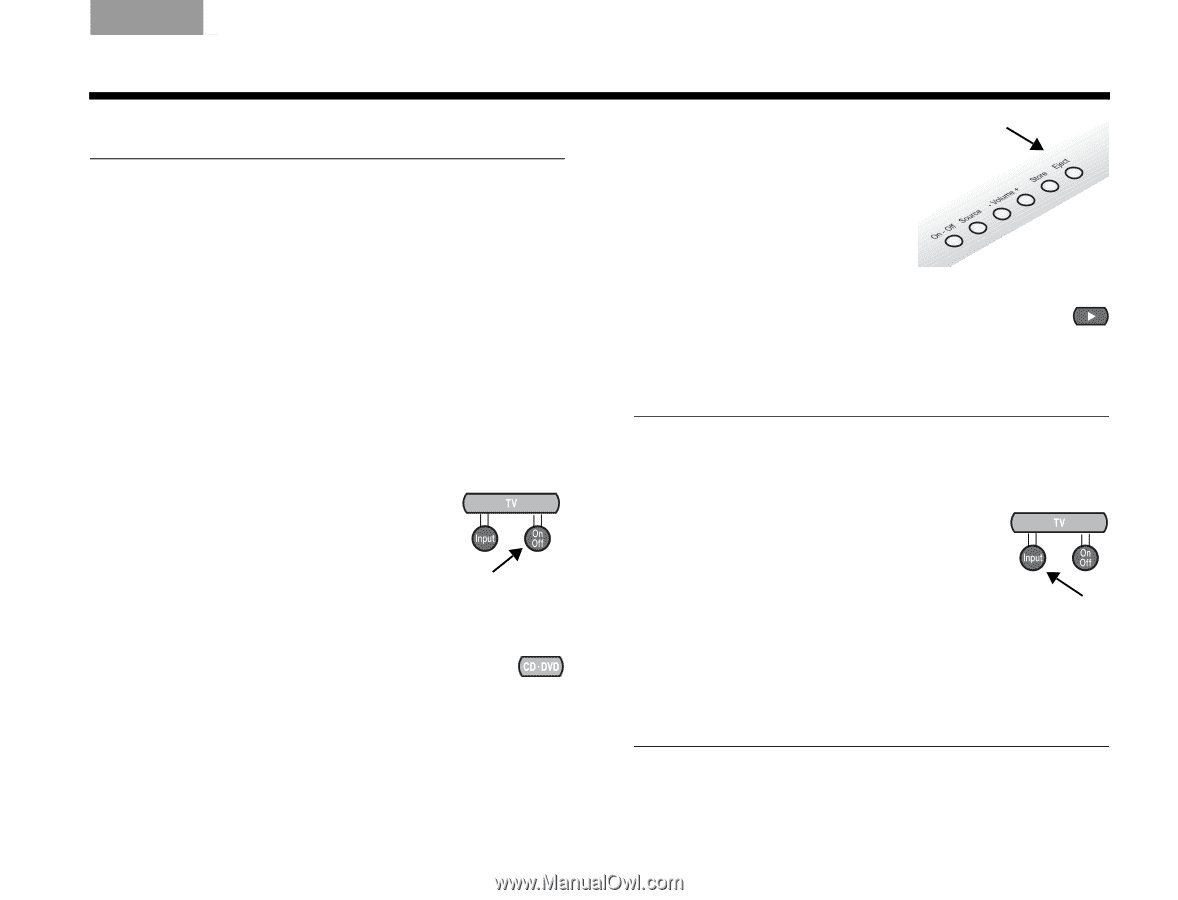
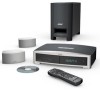
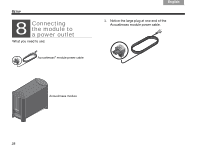
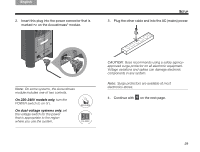
English DEsepuatsñcohl FItralniaçnaois Nederlands Svenska FIRST-TIME USE Trying out the DVD When you first turn on the system, you can play the provided DVD to get a step-by-step review of your setup. 1. Before you continue, make sure that: • All of the cables needed for your setup are connected. • Batteries are installed in the 3•2•1® system remote control. • The system power cord is plugged in at both ends. 2. Turn on your TV. • Use the TV On/Off button on the 3•2•1 remote if you have it set up to control your TV. • Or use the remote control that came with the TV. 3. Play the provided DVD. a. Point the 3•2•1 remote control at the media center and press CD/DVD. b. On the media center controls, press Eject. c. Insert the disc into the disc tray. d. Press Eject again to close the tray and begin automatic play. e. If the DVD does not begin playing, press the play button on the remote. Playing the DVD helps verify that your system setup is correct. Note: If you do not see the DVD video on your TV screen, change the Video Input on the TV. Use the TV Input button on the 3•2•1 remote if you have it set up to control your TV. Or use the button for Video Input on your TV remote control. For more information, refer to the owner's manual that came with your TV. If you STILL do not see the DVD image on your screen, see the problem identified as "Sound, but no picture" under Troubleshooting on page 65. 33
-
 1
1 -
2
-
3
-
4
-
5
-
6
-
7
-
8
-
9
-
10
-
11
-
12
-
13
-
14
-
15
-
16
-
17
-
18
-
19
-
20
-
21
-
22
-
23
-
24
-
25
-
26
-
27
-
28
-
29
-
30
-
31
-
 32
32 -
 33
33 -
 34
34 -
 35
35 -
 36
36 -
 37
37 -
 38
38 -
 39
39 -
 40
40 -
 41
41 -
 42
42 -
43
-
44
-
45
-
46
-
47
-
48
-
49
-
50
-
51
-
52
-
53
-
54
-
55
-
56
-
57
-
58
-
59
-
60
-
61
-
62
-
63
-
64
-
65
-
66
-
67
-
68
-
69
-
70
-
71
-
72
-
73
-
74
-
75
-
76
-
77
-
78
-
79
-
80
-
81
-
82
-
83
-
84
-
85
-
86
-
87
-
88
-
89
-
90
-
91
-
92
-
93
-
94
-
95
-
96
-
97
-
98
-
99
-
100
-
101
-
102
-
103
-
104
-
105
-
106
-
107
-
108
 |
 |