Brother International ADS-3100 Brother ScanEssentials Users Guide - Page 15
Document Separation, Send to Email Address
 |
View all Brother International ADS-3100 manuals
Add to My Manuals
Save this manual to your list of manuals |
Page 15 highlights
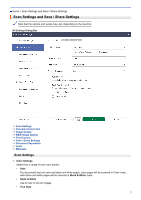
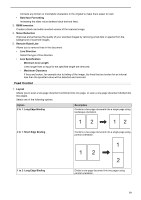
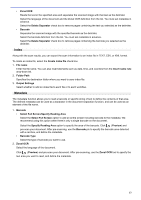
1. Save / Share to: PC • File format Select the file format for your document. • File name Enter the file name. You can also insert elements such as date, time, and counters from the Insert name rule drop-down list. • Folder Path Specifies the destination folder where you want to save your scanned data. 2. Save / Share to: Email • File format Select the file format for your document. • File name Enter the file name. You can also insert elements such as date, time, and counters from the Insert name rule drop-down list. • Email Settings Type the email information in the Send to Email Address, Subject, and Main Message fields. You can send the scanned data directly to the address of the destination or preview the email to check the contents before sending. To send the scanned data directly, you must configure the SMTP email settings. 3. Save / Share to: FTP / SFTP Server • File format Select the file format for your document. • File name Enter the file name. You can also insert elements such as date, time, and counters from the Insert name rule drop-down list. • FTP / SFTP Settings Enter the necessary information to connect to the FTP/SFTP server. 4. Save / Share to: SharePoint • File format Select the file format for your document. • File name Enter the file name. You can also insert elements such as date, time, and counters from the Insert name rule drop-down list. • SharePoint URL Type the SharePoint site address. Document Separation When multiple pages are scanned, you can divide and save the scanned image with a specified separator. 1. Select Separator • Off Does not separate the scanned image. • Blank Page Separates the scanned image with blank paper as the delimiter. Selecting this option automatically turns on the Blank Page Removal menu and removes the document's blank pages from the scanning results. To adjust the blank paper detection level, click the Detection Range button. • Page Number Separates the scanned image at the specified number of pages. 12
-
 1
1 -
2
-
3
-
4
-
5
-
6
-
7
-
8
-
9
-
 10
10 -
 11
11 -
 12
12 -
 13
13 -
 14
14 -
 15
15 -
 16
16 -
 17
17 -
 18
18 -
 19
19 -
 20
20 -
21
-
22
 |
 |
